Wednesday, November 27, 2013

Baby In the Manger


We had a very fun family event at church last Friday night. It was planned to kick off our Advent season. We were about a  week early but the way Thanksgiving hit we had to schedule this way and it was really perfect. Everyone was relaxed and not rushed because we weren't in the busy December season where everyone has 2 or 3 events every weekend night.
The event was called "Starry Night" and we served dinner so we needed centerpieces to go with the theme for each table and the budget was small - really small. Like $0.00 :)
So I scrounged around at home and this is what I came up with.
I had some large wooden balls and large jumbo craft sticks. I painted cute little faces on the balls and glued them to one end of the craft stick (which I broke in half)


Then I tore long strips of white sheeting that I had on hand.
 The strips were about an inch wide and about 30 inches long. 

I put a dab of hot glue on the top of the poor baby's head and glued the strip of fabric down. Then I just started wrapping the baby's head and body 
until it looked like a little baby all "swaddled" up!
 

And there you have the cutest little baby all wrapped up!

I went out in the yard and grabbed some 6 inch clay pots I had stacked up. I soaked them in Clorox water in the sink and washed them out very well. They were going on tables where we would eat so I didn't want some creature to come crawling out :)
I stuffed a couple of plastic Publix bags in the pots after they were dry.

Then I snipped a bundle of raffia into strips and
 filled my clay pot (manger) with the raffia (hay.)

Then I printed the verse that was our theme for the event onto some gold chevron scrapbook paper. I punched two holes and threaded it onto a skewer. This made a cute banner that I stuck in the pot and secured with a dab of hot glue.


 I glued the baby in the manger and 
then I repeated it until all the centerpieces were finished. 
 
 
I tied some scraps of ribbon on each skewer and when we got them placed on the tables I tied a star shaped gold helium balloon to each skewer. I didn't  take a picture of all of them on the tables but it was the perfect centerpiece - the baby in a manger was nice and low and then the bobbing gold star balloon was up high and out of the way of conversation around the tables. They were festive, the children loved them, they were perfect for our theme and I didn't have to buy a single thing other than the gold star balloons at the Dollar Tree!

And because the theme for our Advent Kick-Off was appropriately stars, we had a huge inflatable planetarium in our gym. This thing was awesome and can seat 60 people inside. Our families loved it - the tickets were $5.00 and 
benefited our Youth International Mission Trip 2014.

It was a fun and exciting Starry Night!

What Does The Fox (Actually) Say?

Had a fun little Art camp with my favorite 4 and 5 year olds a couple of weeks ago. The lesson was about drawing from verbal instruction using basic shapes and a limited palette.
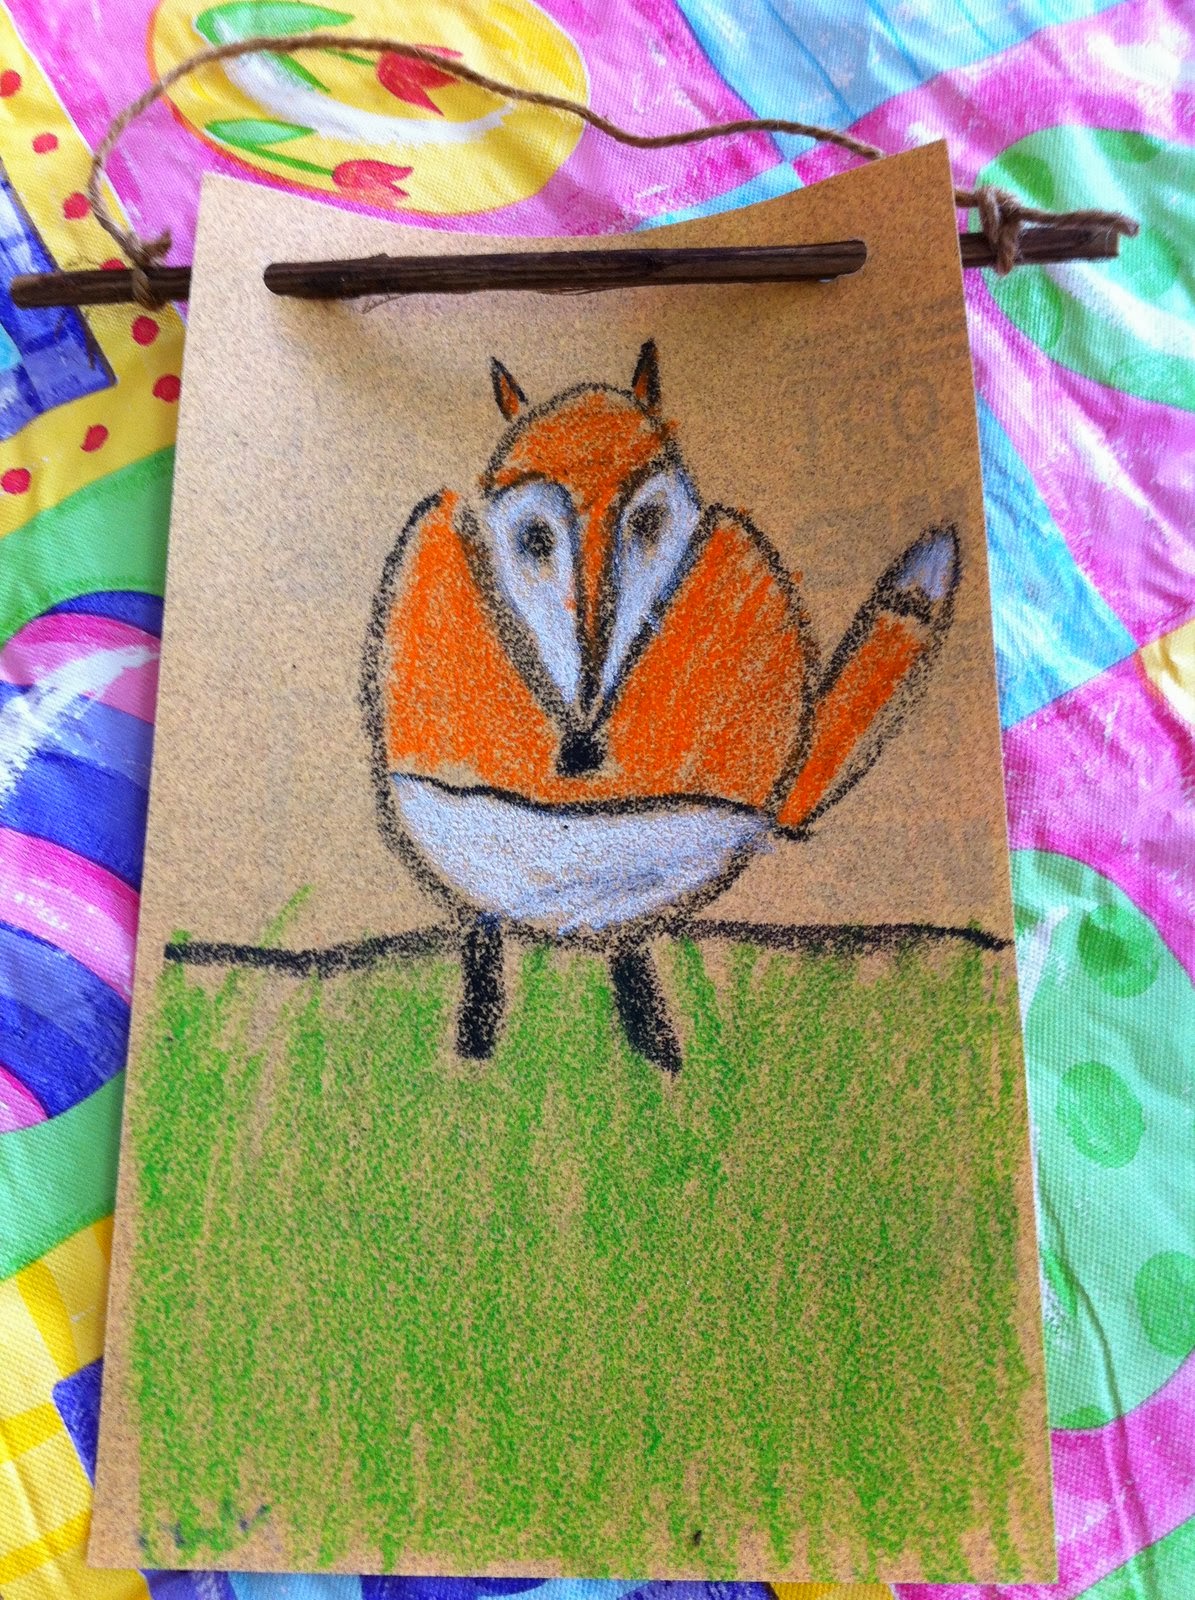
We drew the currently trendy Fox.


We drew on rectangles of sandpaper which give a cool texture when you use crayons.

They all looked great and a little bit different from one another. We used a black crayon to draw our outlines - no going back. We "fixed' our drawing (if we felt we made a mistake) and made it work without starting over. Creative problem solving.

Just using black and white crayons plus 2 colors for the whole artwork.
 

Just a little bit of white crayon starts to add personality to Mr. Fox.
( Every time I write or say Fox it makes me think of the movie "You've Got Mail.")

After all the black and white was drawn and colored in we used an orange crayon to color Mr. Fox.

He's cute and doesn't it seem like more colors are involved than simply three??
In the end we added a fourth color and made the grass green.
 

Then we punched holes on each side and threaded a twig from the yard through as a cute woodsy hanger.
We used twine, too.

I love this fat, round guy!
 

They were very proud of their fabulous Fall Fox pictures and loved the rough sandpaper as the background.
We ready a couple of great books about foxes even though our fox did not tell the ox he had rocks in his socks :)

Thursday, October 31, 2013

Happy Halloween!! or Pin It For Next Year*!!

I went on a little road trip through ...

...land of cotton...

... snowy fields everywhere...

...then I crossed a beautiful bridge...

...and ended up in the land of salt marshes and pluff mud...

... and the next morning I crossed over the dunes...

... and there was the amazing beach and blue skies...


... then I wandered over to a beach of eerily beautiful, huge driftwood trees...
... but what I was truly supposed to be doing was
teaching at a conference on Jekyll Island, Georgia.
Lucky me.
Hands down the best place for a conference is the beach!!
I planned a little make and take for all the teachers 
who gave up their Saturday to come to a conference 
(even if it was at the beach!) 
and since it was the Saturday before Halloween 
I decided that we would make a variation  
of this super popular project/post, the snowman in a baggie, 
which has been viewed and pinned zillions of times.
So, gather up a baggie
 some red and yellow food coloring
 hair gel, hand sanitizer 
or mix up a batch of unflavored gelatin if you are worried about young children,
scraps of black peel and stick fun foam, plain black fun foam, white peel and stick fun foam and pumpkin seeds.
You can make this for pennies.

Using the black peel and stick fun foam, cut out eyes and a mouth. Stick on the outside of the baggie. Add teeth, if you want, cut from white peel and stick foam.
 ( They look like Chicklets gum to me!!)

Then squeeze some hair gel into the baggie and a drop or two of  red and yellow food coloring. Drop in a nose shape cut from foam that isn't sticky back.
This can be a lesson on color mixing and shapes!!!
Then just squish the baggie around until the hair gel is completely orange.
The object of this fun activity is to squish the nose shape that is inside the baggie into it's proper place in the pumpkin face. They can squish it around over and over again!! Great motor skill activity and it's relaxing as well.  
If you teach really young children you can put the activity together and then tape the baggie down to the play table and they can manipulate it on the flat surface - easier for little ones or in a special needs class.  Everyone loves this squishy project!!
And for added authenticity you can drop a few pumpkin seeds in the baggie and your pumpkin has seeds in the goopey inside just like the real deal!!


He'ssquishy, gooey fun!!
* I tried to post this sooner but I had some technical difficulties so you can pin it for next year and be ahead on Halloween activity planning !!!

Saturday, October 12, 2013

You Will Be Floored By This....

This is a little bit like airing my dirty laundry or something.
 Putting your dingy bathroom floor online is a bit personal, but here goes.


The "white" vinyl in CG's/The Hall/ The Guest bathroom had gotten yellowed and generally stained and disgusting. It was just dingy and no amount of cleaning was going to help. I had painted the walls white-white and that didn't help matters. I looked for gray and white flooring and didn't see a thing I liked. I mean, other than gray and white carrera marble tile. Not happening in a little used bathroom no matter how bad it actually looked. But I couldn't take the dingy floor any longer. So, paint to the rescue. ( I did some research and read a lot
of comments online that said whatever you do don't paint vinyl flooring and then I did it anyway. That's how I roll. Seriously- look at that gross floor. Could it actually be worse. Think not.)


I did two coats of Kilz Primer using a foam roller brush. CG wasn't going to be home for a few weeks so I let each coat dry overnight in hopes that it would help the durability. I usually rush drying times and then have to "fix" mistakes so this was extremely cautious for me.


Then I base coated the entire floor in this paint from Sherwin Williams. I love this paint. It is amazing. It doesn't smell great but I'll trade that for the durability and sheen. I used a foam roller and it was nice and smooth! PS. I do not get any compensation from Sherwin Williams - I just love their paints and I have used many brands in the past.


I did two coats so that I had good coverage.
It was a huge improvement just plain and white.

But I couldn't stop there. I pulled the trusty blue tape.

Then I had the same paint mixed in our fav SW gray
and rolled on some fun, wide stripes.
 

I put a little dot of tape in the stripes that don't get painted just in case I get off task. It happens. Blame it on paint fumes if it does.

Pull off the tape after two coats of gray and it is the cutes striped floor ever.


CG was surprised when she came home and loves it!!!
So far it is holding up perfectly!!


And to make the room even cheerier and fun I painted the ceiling College Girl's favorite soft yellow. I had the paint left over from the stripes in her bedroom so I figured why not?!
Fresh and clean looking! Finally!

UPDATE!!! I first posted this in October of 2013 and here we are in May of 2015 and the floor has held up perfectly. College Girl even spilled finger nail polish on it once (that I know of) and it didn't bubble or ruin the paint job!! Go for it - just do the prep!! I think that's the key!

Friday, October 11, 2013

The Big and The Little Of It !

It's a big deal becoming a BIG!! 
College Girl became a "Big" in her Sorority this year!
 Big/Little week is a fun, fun week.
But it is a BIG thing to get everything ready.
And it is a secret until the "big reveal"!!


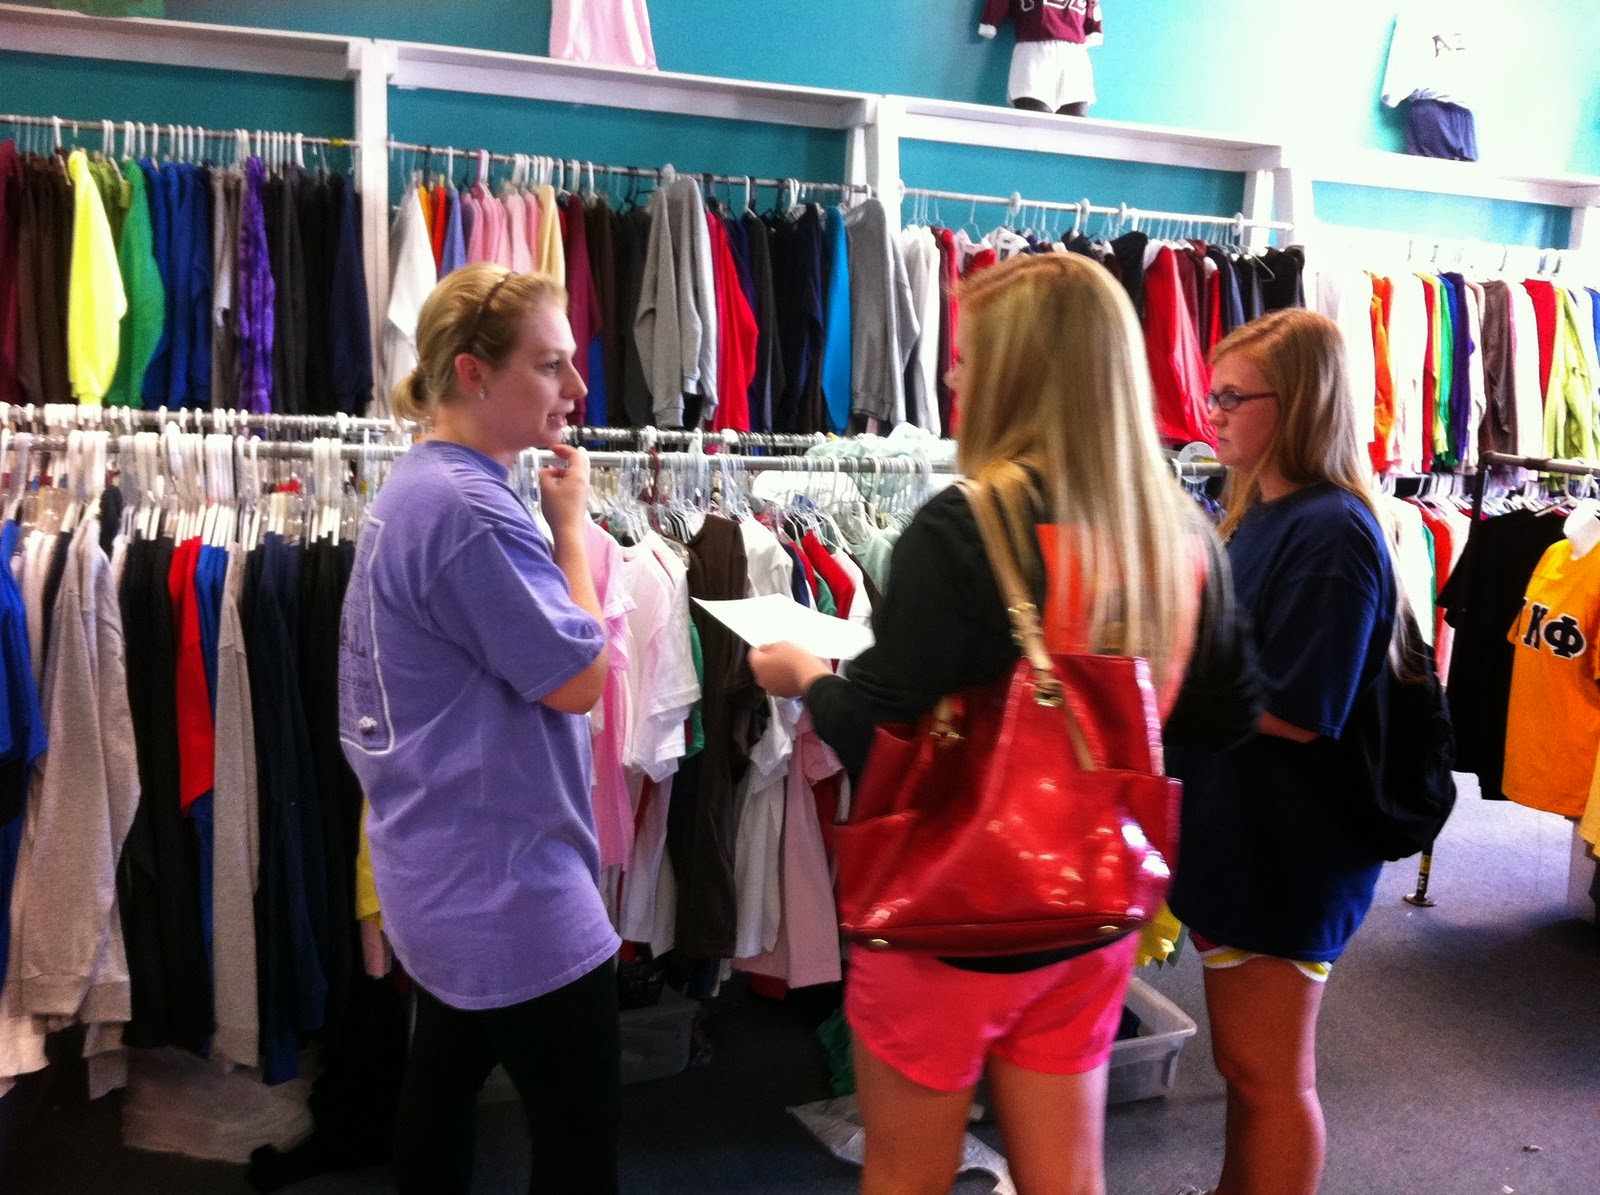
First the girls who received bids into the sorority at Rush go to a local store and fill out an info sheet/wish list with their likes and sizes, etc. on it.
Then the future 'bigs' get busy. Mollie and her "twins" met to coordinate ordering of family shirts and other goodies their littles will receive throughout the week.


It's serious business. Big decisions and budgets to consider, too.


But it's fun, too :)


Then after they agree on color and fabric they have to find the right sizes on the crammed racks!!
 The looks on their faces - if only that much concentration went into classwork!
 Sorority girls are serious shoppers, if nothing else!


Looks like shopping was successful!

Then College Girl came home for a few days to craft like crazy!!
We set up a staging table in the Library (where her headboard for her apartment is hanging out until it goes to school - soon, I hope!)


We started gathering all the components for each days' surprises. Each day is assigned a letter, a theme and limits on items/costs but the requirements must be met so that each girl has an amazing Big/Little Week.


A canvas for "H", handmade day.


Awesome wooden letters from the Greek shop near the Georgia Tech campus - another reason CG came home to craft - lots of resources in Atlanta.


Hand painted bulletin boards are one of the most popular "H' day items and we went with chevron stripes. Love them - taping nightmare, however!

And another canvas ... stay tuned for an important Sorority Girl message.

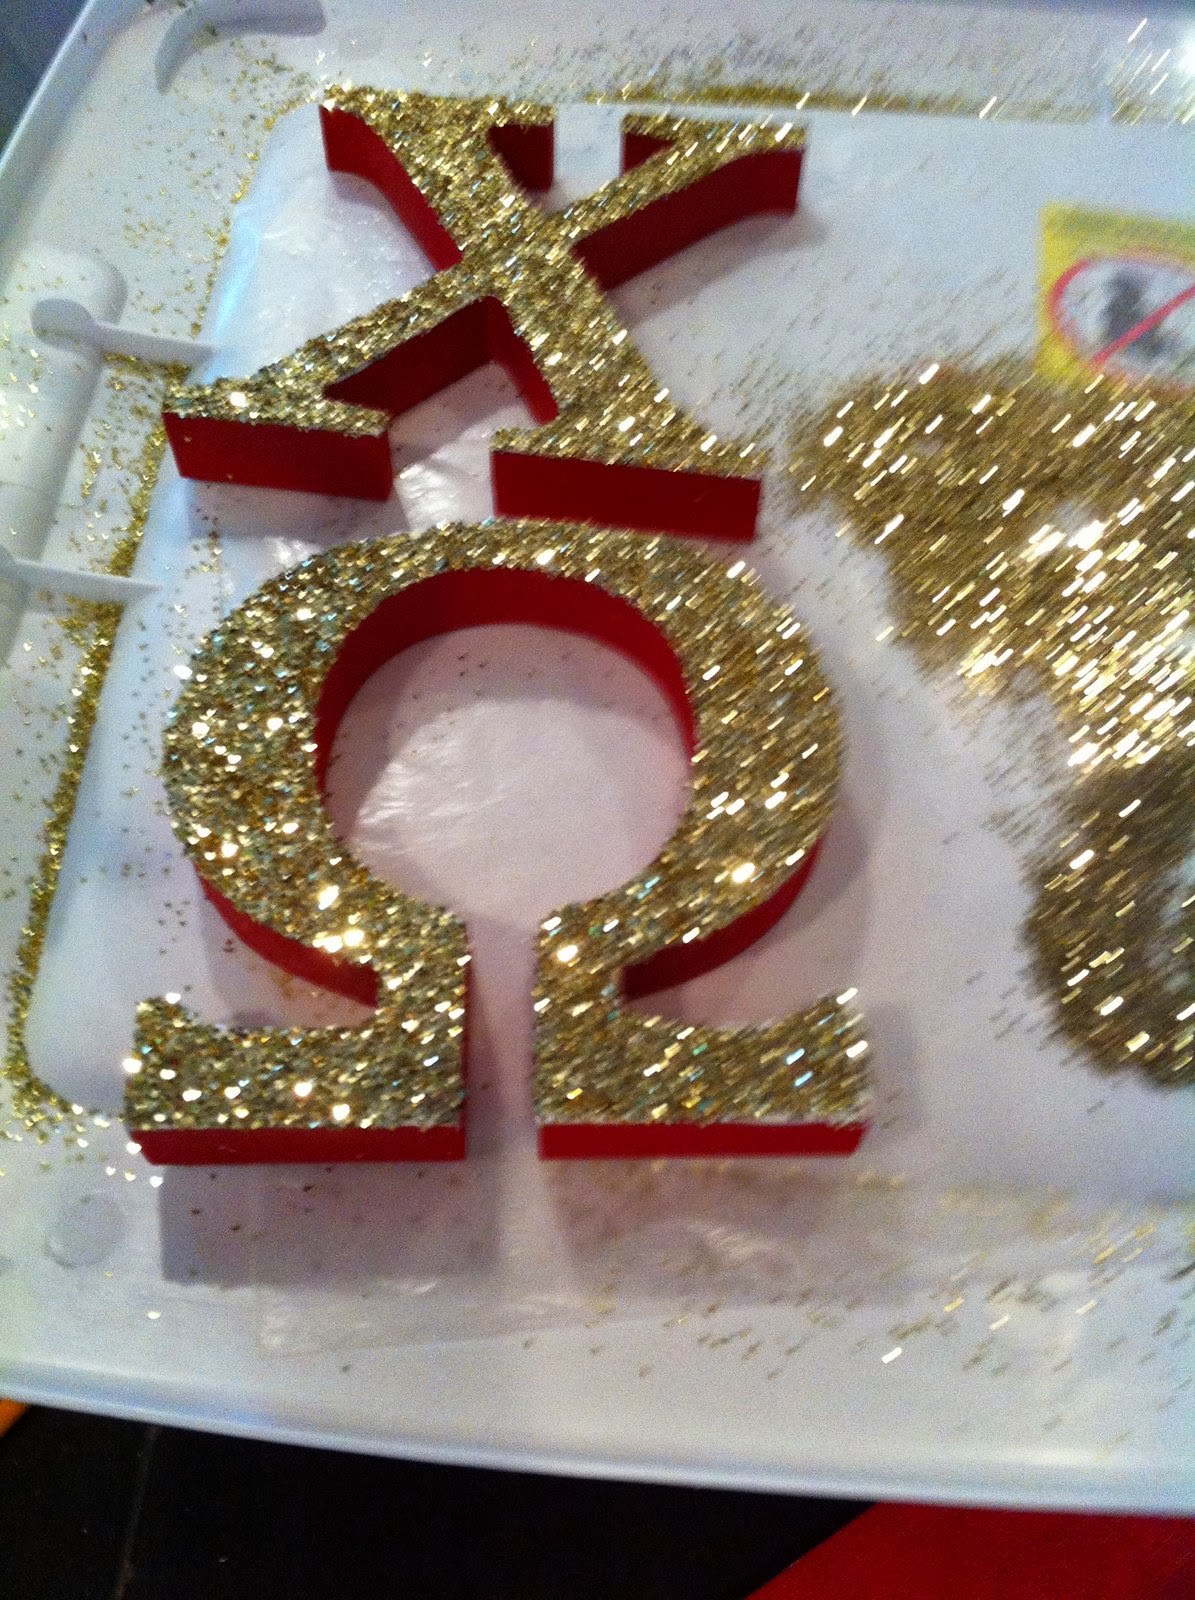
Now we are cooking! CG says her favorite color is GLITTER!!! I helped her with painting details but she told me that she can "glitter like nobodies business!!"


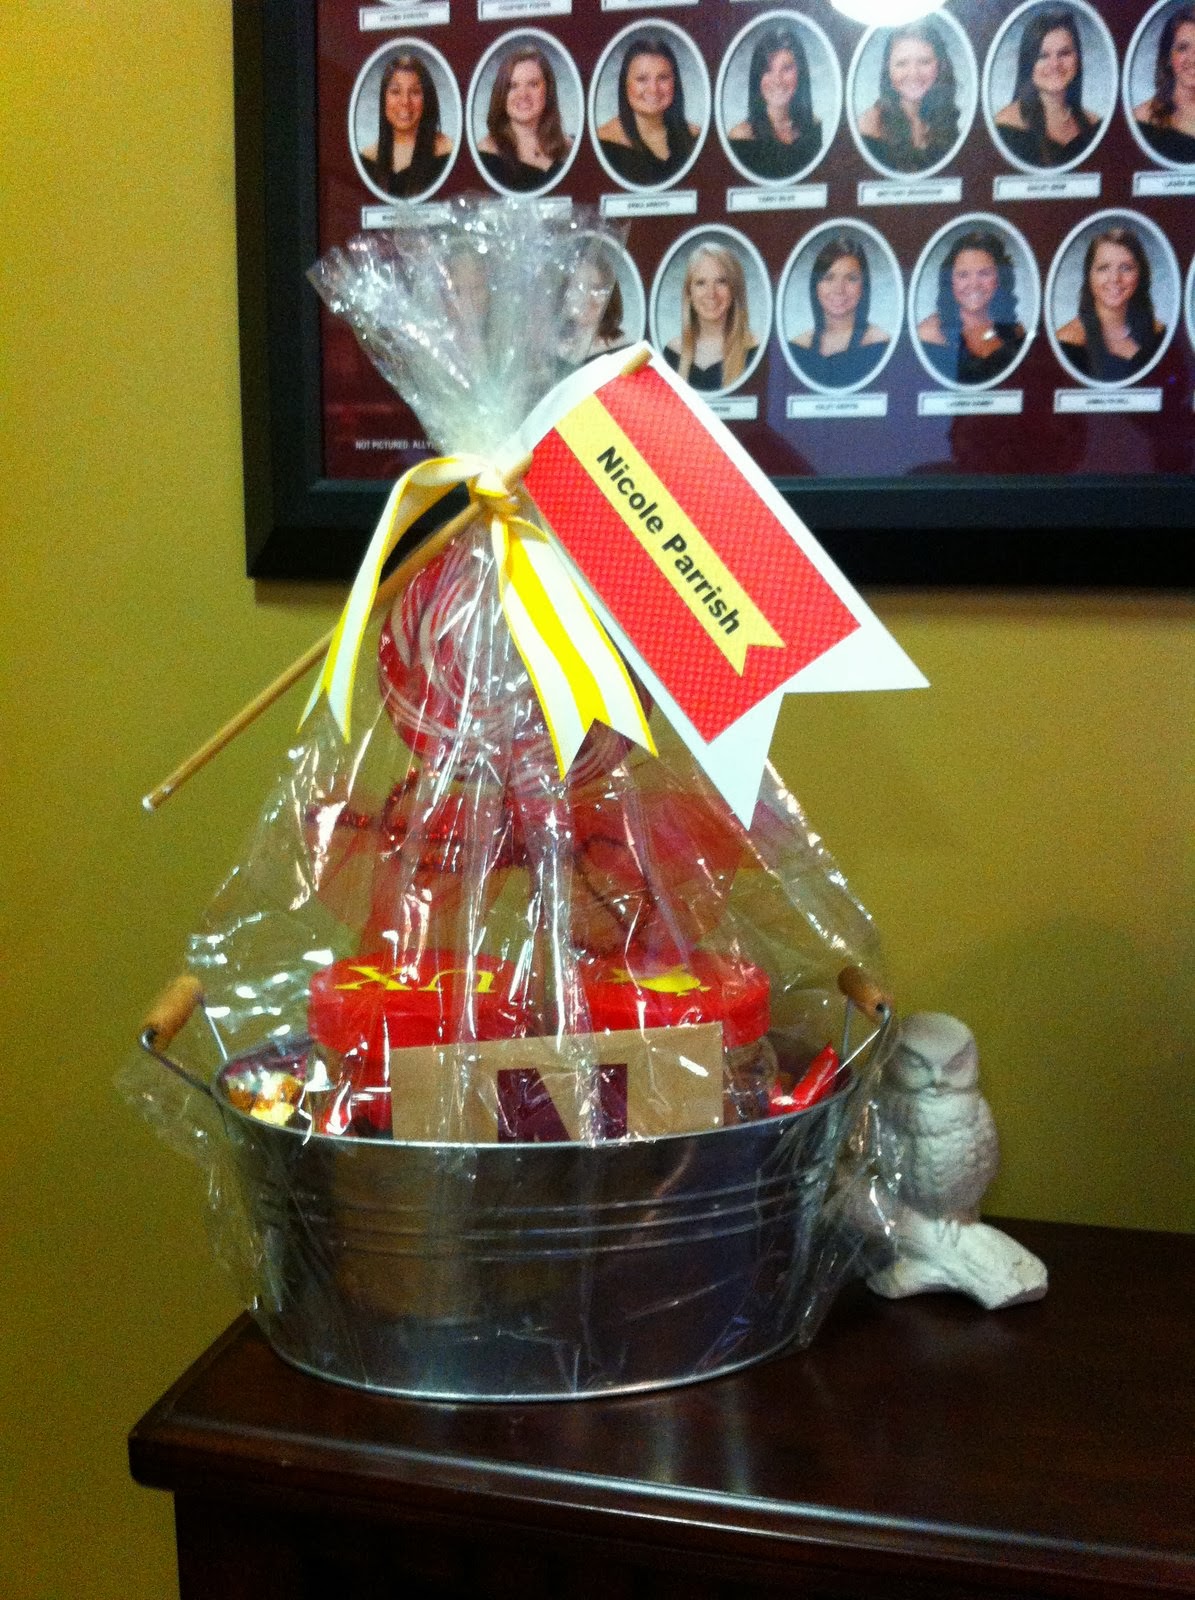
This was Day 1 - the letter "C" for Cookies and Candy. We found a giant lollipop in Chi O colors, bought KitKats because her future little didn't list her favorite candy and another sister, Morgan, informed us that you can't go wrong with a KitKat. CG baked cookies and we used the Cricut to decorate the jar lids. A little cello and ribbon - which makes every gift look better - and we were good to go. The baskets are on display in the Chapter Room by a certain time and then the future littles are allowed to come get their goodies after a certain time. So organized and efficient.


Heavy glitter usage in progress. Not going to lie - we loved this!!

Chevron stripes. Check. Letters in red. Check.
 The amount of tape used for this was crazy.  Oy.


Another popular item is the fleece blanket. CG found one with owl fleece on one side so we used it for "O" day. We had the future littles name embroidered on it 
and then CG tied the fringe. So cute!


The artwork for "H" day all finished and wrapped in cello along with the letter H which CG glittered in silver.


Day 2 "H", Hand-me-downs and Handmade. The bag contains hand-me-down Sorority t's so that the new girls can sport their letters on campus. It gives them a head start on t's.


 CG forgot the glittered letter "C" on Monday so she added it to Day 2 with a note :)
The letters will spell out Chi O by the end of the week and then go up on the walls in the dorm rooms.


And Day 3 is "I" for Insignia. 
This is the day the girls get their "Big Letter Shirts" and items with their letters on it like car decals, tags, etc.
We wrapped it all up in Chi O colors and added the glittered letter "I".


And Day 4 is "O" for Owls. We used the Cricut to put a monogram on front of the bucket and an owl on the back. The blanket went in here along with a Lilly Chi O cup, the glitter letter O, an owl pillow,and an owl statue that has been handed down in CG's "family." Cello wrap and some owl ribbon completes the look :)


We added a big owl picture and a pretty vase with red and yellow flowers. "O" Day is complete.
Each day the "Bigs' include a note with 'clues" for the future littles. The hints are misleading as the intent is to remain a surprise until Big/Little reveal on the night after "O" day. It is such a fun week even though it's so busy getting everything ready.
And then the older sisters devise a method for 'revealing' themselves to the new girls for one last surprise!!
And then....

Big and Little are united... and mom gets a picture via text :)

Such a fun week and I love that the girls are so dedicated to creating a special and meaningful week and that making/crafting keepsakes is part of it!