Tuesday, November 1, 2022

My New Christmas Tree!!

I have admired King of Christmas trees for a long time. I even recommended one to my friend Julie last year and she loves hers. I love the open branches of the Noble Fir so when King of Christmas asked me to choose a tree I knew what I wanted without having to look! The box arrived quickly and I couldn't wait to see it. They come with a fabulous remote, gloves to wear while fluffing (and mine was so easy to fluff) and a bag for off season storage - no stuffing it back in a tattered box year after year!

I have several DIY ornaments planned for my tree which is going to be in my library this Christmas. In a blue and white chinoiserie planter! (Mine is thrifted but this one is similar.) So exciting. 

The first "layer" for my tree is the simplest DIY of all. I ordered these faux orange slices. In most instances I like to use "real" items but I'm a little funny about using food in ways that it can't be eaten later (you do you, but I've spent a lot of time with people who are food insecure so I chose faux for this.) Citrus is traditional in Christmas decor and I wanted to add orange slices to my tree. 

I used a very small drill bit to put a hole all the way through my orange slice.

I decided to glitter the sides of my slices for a little extra sparkle because I'm not going for a farmhouse or country look. You can definitely skip this step. I used Mod Podge and coarse crystal glitter that I already had (similar glitter) to "sugar" my orange slices.


After the glittered sides dried I used clear fishing line to create a hanging loop so the orange can easily hang in the open places between the branches. 

The space for ornaments and movement in the silhouette of the Noble Fir is the reason I chose this particular tree. I also went with a 6 foot tree so I could place it in a chinoiserie planter on a stand. 


The faux orange slices are the first layer on my tree. I have several more DIYs planned  (there is a little peek at the next one - any guesses??)s o be sure to follow along here on the blog and on my instagram!

Thursday, September 22, 2022

Chinoiserie Tree for Fall

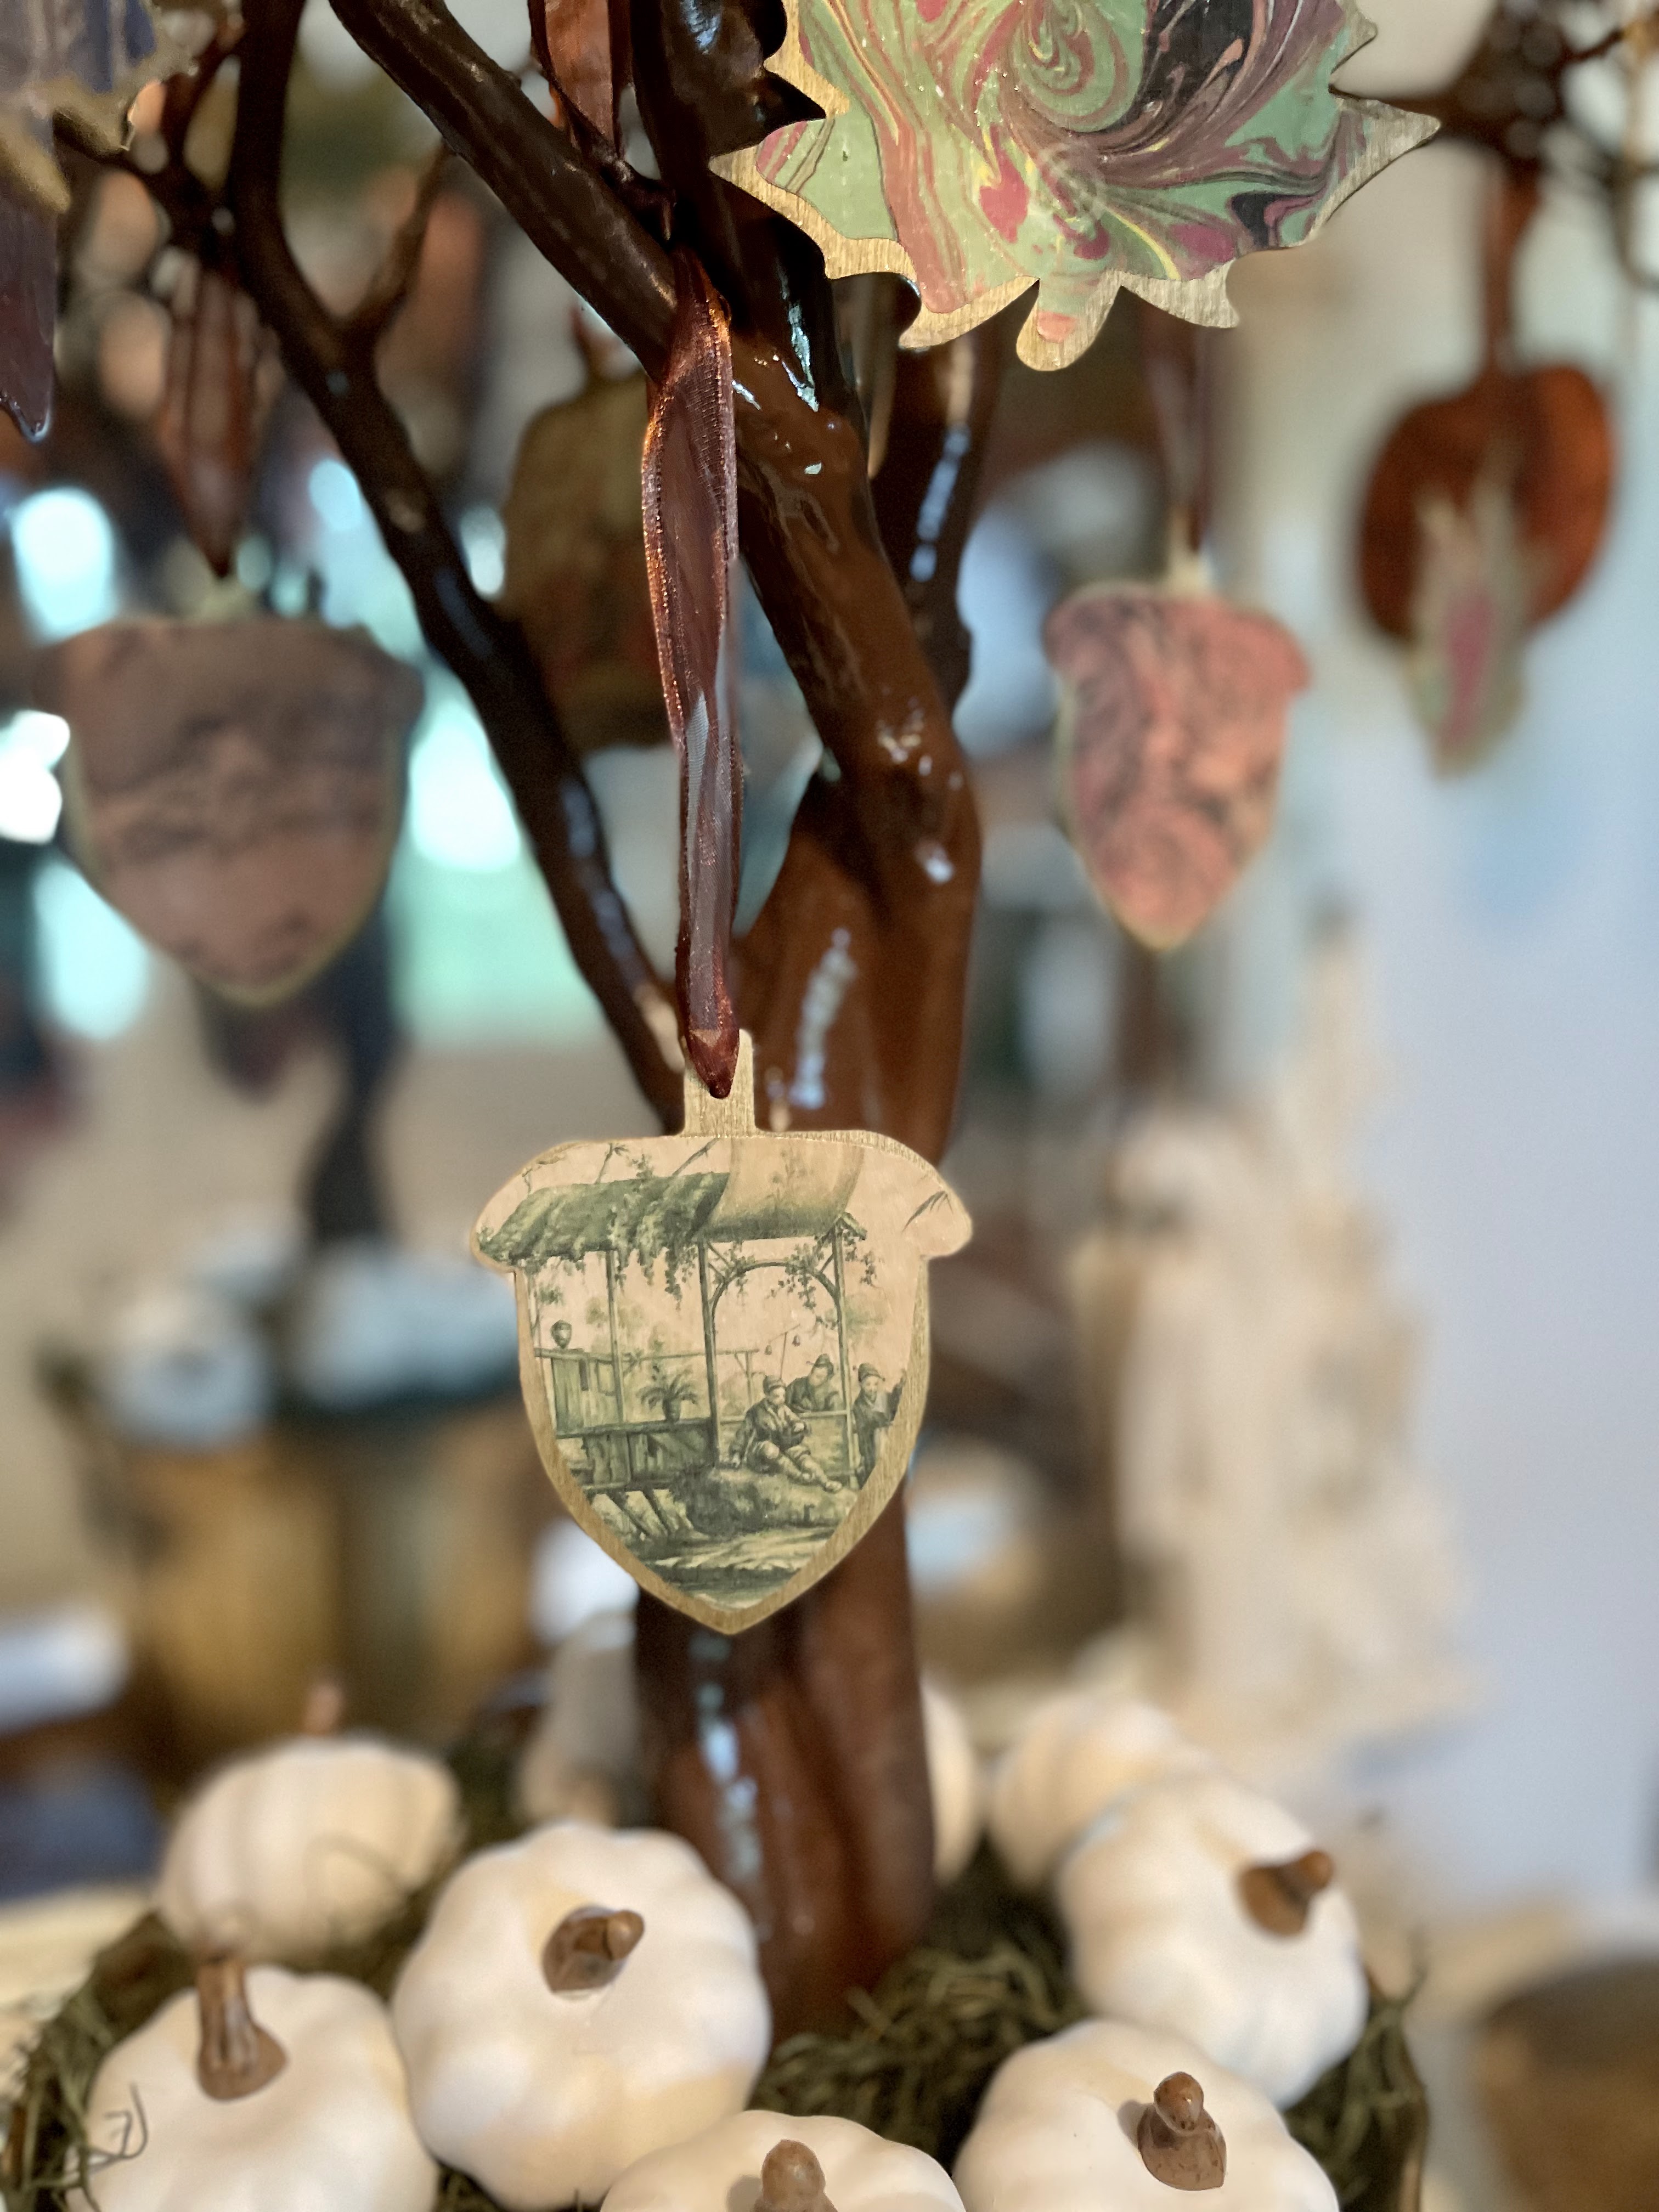
You may not remember my decoupage Christmas ornaments but they inspired the chinoiserie Easter tree which in turn has motivated me to create this fall version!

I'm not a big Halloween decorator - I'm more of a seasonal decorator using a lot of natural elements (I'm crazy for heirloom and mini pumpkins) more than themed items. That being said, I do have a collection of terra cotta pumpkins that I love to use all month long in October. (You'll be seeing those soon.)

But back to the chinoiserie fall tree. This is the easiest of projects and a lot of fun because you can get really creative with the papers and ribbons you choose. I wanted ornaments that mixed well with my "look" so chinoiserie it is! Making decoupage ornaments is so easy and fun that I decided to grab some fall shapes and see what I could come up. Be sure to watch this reel on Instagram to see more details. 

I used a couple of real branches for my Easter tree but I found this great faux branch tree at Goodwill a few months ago and I thought it would be perfect for my decoupage ornaments. For the fall tree I decided to paint it brown.

This is the same way that I made my chinoiserie and Audubon ornaments at Christmas time and the Easter Tree shapes as well.

Gather your supplies:

Flat wooden shapes from craft stores, Wal Mart or dollar stores. I found wooden shapes in pumpkins, leaves and acorns that are perfect for this project. Mine came for Dollar Tree and Amazon. 

Mod Podge (here's a funny about Mod Podge!)

A foam brush to apply Mod Podge. 

Gold spray paint (this is my favorite)

Sharp paper scissors (I use these  to be able to cute very crisp, detailed shapes. I've had my pair for years. Still sharp!)

Papers to decoupage onto your shapes. I used marbleized papers for the some of the shapes and chinoiserie papers for others. I like the mix. Marbleized papers can be found online and in the scrapbooking section of craft stores. The chinoiserie images were printed on copy paper. You can find copyright free images on museum websites. Just google it - "copyright free museum images" and the museum sites will pop up. Then just search the imagery you want- chinoiserie, florals, birds. It's easily available but it just takes a little bit of time. Print the images out and cut out your shapes. I cut my shapes slightly smaller than my wooden shape so that there is a border of gold around the edge.


Then follow the Mod Podge instructions to adhere your papers to your wooden shapes. After they are dry you can add ribbon to hang them on your tree. I put decorative papers on both sides because they can be seen from both sides on my tree. These also make great package toppers/name tags for gifts. If you are mailing packages they are pretty enough that you don't need a bow (which would be flattened anyway!)


The chinoiserie fall tree is a fun addition to our entryway. I used a lot of ornaments - I like it to be full. I plan to change the faux white pumpkins out with some colorful gourds and mini pumpkins in October but it's too warm/early where I live to get them. This chinoiserie fall tree can take us all the way through Thanksgiving decor wise. 

Be sure to let me know if you make one! Happy Fall.


Saturday, September 10, 2022

One Simple Change - Family Room Update.

I recently changed the curtains in our family room and, wow, was I surprised at the difference changing one thing made. I chose Phyllis Panels in Slate from Decoberry for the family room.


Here's a little reminder of the before. 


We are really enjoying the change. More afters:


I posted on Instagram and someone commented that "curtains are like lipstick - the finishing touch." I was very happy with the white curtains and bamboo shades that I had hung when this room was refreshed for the One Room Challenge. But adding these slate blue panels from Decoberry made a big impact. 

After seeing the beautiful change in our family room I decided to hang the same Phyllis panels in our entry way but in jade green. The two rooms are open to each other and this is a great design trick to tie the rooms together but give them a separate look and personality as well. 

Before: I used inexpensive and unlined IKEA panels. The difference with the lined Decoberry panels is remarkable. 

Our entry way is windowless except for the door. Having curtains on the door gives me an opportunity to add fabric, color and pattern but these curtains are functional for us as well. The front of our house gets the hot, Deep South afternoon sun and it heats up the whole house and puts a strain on the AC. being able to pull the panels for a couple of hours in the late afternoon is a huge energy saver and affects our power usage and bill. It's a very old fashioned idea to have drapes over doors and predates central heat and air. In the winter I find pulling it on windy days helps with drafts and the heating bill too. I like the look but I also appreciate the conservation/economic aspect. 

After:


Decoberry kindly gifted the panels to me to try. I am honestly so impressed with the quality and the pricepoint. They sell their panels in pairs which I love. It is discouraging, for me anyway, to find a curtain I like online and then realize I need to double the price. Another thing that really impressed me is that they are so well packaged that there is barely a wrinkle when you unbox them and hang them. Less steaming makes me happy. I think we can all agree on that!

I've been scrolling their website to see what would look good in my library - so many choices!
What about you? Do you like colorful, patterned curtains? I'm definitely a fan after this experience!

Monday, August 8, 2022

Summer Flowers

Fresh flowers are one of the greatest joys of summer living - whether you can pick a complete arrangement from your yard or if you simply add a few picked beauties to your weekly store bought bouquets.

I'm sharing some of the flowers that have brightened up our spaces, inside and out, so far this summer. 


I added a few hosta leaves to this bright bouquet of store bought spray roses. Hostas are one of my favorite sources for greenery. I love the large leaves and I have solid and variegated plants to choose from.


All flowers from the yard - hydrangea, plumbago, angel wing begonia and hosta leaves.


Mollie had Trader Joe's peonies in July. They were fabulous and lasted forever!


Grocery store bouquets of alstromeria last forever too. This little bouquet was on the side table next to my "spot" in the family room. 


As far as I'm concerned it's hard to beat a bunch of free branches in a glass vase. You can go as large as you want! 


I cut lots of hydrangeas to bring inside when my bushes are in full bloom. I tuck them everywhere.


It's also fun to have a big vase full too!


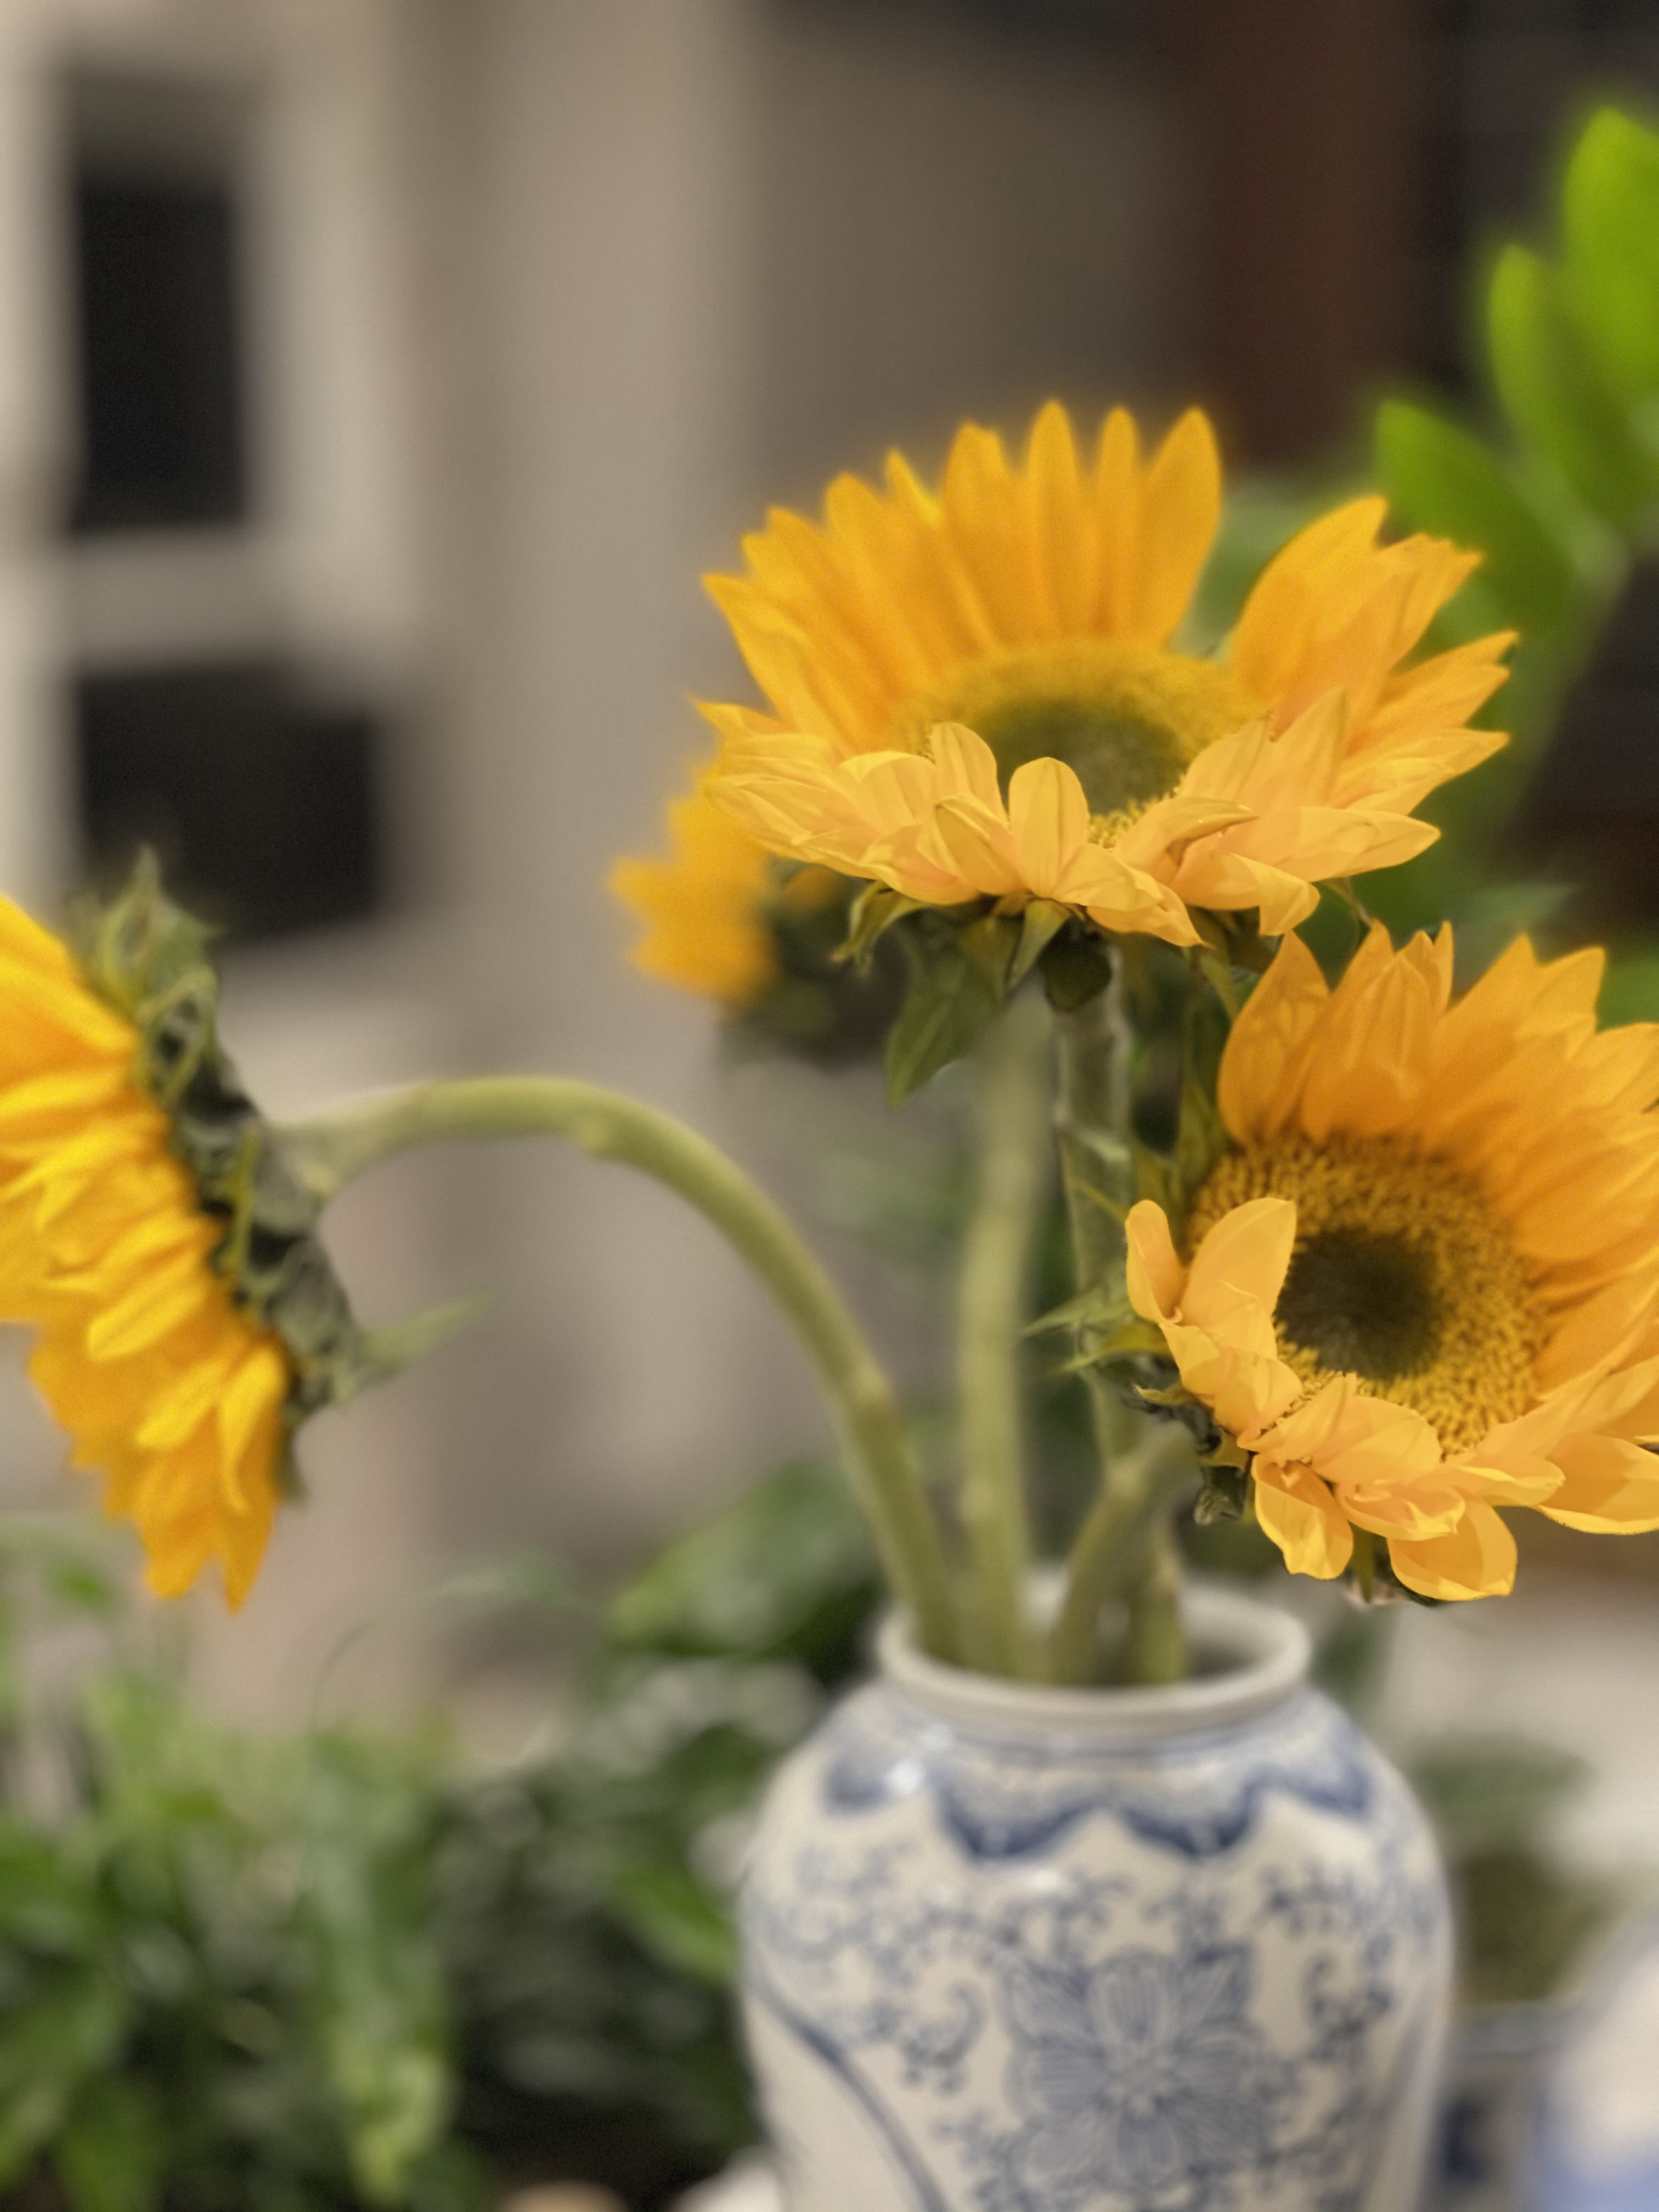
I shared how we love to visit sunflower farms here and here.


It's so much fun to gather large bouquets to take home. 


What's your favorite summer flower?


Thursday, July 28, 2022

Just Peachy!

 Peaches are at their peak in the Deep South and we can't get enough!

They are such a beautiful fruit and our whole kitchen smells "peachy" because we bought a ton from Mercier's Orchard in North Georgia. We went to preview a wedding venue with friends - they've asked me to style and coordinate their wedding which is going to be so much fun and so special. The venue was beautiful and not far from the best fruit orchard in North Georgia. Serendipity!


Peaches are a tender fruit so they have to be eaten quickly or you have to do "something" with them. 


The first thing I did was use some slices to garnish sparkling rose. It only takes seconds to add a special little touch to things and it makes all the difference. 

Our absolute favorite way to use peaches is to first grill them. If you haven't been eating grilled peaches on everything and anything you are missing out. It gives them the best taste and texture. 


Simply split your peaches and remove the pit. I use our electric grill on medium heat. I give the grill a light spray of avocado oil and then place the peach skin side down on the grill. Grill for about 6 minutes and then flip the peach and grill for 4-6 more minutes. 

They are delicious on summer salads - we used mixed greens or baby spinach, burrata (just pinch off bite size pieces), toasted pecans and a drizzle of balsamic vinegar. You can add grilled chicken for a heartier salad. All those fresh tastes together - so delicious. 

We really like using our grilled peaches Caprese style. Instead of tomatoes with mozzarella we use our grilled peaches. Snip some fresh basil from the herb garden and drizzle with balsamic vinegar.


And grilled peaches make the best summery dessert. 


Just place your grilled peach half in a small bowl, add a dip of creamy vanilla ice cream, a sprig of mint and drizzle with your favorite local honey. So simple but so delicious!


We have so many peaches that we are trying something new! I cut my peaches in half, removed the pits and put them in freezer baggies. Later on when we want grilled peaches with our dinner or some ice cream I'm going to pull them out, thaw them and grill them right up! I think it will work perfectly.


A touch of peachy summer after the growing season is over!


Tuesday, July 5, 2022

I Love Hotel Portofino

Oh my goodness, are you watching the series Hotel Portofino? It may be the most beautiful series I've ever watched. The setting of the hotel in Portofino, Italy is breathtaking and the interiors and clothes are stunning. 

(all images from the series are via PBS.org)

I'm streaming it on PBS but I believe it is available on Brit Box as well. It is just the first season and only 6 episodes. I am hoping there will be more. Everything is just so beautiful and idyllic visually. The plot has some twists and turns and it is set in the Roaring 20's so historically we know they are recuperating from the first World War and there is a background of rising fascism. It is so worth the watch (and I keep pausing to look at furnishings and the gardens and so much wicker and rattan!)

The color story of this series is so rich and enticing. The lobby, hallways and some of the main areas are painted in tone-on-tone of a soft blue. There is a study or library that is the richest blue - the color of blueberries. 

The exteriors of the buildings are a rainbow of muted tones. The light is incredible and there are potted palms, lemon trees and greenery everywhere. There is just the right amount of darker wood tone and natural wicker and rattan mixed in. 


For me, it is the beautiful outdoor spaces that I relate to the most. Al fresco dining, porches to relax on, picnics near the water...

We are all going to want to recreate the relaxed elegance of the Hotel Portofino for our own outdoor spaces this Summer.

I decided to see if I could pull together a Hotel Portofino "starter"  board.

As always, start with local vintage shops, thrift shops and online auctions. You might just find all of the wicker and rattan pieces you need right there. I'm going to link some items and sources below in case you can't find some things locally or if you don't want to take the time to look - Summer is flying by!


If you want a set of wicker right away, I think the new pieces from @varnish.collection are just beautiful. Look at the style and design - a perfect Hotel Portofino look. 


There are so many vintage dealers on eBay, IG and Etsy, too.


Next, you are going to need umbrellas. They are dotted everywhere on the grounds and beaches.


This fringed umbrella is so charming but a less expensive one in white or cream would work perfectly with the HP aesthetic we are going for. There are several for less than $50.00.

In addition to rattan and wicker chaises right down on the beach, folding canvas sling chairs were spotted about. 
This pair works perfectly - wooden frames and white or natural fabric slings. And this pair is under $90.00 for both! Find a little wicker or bamboo table to place between them for a bowl of fruit and drinks glasses. 


Gorgeous Turkish towels are draped over the chairs and carried by everyone heading to the warm waters of the Italian Riviera for a swim. We have some for the beach and they are really wonderful. Turkish towels come in so many fabulous colors but most of the towels in the show were muted beige or soft creams so I've linked these. 

Potted lemon trees and potted palms are everywhere! If you have a green thumb then head to your local greenhouse but, if not, here are some fabulous faux options. 

Such a great looking faux lemon tree. I have a real lemon tree and a faux version and I love them both! This one is 6 feet tall. 


There are a ton of amazing fake palms on Amazon. This pair is about $100 for both. Hotel Portofino had potted palms everywhere. You can't go wrong adding as many palms as you like!

And, of course, all of the lemon trees and palms are potted in fabulous urns of all different
 materials. You can find urns in every price range. 
Urns in a classic profile would work perfectly. These resin (lightweight) urns are a perfect fit and are about $40.00 each. I have found a lot of urn planters while out thrifting so be sure to check locally so you can have several planters to complete your look. 
You could also use this DIY to create fabulous faux marble urns from simple plastic planters!

Add all of these touches or just a few to your outdoor space and it will feel like you've escaped to an exotic hotel in Portofino - just be sure you serve "Italian Lemonade" - watch the show and you'll know what I mean!!
And be sure to let me know if you add a little Hotel Portofino look to your outdoor space!