I never do this...
until I just did!
We have been decorated since December 1 because we kick off the season on the first Saturday in December with a merry get together.
My shopping is completed.
Things are relatively calm around our house.
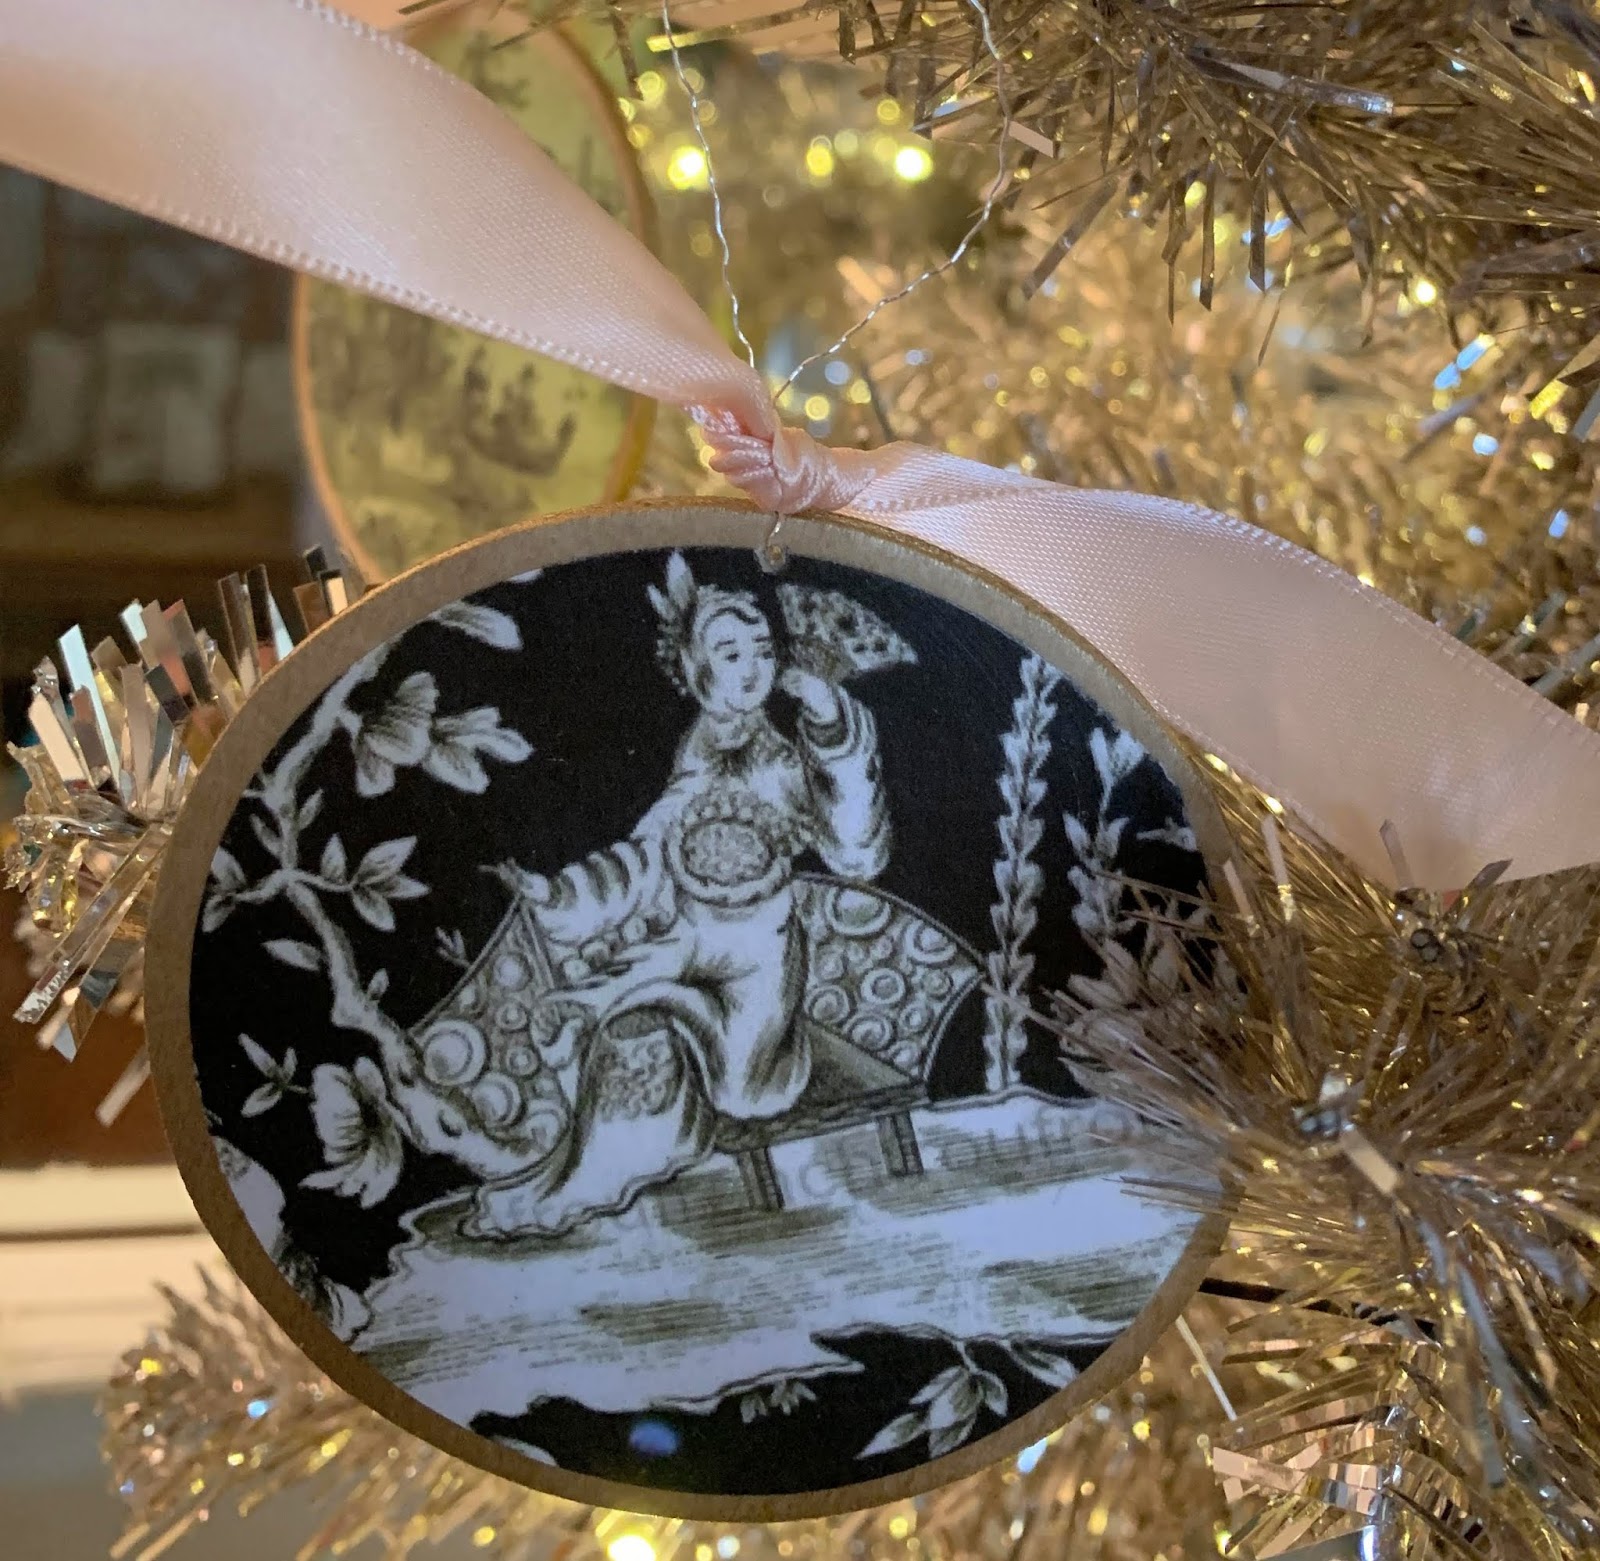
But I kept thinking about making Chinoiserie ornaments
and putting them on a little champagne colored tinsel tree.
So I dragged out the crafts supplies, moved the wreath off of the mirror in the entryway and made a little tree with ornaments to go on the chest in front of the mirror.
A last minute project!!
I have tried soooo hard the last few years to avoid the LMP (last minute project.)


These are so simple and easy.
You, too, can succumb to the LMP :)
These little ornaments could be tied to packages or garland, given in a set of 4 or 6 to a fellow Chinoiserie fan or simply put on a tree like I did.
A few supplies are all you need.
I used 3" flat wooden discs. I purchased mine at Wal Mart and this was all they had
because it's a LMP.
I wanted flat, round papier mache ornaments but they are sold out this close to Christmas.
(I'll be ordering some for next year!)
You need Mod Podge. Please see this post for Very Important Info on Mod Podge.
A brush to apply the Mod Podge.
A large circle punch makes this quick and easy and the circles are perfect. You could cut them out with scissors or use a different shape of wooden ornaments. The punch is not a necessity but I bought mine on sale for 1/2 price so it was barely over $10.00.
And it is so quick!
I painted my wooden discs with my favorite gold spray paint.

(Late at night on a baby gate box because puppies mean baby gates!)

And then you "Google" to find your images.
I googled "copyright free chinoiserie images" and "free chinoiserie designs."
I also googled "historical chinoiserie papers" or designs.
Any of these combinations yields a variety of images.
You must be careful to use images that are not copyrighted which is why the historical images or images from museum collections work so well for this.
Then I printed them out on plain copier paper. You may have to work with the sizing at first but it's very simple to get 4 repeats on one sheet of paper that will work with the punch size.
Then you simply punch out the designs (turn the punch and paper over so you can see exactly what you will be punching out!), glue it down with Mod Podge
and top coat with Mod Podge.
I actually put an image on each side of my disc so that both sides are pretty. My tree is in front of a mirror so it ensures a nice reflection all the way around.
Let it dry and add a hanger and ribbon.
That's it.
You could add more details - glitter around the edge, velvet ribbons and more.
Then find a cute little tinsel tree or add them to your "big" tree!
No comments:
Post a Comment