Thursday, April 28, 2022

My Personal Style Has a Name!!

When people ask me what my home decor "style" is I never know what to answer. I'm a bit like a mutt - a little bit traditional, not quite grandmillenial, eclectic is pretty broad, I am definitely influenced by my Charleston and southern roots... so what is this mish mash I have going on at home?


I'm not on Tik Tok (apparently I'm in the minority) but they have given my "look" a name! 

It started out with a focus on the fashion influence but they have included home style in this as well. I mean, who doesn't watch Nancy Meyer's homes for the interiors?? We all have a favorite! So what is this style that's created a buzz...

I first saw this on the Today Show's IG:


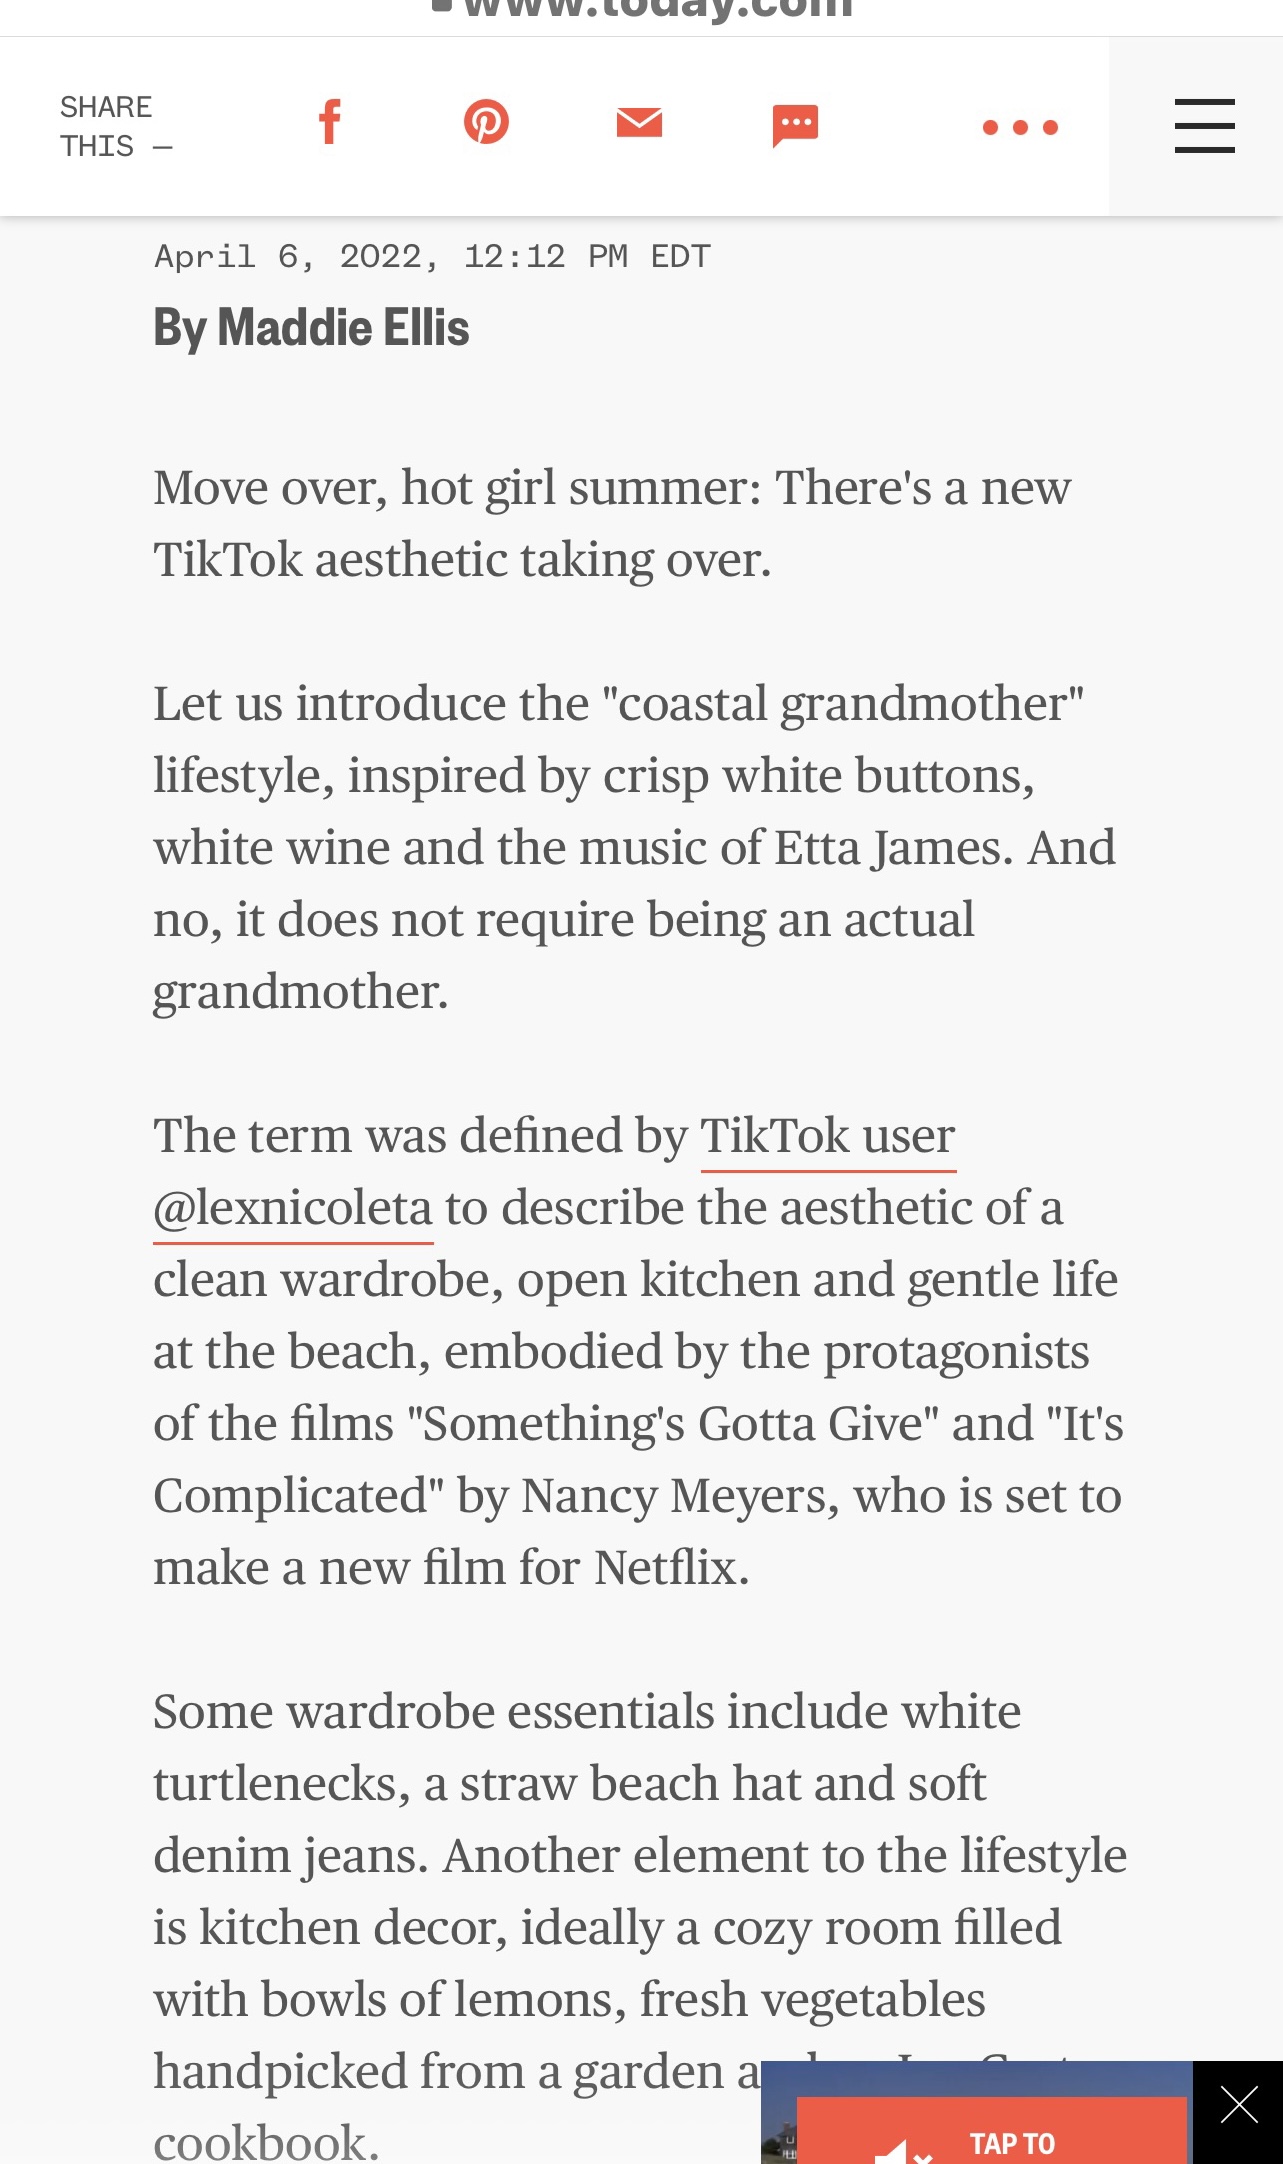
And from Yahoo- More about this trend/style coined on Tik Tok:


COASTAL GRANDMOTHER!!
 But you don't have to be a grandmother. Or live at the beach!


This article by The Spruce is comprehensive and nails the essence of "Coastal Grandmother:"

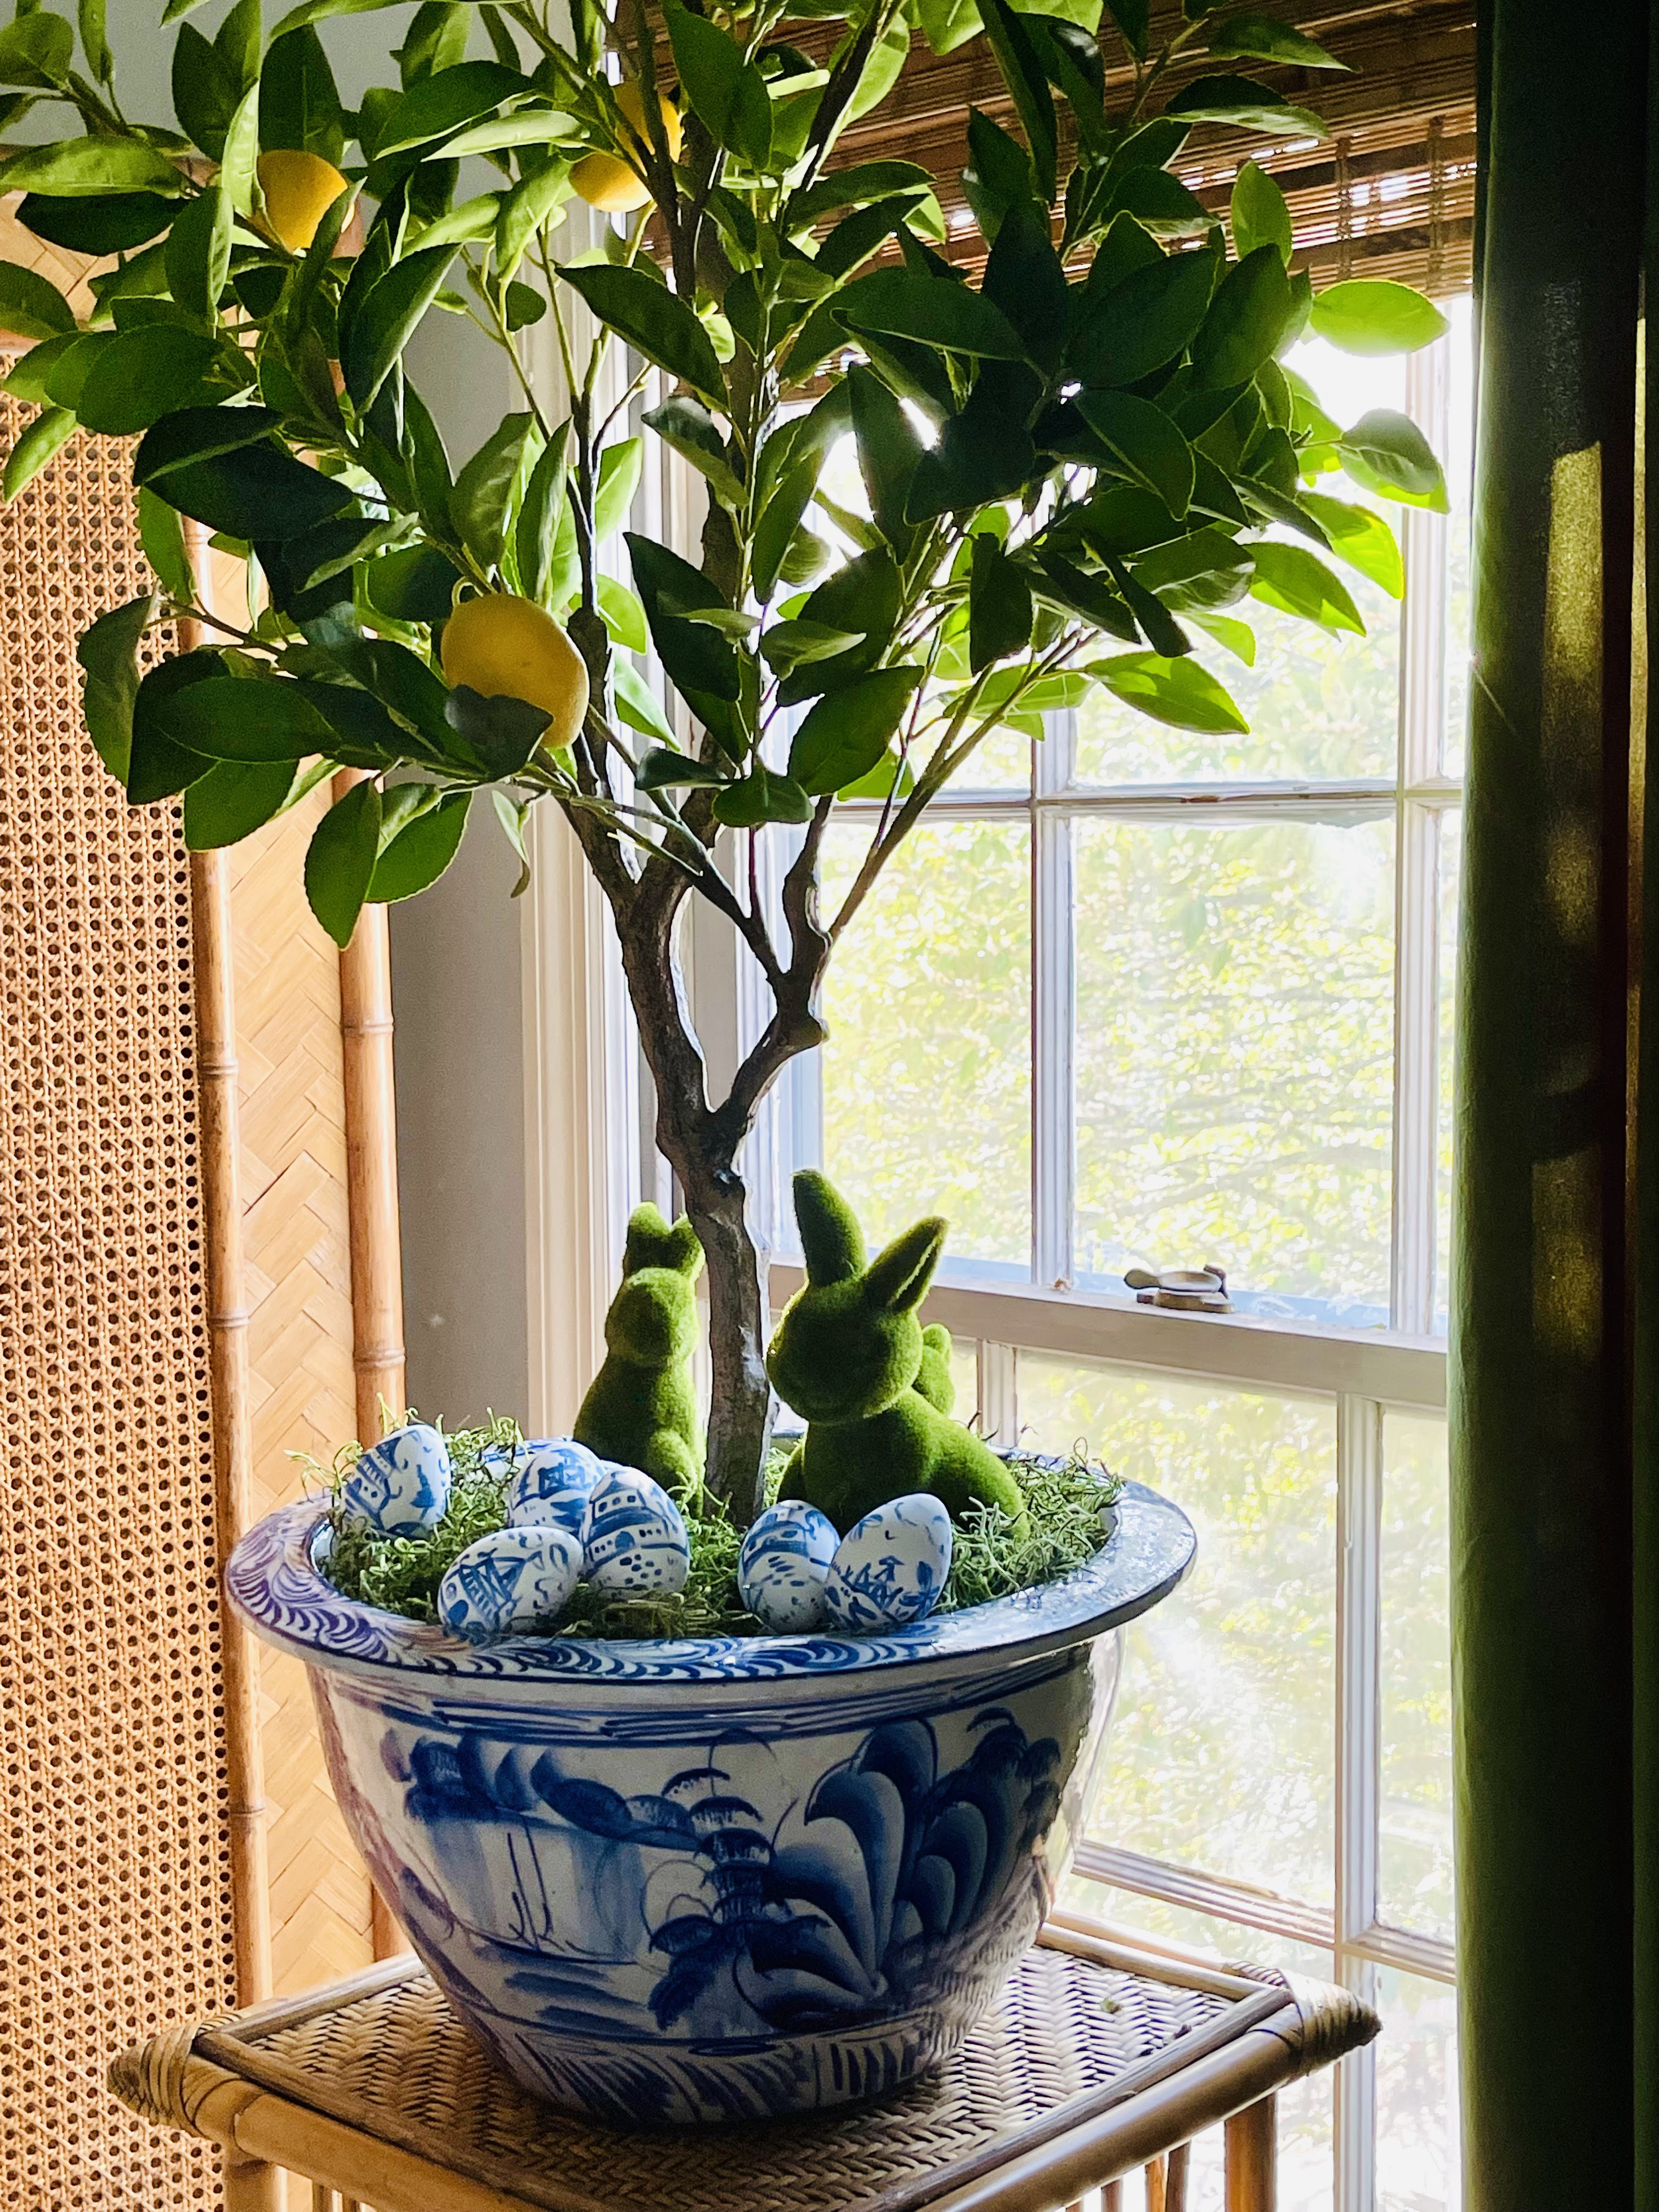
If you're wondering what exactly the coastal grandmother style entails, we're here to give you the rundown. In sum, it's all about the little luxuries, including fresh flowers, scented candles, special antique pieces, and a bowl of lemons ever-present on the kitchen counter, of course.  via The Spruce


(I brought several of these back from the Bahamas. A little girl and her brother dive for them to sell the conch meat in them. The shells were for extra money. 
My bags weighed a ton. The shells were a deal - my overage for bags was not!!)


I'm thinking about coining the style term "Coastal Grandmother Chic" because, while I'm not claiming to be chic by any stretch, I don't want anything frumpy to be imagined either :)
I love the fashion and home decor looks behind this aesthetic. 


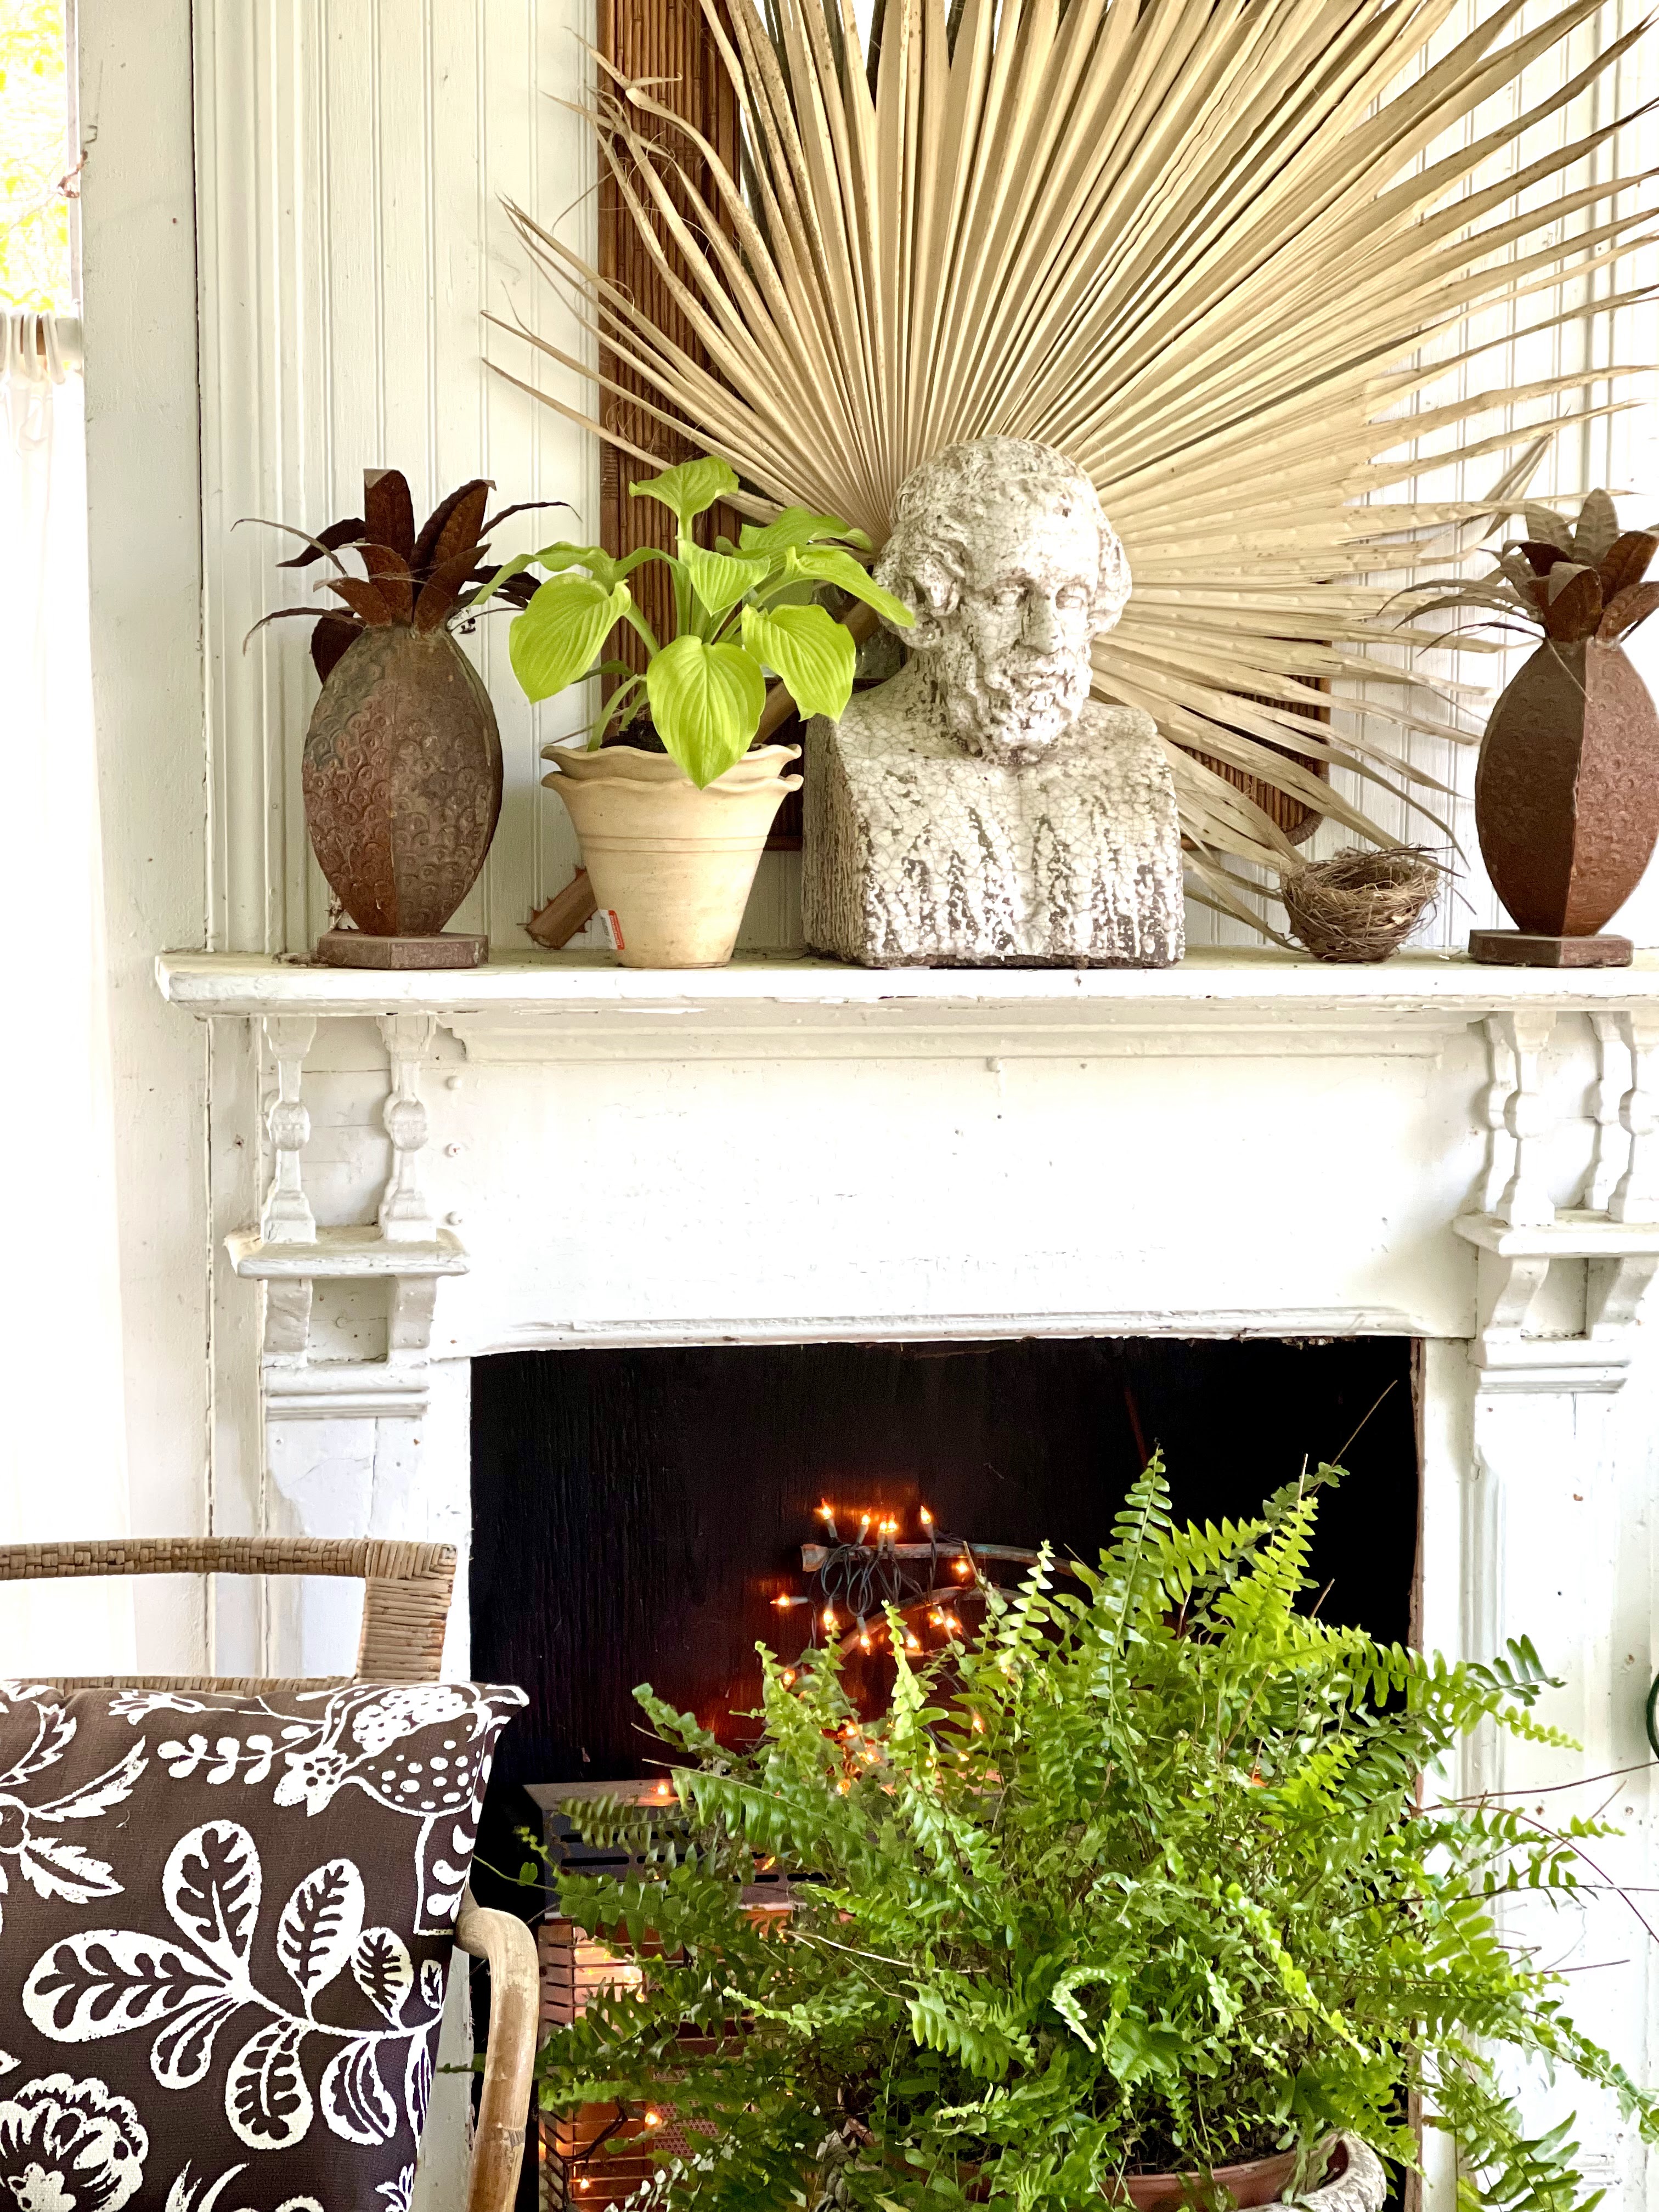
Lots of natural textures and white.
 I love that combo but I have to add in blue and white chinoiserie pieces to my 
"coastal grandmother (chic)" vibe. 


I'm not a trend follower but this Tik Tok trend has put a name to the aesthetic I've used for years - small pleasures, flowers and fruit, natural fibers, lots of white, rattan, wicker, seashells that I leave out year round and comfortably celebrating the every day.
Are you a Coastal Grandmother?


Sunday, April 17, 2022

Easter Decorating. Do You or Don't You?

Seasonal decorating... do you or don't you? 
When Mollie was little I let her decorate for the holidays with lots of cute little things - an Easter village or a pumpkin patch and she had a nativity that was all hers to play with and move around as she wished. As she got older I became less of a seasonal decorator and more about adding the "natural" elements from each season. I kept saying I am not much of a seasonal decorator BUT with a little time on my hands over the last couple of years I have upped my seasonal decorating a little bit. Still very little compared to a lot of what's going on out there but it's been fun.


In addition to the Chinoiserie Easter Tree I created this year (and plan to pull out for years to come!) I thought I would share a few other things that I have done around the house.

First of all I have stuck palm branches left over from Palm Sunday here and there. I lean a little coastal/lowcountry in my decor anyway so they fit right in. 


I put some flocked bunnies and chinoiserie eggs at the base of the lemon tree in the garden room.


You may have seen on Instagram that, in addition to my chinoiserie eggs, I marbleized some as well. I used the same spray paint technique I used for my mini pumpkins. 


I created this bunny topiary using a clay pot of bulbs that I had planted in late Winter. Their timing was perfect so I added a little grapevine bunny I purchased at the Target Dollar Spot and tossed in a few chinoiserie eggs. A five minute centerpiece!


This is another little bunny I pull out every year. he's just a flocked bunny on a pick but he's charming in his simplicity. I juts stick him in whatever little planter has greened up already.


And then who doesn't want a giant chocolate Easter Bunny around for Easter dinner? This guy is not edible - he got a coat of spray paint and looks so much like a chocolate bunny that people were fooled!!


My last little Easter project this year was a Resurrection Garden for the entryway at church.
I had seen some on IG and Pinterest. It was easily put together. I used silk greenery because of the location at church but it would be beautiful to create with real plants. Maybe next year.


Happy Easter!


Sunday, April 10, 2022

Palm Sunday


A few palm fronds in a thrifted champagne bucket.
 I had polished the large one but the smaller one was still tarnished.
 It seemed like a metaphor for Palm Sunday. 


Sunday, April 3, 2022

Chinoiserie Easter Tree

This is the easiest of projects and a lot of fun because you can get really creative with the papers and ribbons you choose. I wanted some Easter decor that mixed well with my "look" so chinoiserie it is!

This is the same way that I made my chinoiserie and Audubon bird ornaments at Christmas time.

Gather your supplies:

Flat wooden shapes from craft stores, Wal mart or dollar stores. There are even some on Amazon! I used eggs and carrot shapes.

Mod Podge (here's a funny about Mod Podge!)

A foam brush to apply Mod Podge. I used Matte.

Gold spray paint (this is my favorite)

Sharp paper scissors

Papers to decoupage onto your shapes. I used marbleized papers for the carrot shapes. Marbleized papers can be found online and in the scrapbooking section of craft stores. The chinoiserie images were printed on copy paper. You can find copyright free images on museum websites. Just google it - "copyright free museum images" and the museum sites will pop up. Then just search the imagery you want- chinoiserie, florals, birds. It's all available but it takes a little bit of time is all. Print the images out and cut out your shapes. I cut my shapes slightly smaller than my wooden shape so that there is a border of gold around the edge. 


Paint both sides of your wooden shapes gold.


Cut your papers into the shapes you need. I make a paper template that is slightly smaller than my wooden shape so that there is a gold border around the edge. Trace the template on your paper and cut with sharp paper scissors.


Choosing the papers and images is the most fun.

Then simply use the Mod Podge to adhere your images. Paint the entire shape with Mod Podge. Press your image down smoothly and then immediately top coat with Mod Podge working from the middle out to get rid of air bubbles. If you get a small one you can smooth it with your brush. If it is stubborn just leave it alone - they tend to flatten out as they dry if they are small. 


I put decorative papers on both sides of my ornament shapes. They tend to turn when hanging and I place my Easter tree in front of a mirror so it looks like there are twice as many ornaments on there! Add ribbon to hang them with.

That's all there is to it. I put some branches that fell in last weeks storm in a mason jar so that they would stand up straight in my pot. You can add some pebbles to weight it down. I put plaster of paris in my jar and stuck the branches in there. I like the wild and whimsical look of the long branches. I put the jar of branches in a vintage brass planter and added green dyed spanish moss around it.

There is a reel on my Instagram showing the steps and supplies I used as well. 


I hope you make some! It was a fun, easy and creative project and I love the results.  I think they turned out "eggs- trordinary" and the carrots are 'marble-ous"  ;)