Fun fact: decades ago when I was in college my mom gave me a bunch of unused wooden drapery rings. I turned them into Christmas ornaments and sold them to make spending money. Some things never change.
Monday, November 27, 2023
Silhouette Ornaments
Wednesday, November 8, 2023
Christmas and Pink
Sunday, November 13, 2022
Marbleized Mushrooms? What's Next?
There seems to be no end in sight when it comes to marbleizing items around here!
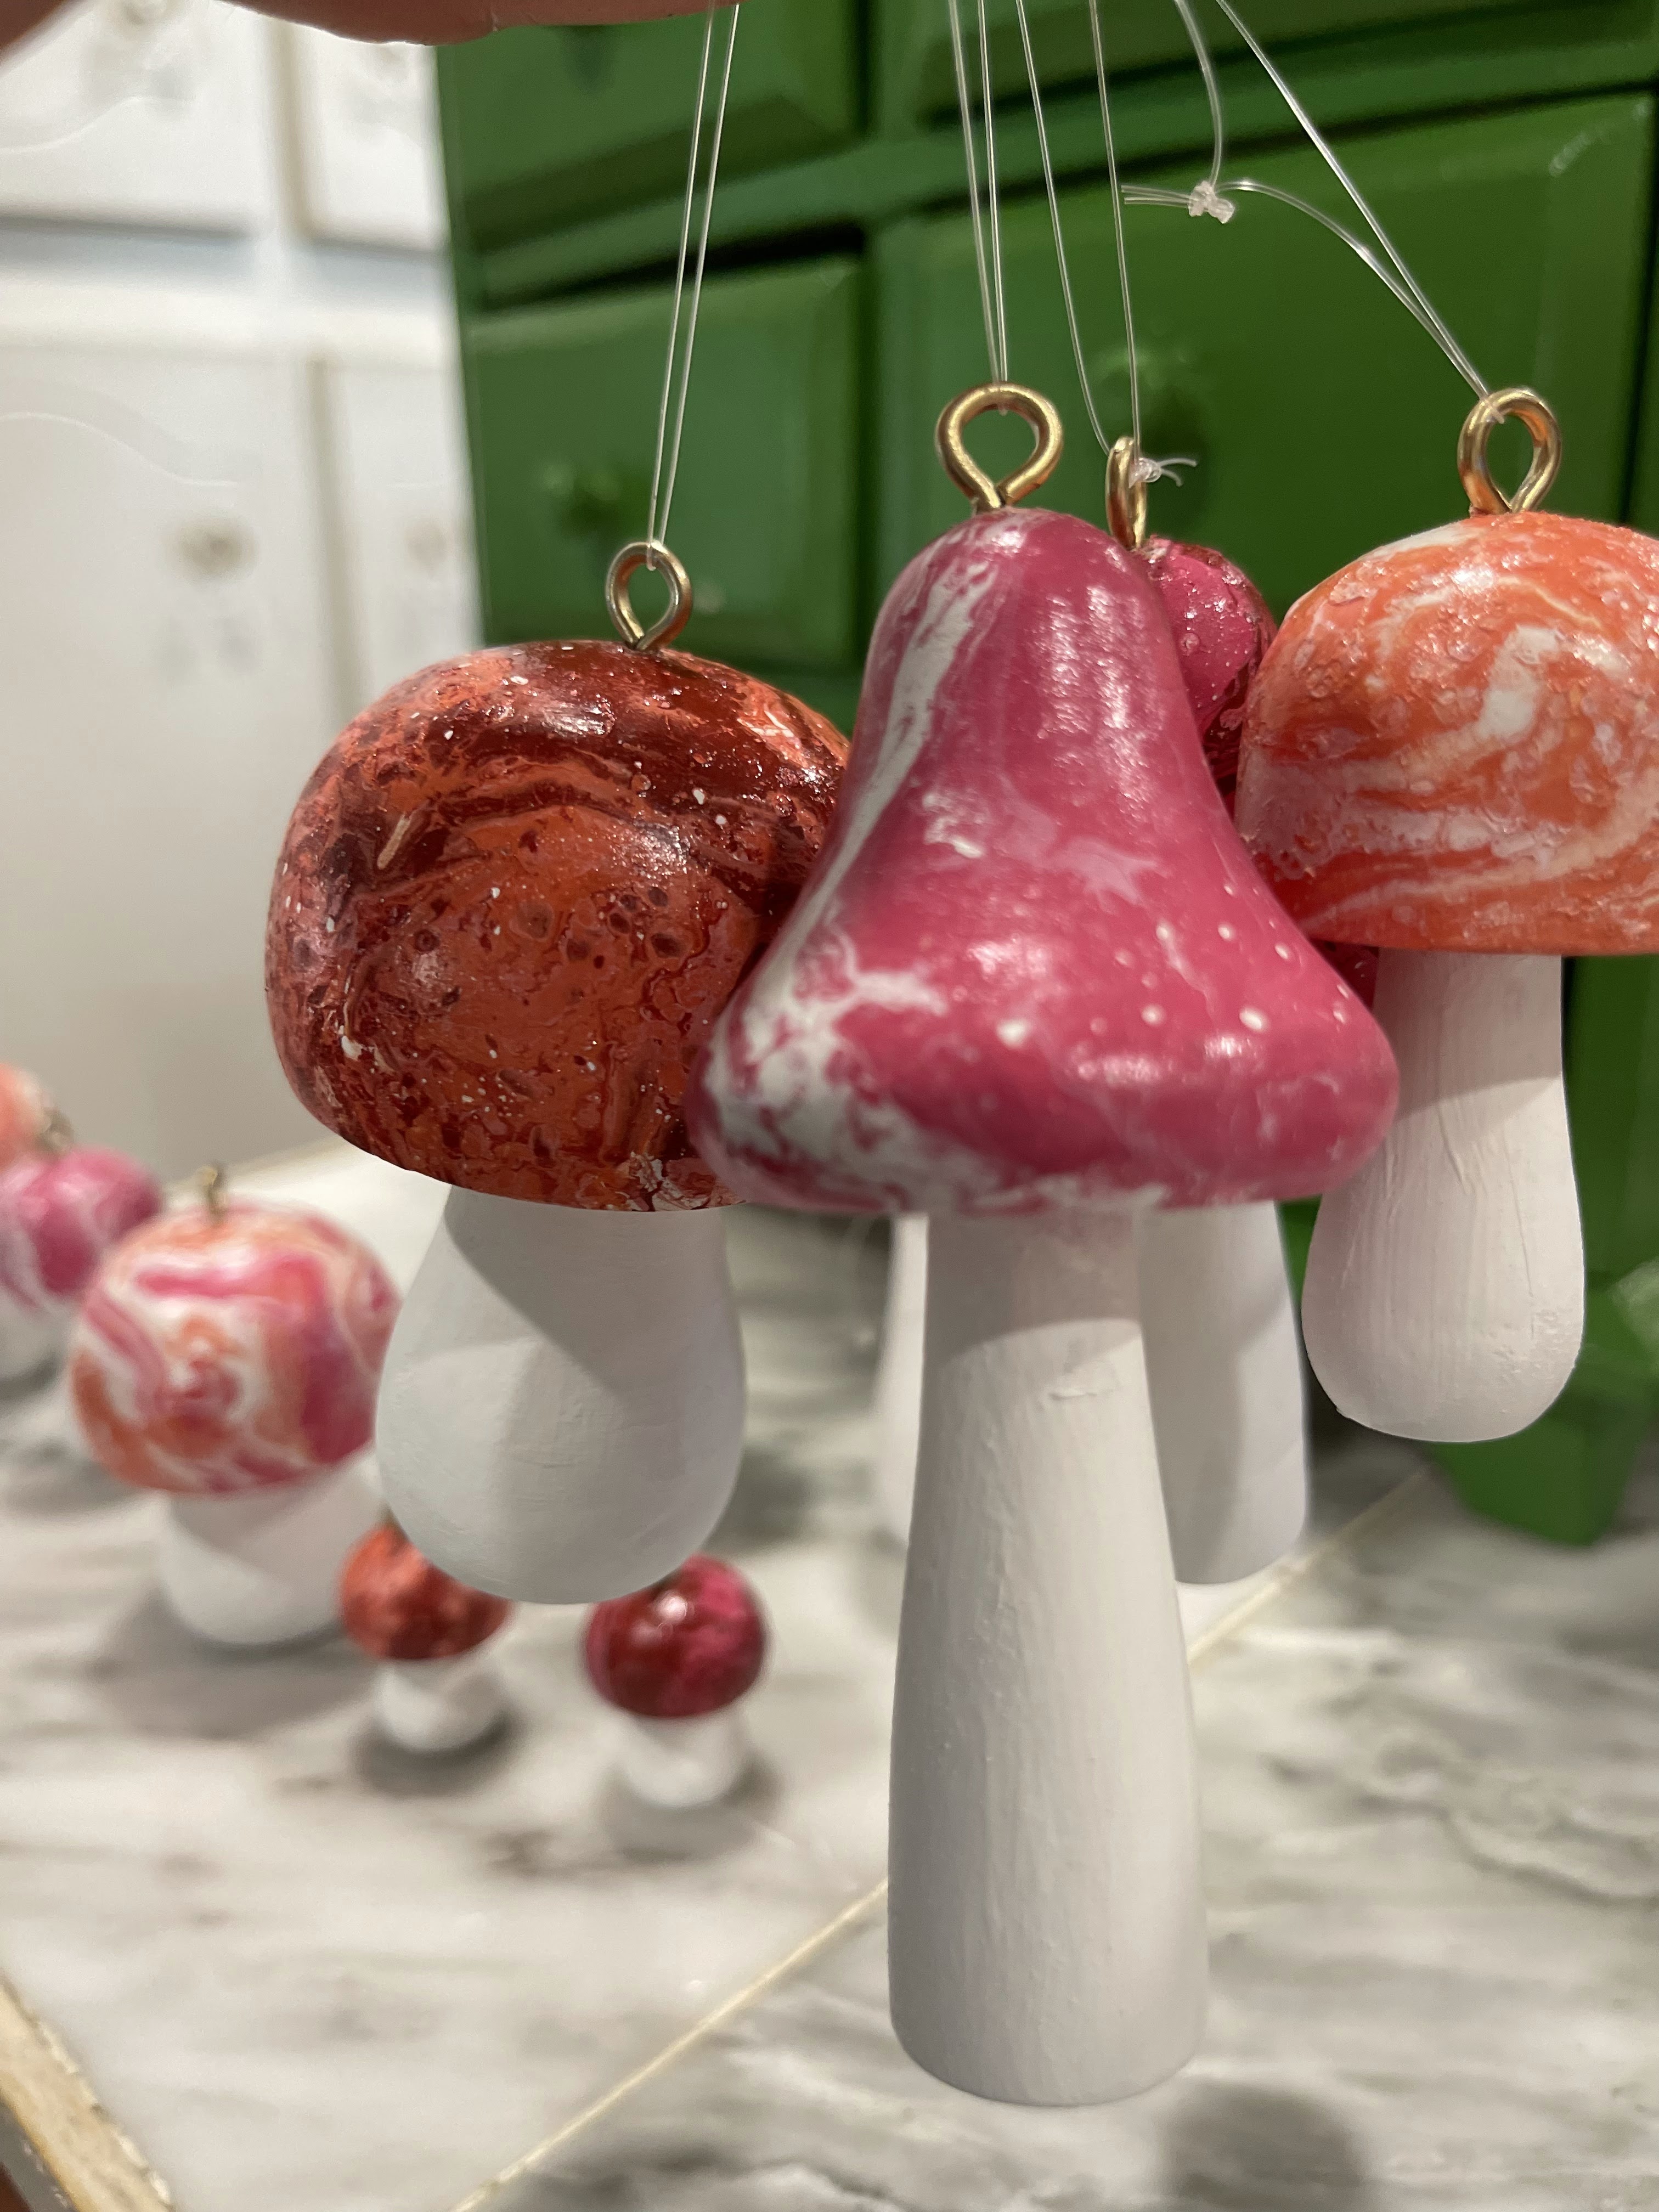
Today it is mushrooms - wooden ones, not the real thing.
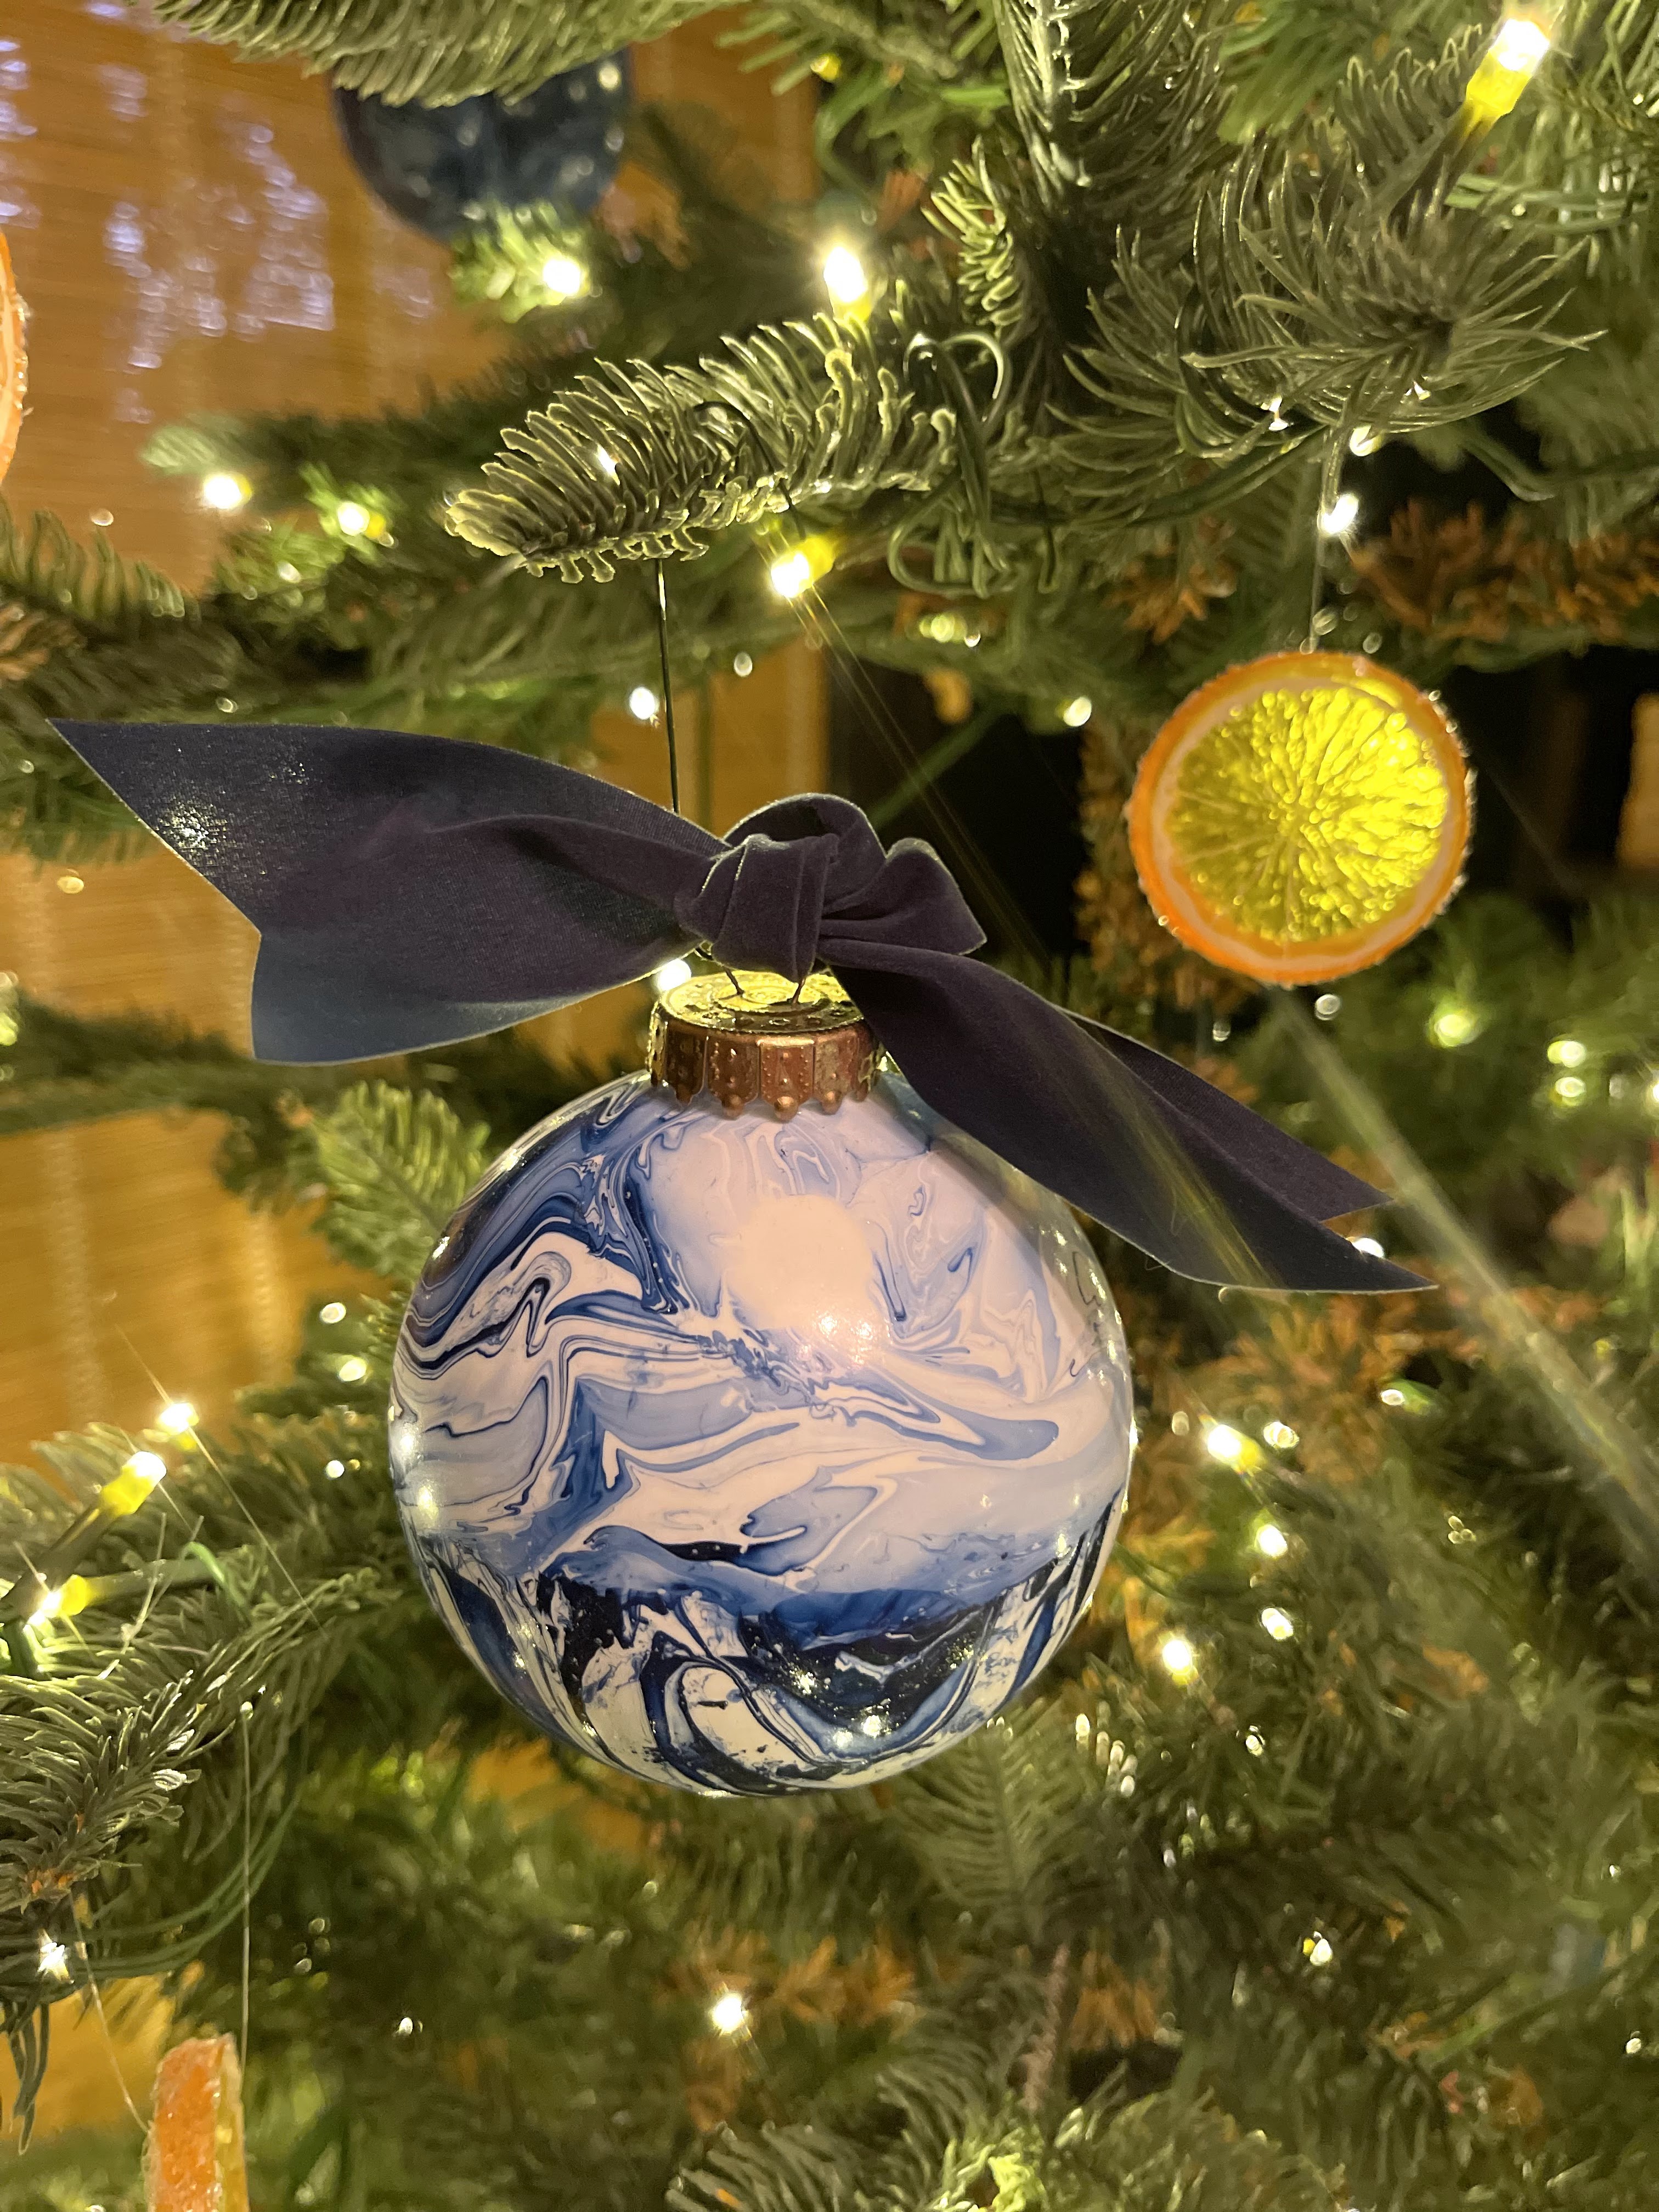
I used the same technique to marbleize my wooden pieces as I did the Christmas ornaments. Full DIY here. You can see a video of the mushrooms here.
I used my favorite Rustoleum 2x spray paint in Berry, Blossom White and Coral to create my mushrooms. You can find all kinds of wooden shapes to marbleize but I chose mushrooms this time.
I painted my mushrooms white before dipping. Here they are drying under Cooper's careful supervision :)
Be sure to follow along. I have a few more ornament DIYs planned for this tree in our Library.
Thursday, November 10, 2022
Marbelized Christmas Ornaments
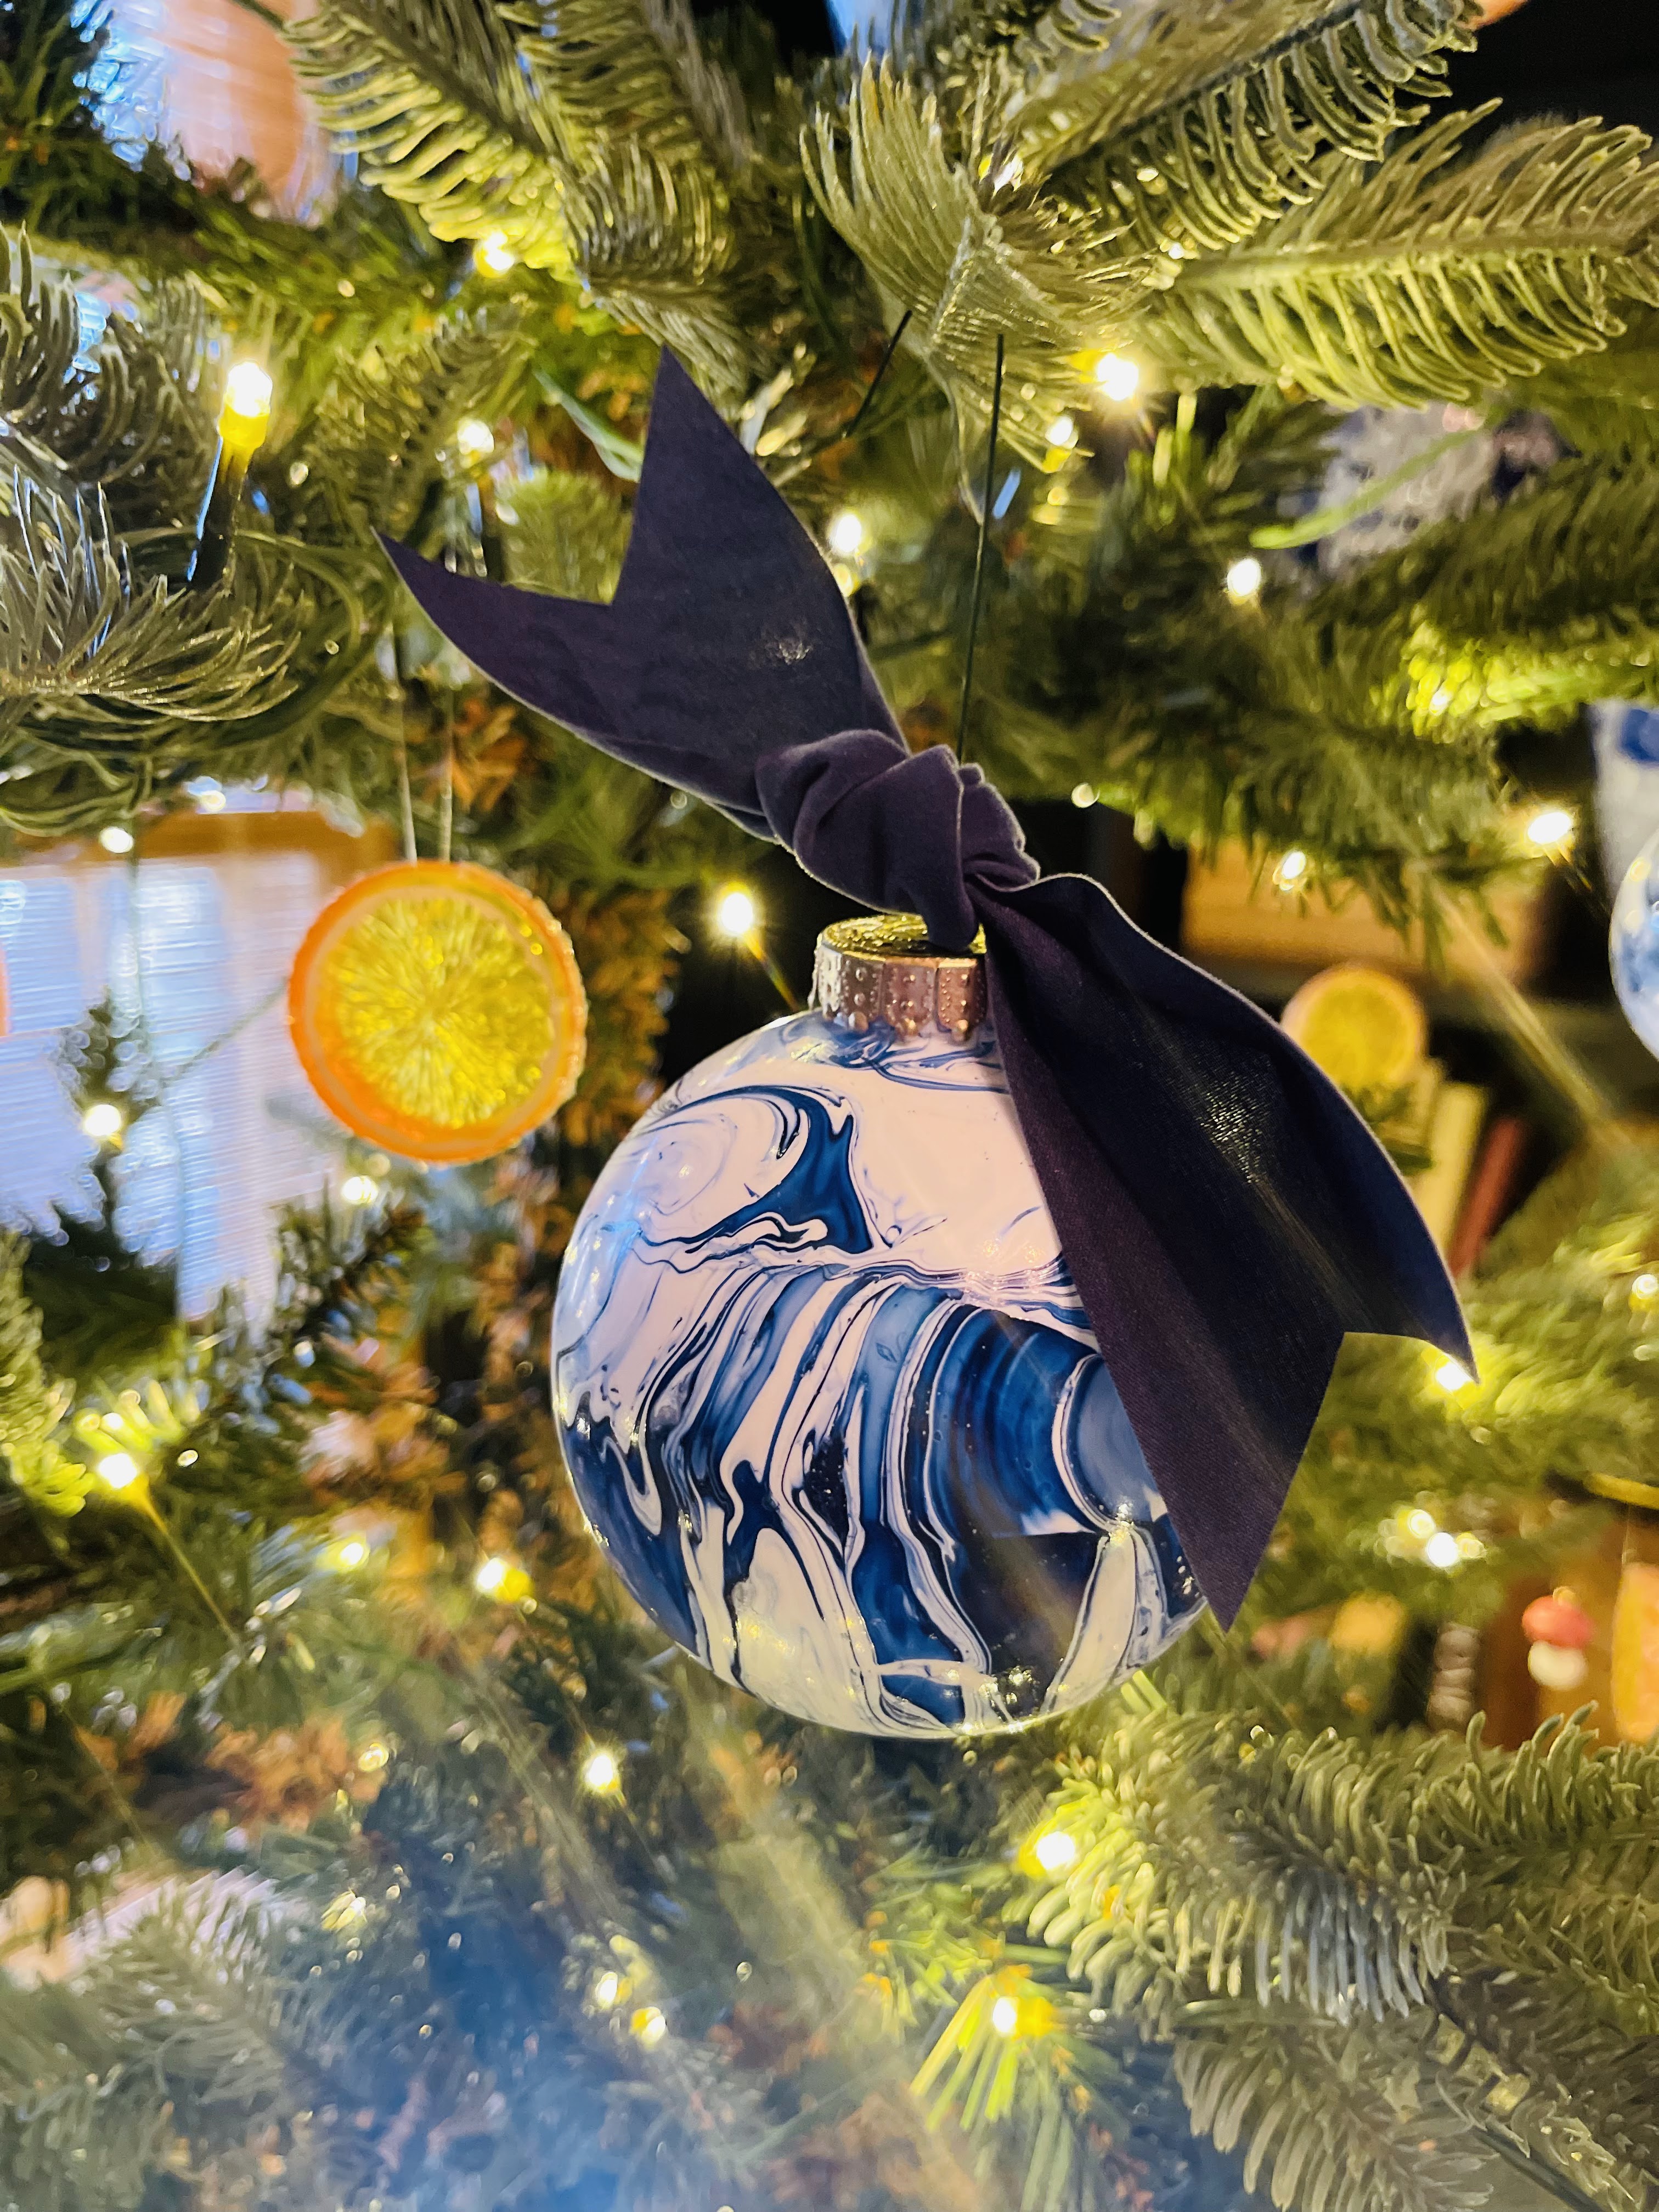
I'm having so much fun DIYing ornaments for my new King of Christmas Noble Fir. You can find the first DIY here.
You will need:
Spray paint. I use Rustoleum 2x (not sponsored but I wish they would send me a can of every color so I could go wild!) We do this outside on a plastic covered table.
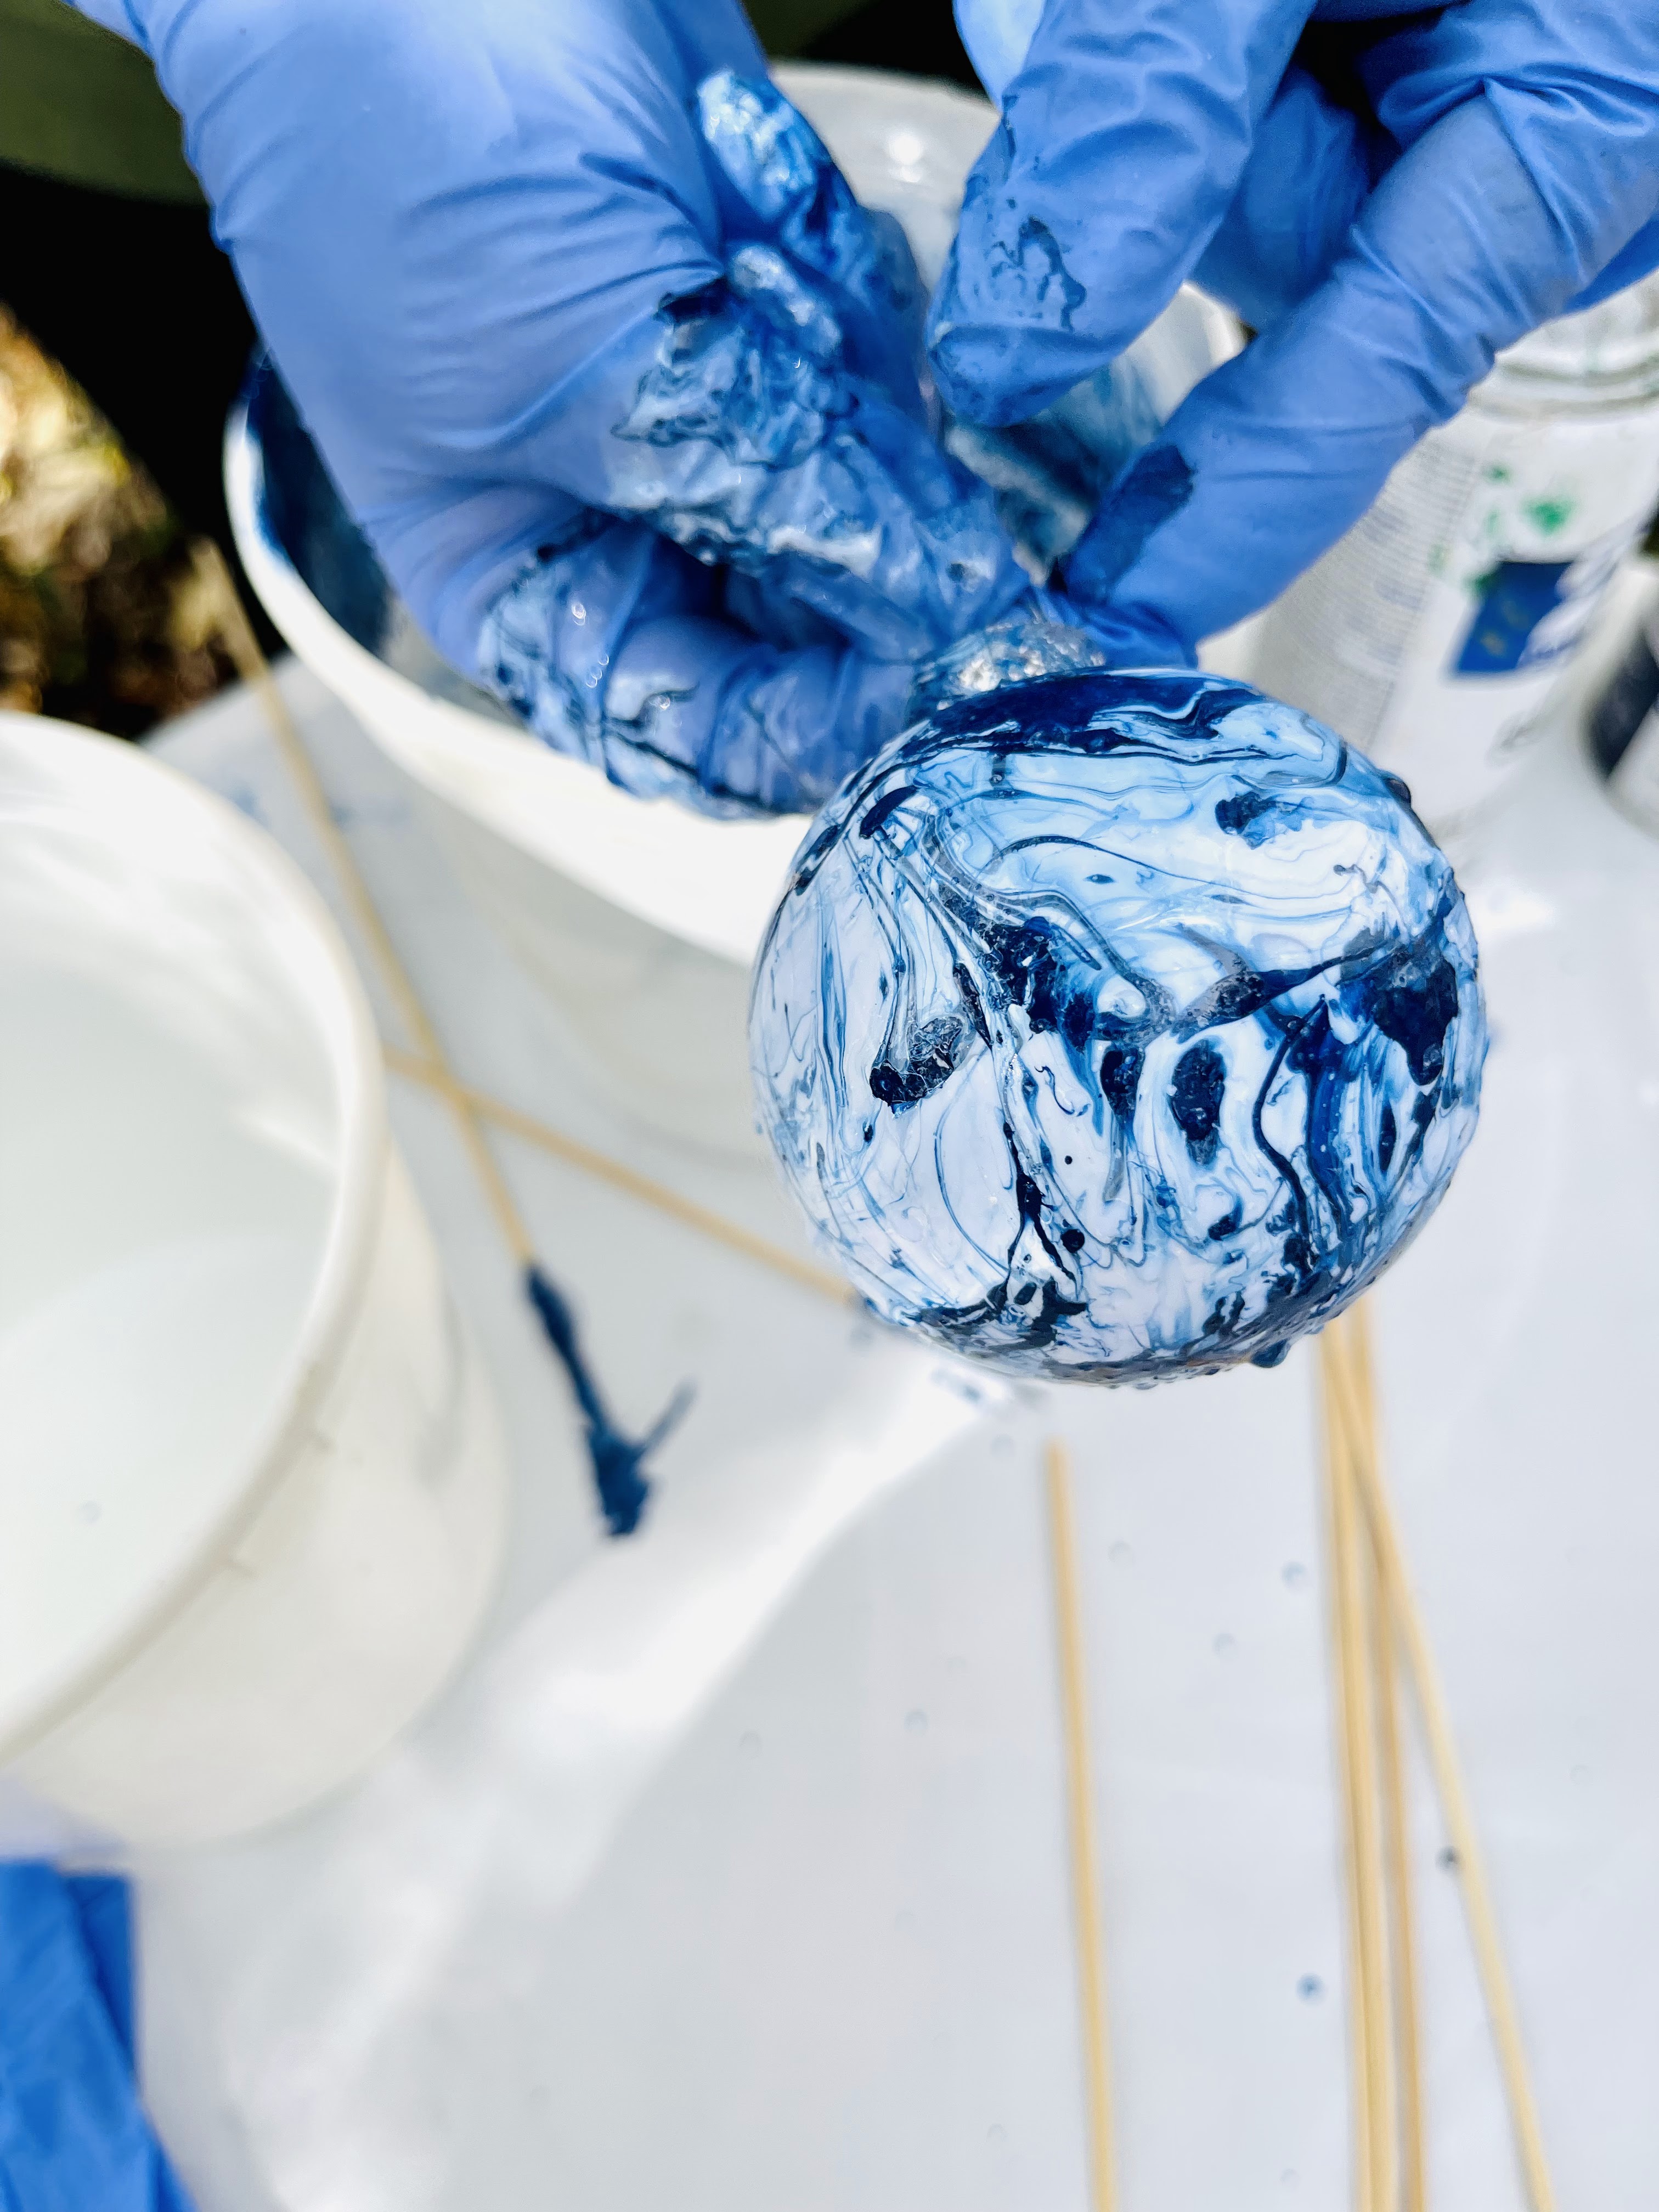
Container for water. It will be covered in paint so use an old plastic container. It needs to be wide enough to get your item in with some space around it and deep enough that your item can be submerged without touching the bottom. Your water needs to be "room temp" not cold. Cold water will keep the paint from staying loose and smooth when you dip. Change your water in between colors and I think it helps to let the overspray on your container to dry before you spray a new color.
Plastic gloves and a spray paint mask if you choose.
Skewers to swirl the paint.
Ornaments. I think the marbleizing shows up best on white ornaments. You can use plastic or glass. You can find them at craft stores, Wal Mart, Target.
And you need a place for your ornaments to dry. I'll touch on that later.
Gather everything and get ready to get creative. This is not a precise process and every ornament turns out differently so just relax and experiment until you figure out what works for you.
Here's what you do:
Fill your container with water and choose your paint colors.
I tend to use one dark color plus white but you can use any combo you want. Experimenting is what makes this fun. You'll want to have plenty of blank ornaments on hand.
Next you quickly spray your colors onto the surface of the water. I alternate color, white, color when I spray. You may need to spray one of the colors an extra time. You'll get a feel for how much you need and also depending on how much coverage you want on your ornament.
Tuesday, November 1, 2022
My New Christmas Tree!!
I have admired King of Christmas trees for a long time. I even recommended one to my friend Julie last year and she loves hers. I love the open branches of the Noble Fir so when King of Christmas asked me to choose a tree I knew what I wanted without having to look! The box arrived quickly and I couldn't wait to see it. They come with a fabulous remote, gloves to wear while fluffing (and mine was so easy to fluff) and a bag for off season storage - no stuffing it back in a tattered box year after year!
I have several DIY ornaments planned for my tree which is going to be in my library this Christmas. In a blue and white chinoiserie planter! (Mine is thrifted but this one is similar.) So exciting.
The first "layer" for my tree is the simplest DIY of all. I ordered these faux orange slices. In most instances I like to use "real" items but I'm a little funny about using food in ways that it can't be eaten later (you do you, but I've spent a lot of time with people who are food insecure so I chose faux for this.) Citrus is traditional in Christmas decor and I wanted to add orange slices to my tree.
I used a very small drill bit to put a hole all the way through my orange slice.
I decided to glitter the sides of my slices for a little extra sparkle because I'm not going for a farmhouse or country look. You can definitely skip this step. I used Mod Podge and coarse crystal glitter that I already had (similar glitter) to "sugar" my orange slices.
After the glittered sides dried I used clear fishing line to create a hanging loop so the orange can easily hang in the open places between the branches.
The space for ornaments and movement in the silhouette of the Noble Fir is the reason I chose this particular tree. I also went with a 6 foot tree so I could place it in a chinoiserie planter on a stand.
.jpg)
.jpg)

.jpg)
.jpg)
.jpg)
.jpg)