
You may not remember my decoupage Christmas ornaments but they inspired the chinoiserie Easter tree which in turn has motivated me to create this fall version!
I'm not a big Halloween decorator - I'm more of a seasonal decorator using a lot of natural elements (I'm crazy for heirloom and mini pumpkins) more than themed items. That being said, I do have a collection of terra cotta pumpkins that I love to use all month long in October. (You'll be seeing those soon.)

But back to the chinoiserie fall tree. This is the easiest of projects and a lot of fun because you can get really creative with the papers and ribbons you choose. I wanted ornaments that mixed well with my "look" so chinoiserie it is! Making decoupage ornaments is so easy and fun that I decided to grab some fall shapes and see what I could come up. Be sure to watch this reel on Instagram to see more details.

I used a couple of real branches for my Easter tree but I found this great faux branch tree at Goodwill a few months ago and I thought it would be perfect for my decoupage ornaments. For the fall tree I decided to paint it brown.

This is the same way that I made my chinoiserie and Audubon ornaments at Christmas time and the Easter Tree shapes as well.
Gather your supplies:
Flat wooden shapes from craft stores, Wal Mart or dollar stores. I found wooden shapes in pumpkins, leaves and acorns that are perfect for this project. Mine came for Dollar Tree and Amazon.
Mod Podge (here's a funny about Mod Podge!)
A foam brush to apply Mod Podge.
Gold spray paint (this is my favorite)
Sharp paper scissors (I use these to be able to cute very crisp, detailed shapes. I've had my pair for years. Still sharp!)
Papers to decoupage onto your shapes. I used marbleized papers for the some of the shapes and chinoiserie papers for others. I like the mix. Marbleized papers can be found online and in the scrapbooking section of craft stores. The chinoiserie images were printed on copy paper. You can find copyright free images on museum websites. Just google it - "copyright free museum images" and the museum sites will pop up. Then just search the imagery you want- chinoiserie, florals, birds. It's easily available but it just takes a little bit of time. Print the images out and cut out your shapes. I cut my shapes slightly smaller than my wooden shape so that there is a border of gold around the edge.


Then follow the Mod Podge instructions to adhere your papers to your wooden shapes. After they are dry you can add ribbon to hang them on your tree. I put decorative papers on both sides because they can be seen from both sides on my tree. These also make great package toppers/name tags for gifts. If you are mailing packages they are pretty enough that you don't need a bow (which would be flattened anyway!)


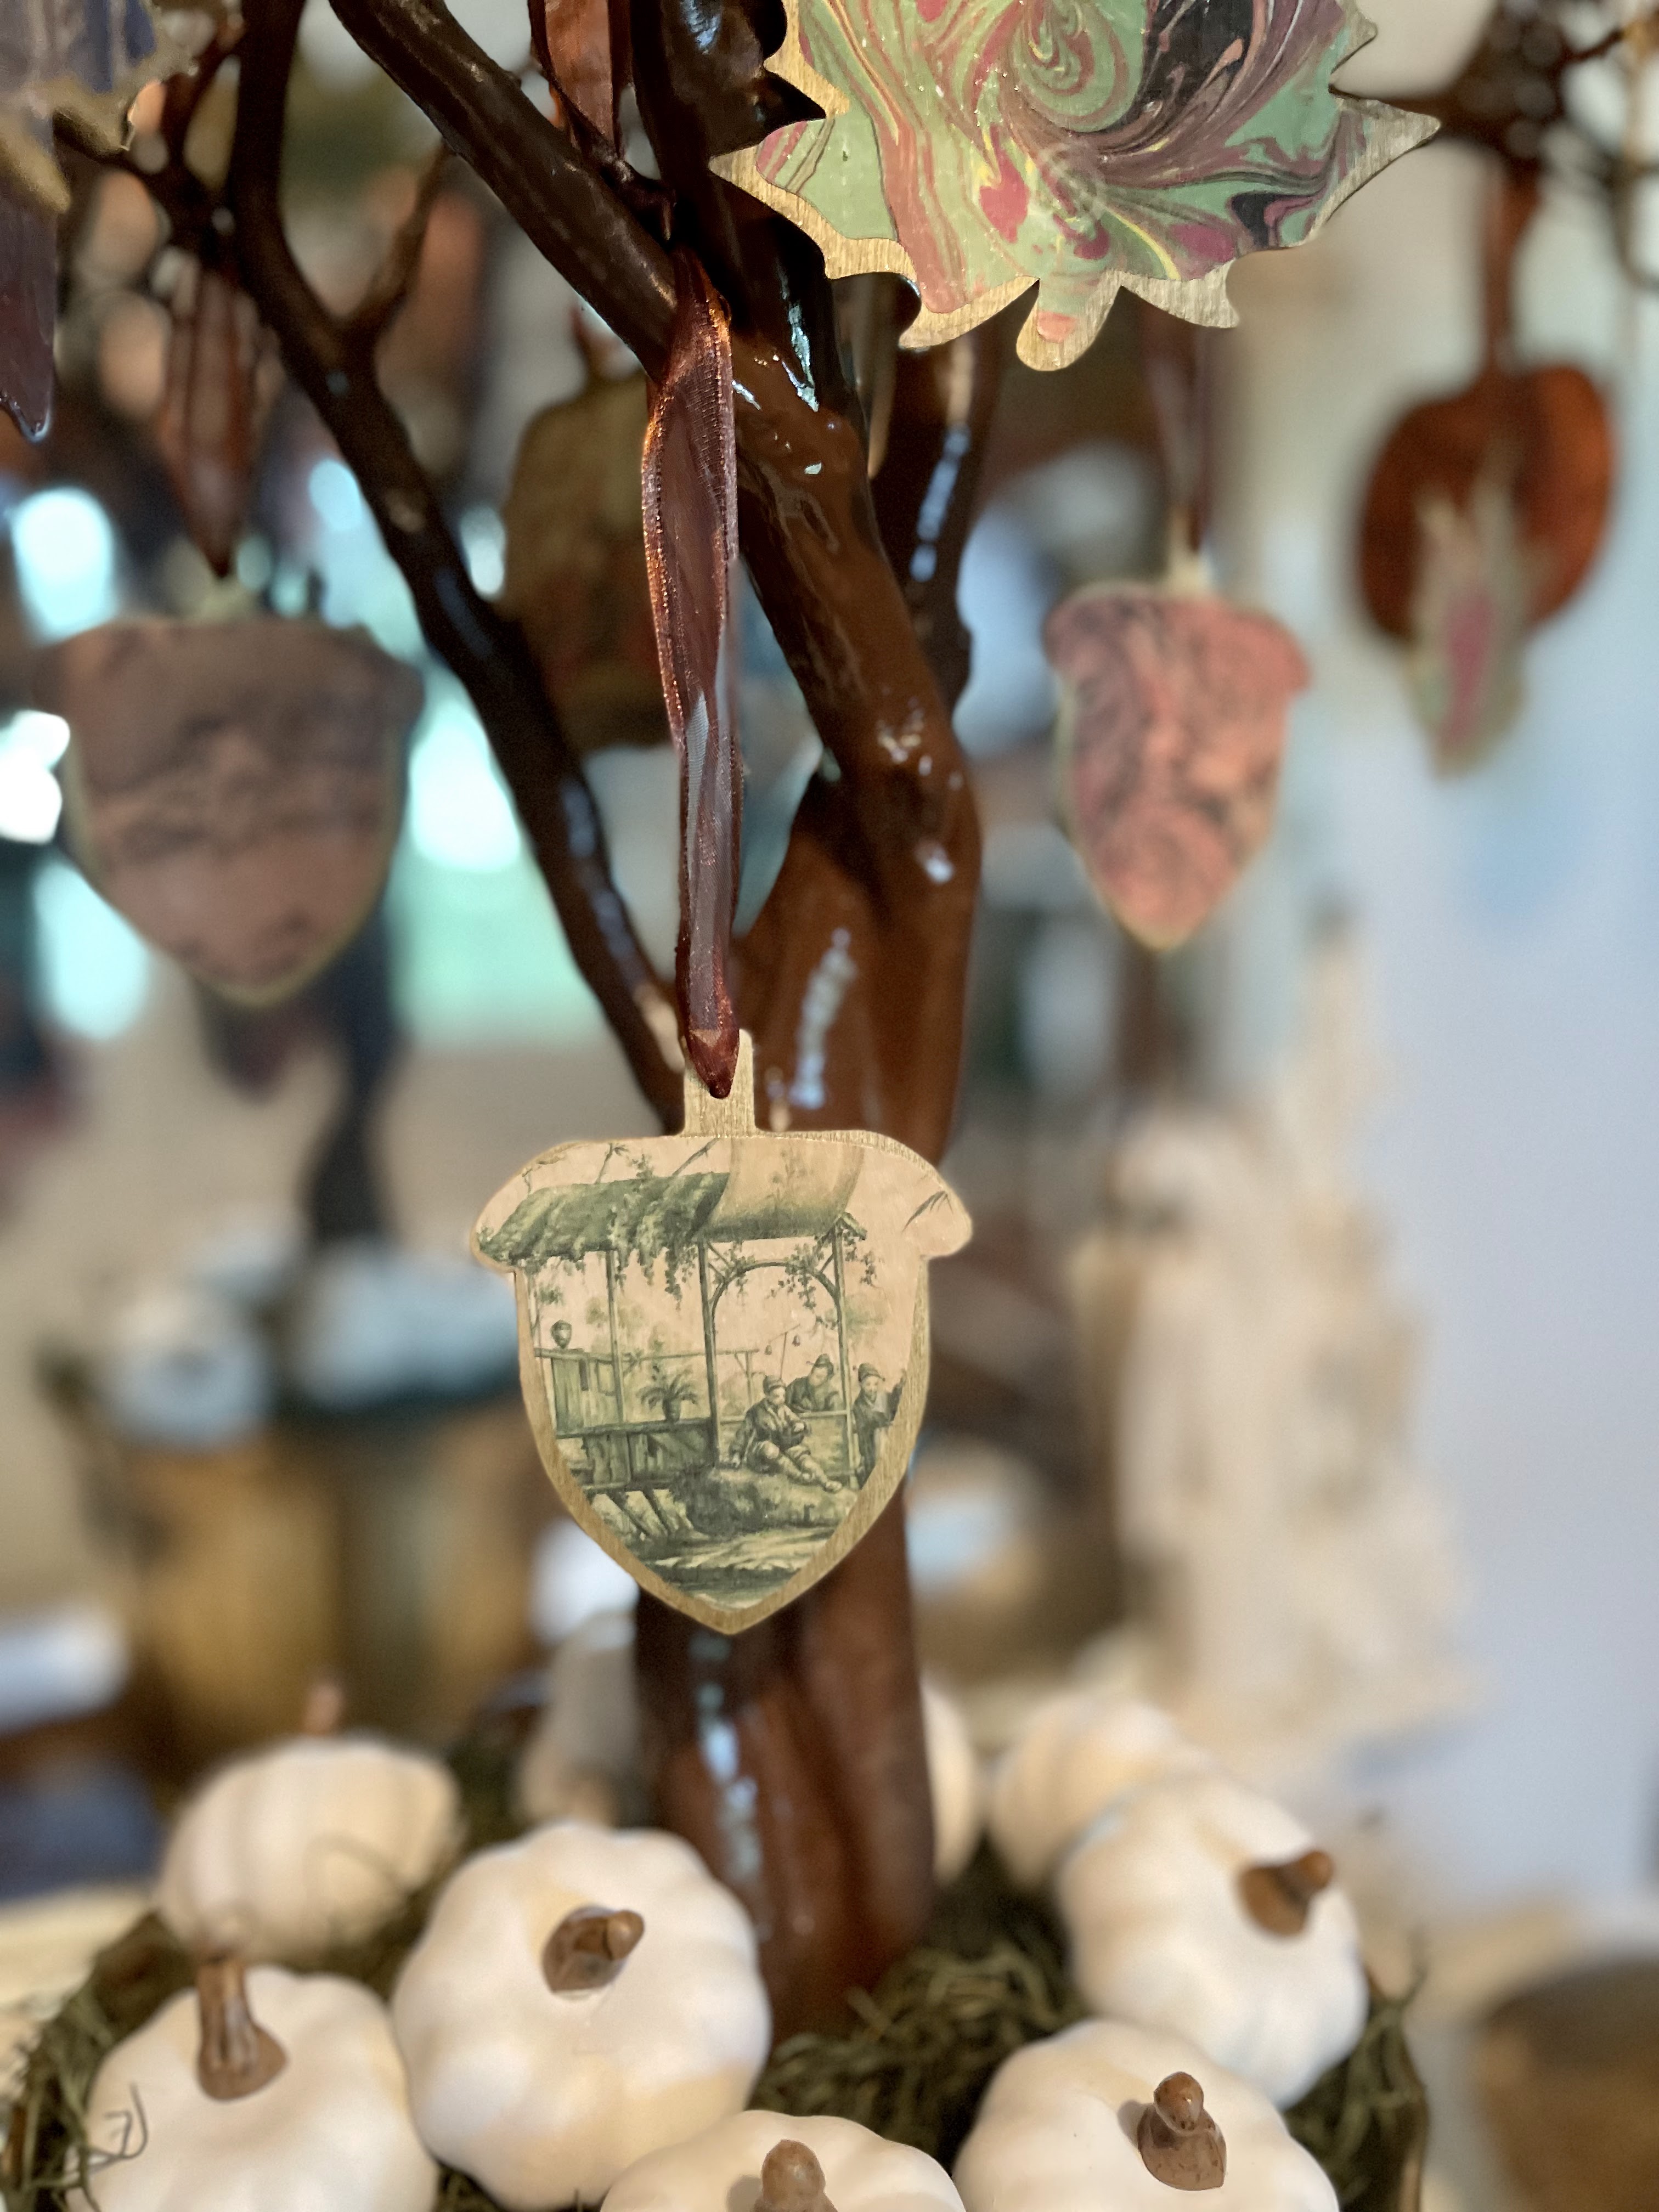
The chinoiserie fall tree is a fun addition to our entryway. I used a lot of ornaments - I like it to be full. I plan to change the faux white pumpkins out with some colorful gourds and mini pumpkins in October but it's too warm/early where I live to get them. This chinoiserie fall tree can take us all the way through Thanksgiving decor wise.
Be sure to let me know if you make one! Happy Fall.


