Showing posts with label gifts. Show all posts

Tuesday, August 18, 2015

Business in the front...

... party in the back!!!

That's the story around here. 
We had a Low Country Boil a couple of weeks ago when College Girl graduated.
It was all about the school colors - red and blue! Go West!!
 
( Excuse me while I post one more Proud Parent photo!!)

If you follow along on Instagram - my fave!
then you know we have been in Bridal Shower prep mode since then.


The Bride-to-be's colors are coral-y blush and pinks, gold and white. 
That's all I needed to know. 
I went to town spray painting frames, papier mache letters and signs in those colors!


That's a serious spread right there!!
Someone said they felt like they were in a Southern Living photo shoot - so cute!


(On a side note the sign above is not quite finished... I still have to paint flowers in those fab pinks and corals at the top before the wedding!! But we used it at the shower anyway!)


There is a blush and gold polka dot runner down the middle of the table under all that yummy food.
It's hidden but I did my old gift wrap runner trick!
And I made the tassels from plastic tablecloths late one night using directions from a Youtube video. It's addicting. I couldn't stop making them!


I had a lot of help with the food. 
The MOB made these adorable little carnation looking, bite-sized cupcakes for dessert. 
They're small so having 6 is like 1 serving of a regular sized cupcake, right? Right?


The bride loved the idea of a Mimosa Bar and who wouldn't??
A family friend offered to take care of that!! 
But who has 35 champagne flutes...


The Mother-of-the-Bride cleverly started picking them up at Goodwill and thrift stores
and they were lovely - some were quite nice and old.
 We each took a couple afterwards to use and remember the special day when we sip champagne!


( I used a gold Sharpie to create all of the signs!! That's right - Sharpie!!)


 All the little gold frames sprinkled around have Bridal Etiquette Tips 
from Emily Post's 1922 articles.
The times they are a changin'!!


The Bride-To-Be is a cutie!!


We filled the swinging bed with gifts.


And then we oohed and aahed and laughed while the BTB opened and opened her gifts.


( And there is a reason we have a huge pink crustacean hanging on the wall of our porch behind everyone - don't you? #itsagoodstory)

And by the time we ate all the delicious brunch treats, sipped mimosas, and admired all the gifts we were tuckered out...


It's not a party until someone falls asleep :)


And then we cleaned up all of our Bridal Brunch paraphernalia 
and set up for a party at 7 p.m. ... 
Another day, Another post - 2 big parties in one day!!

Thursday, July 31, 2014

Whole Lotta Burlap

In addition to painting on furniture,
a "whole lotta burlap paintin' been goin' on."


We started waaaay back with hearts for Valentine's Day.


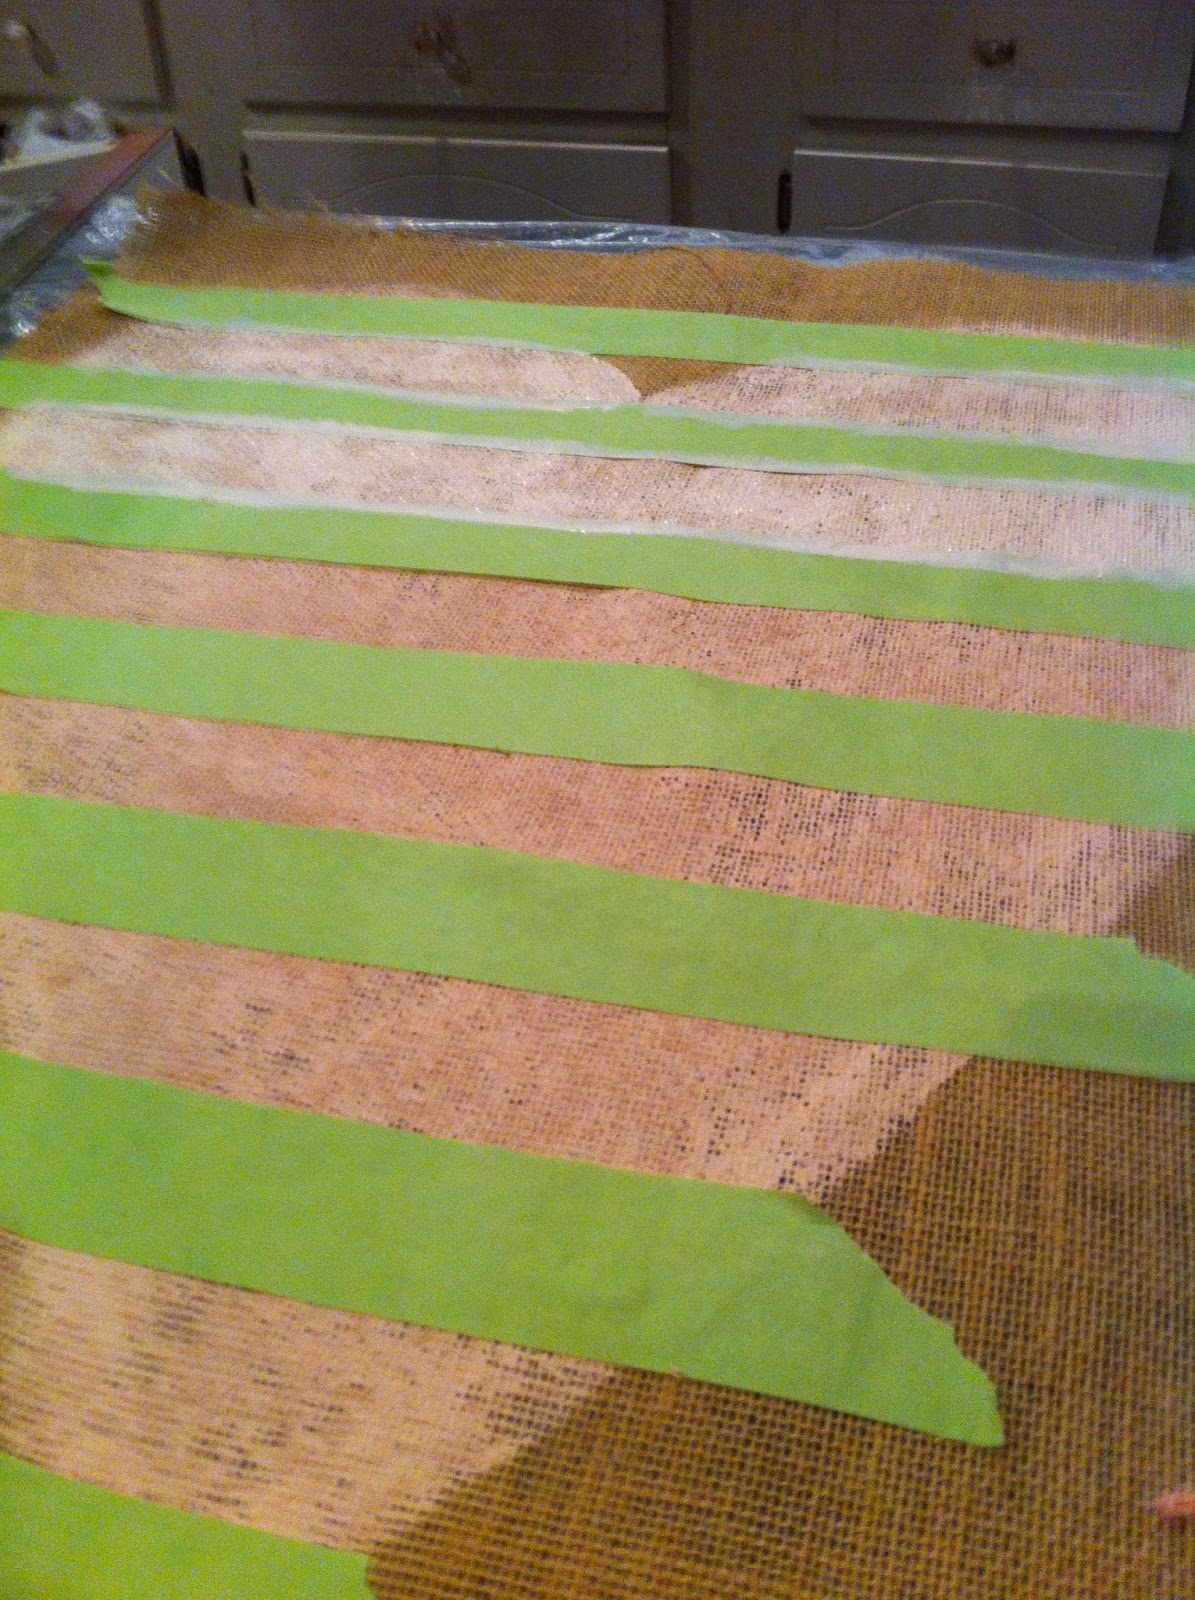
We got "stripey" (cause I will stripe pretty much anything.)


Then I decided to add an initial
and it would make the heart work for a little longer than just Feb. 14th.


Next up, a burlap heart class. 
They always turn out so differently but each one is so cute!


I love the black and white stripes in the back. This lady drove 2 hours to attend a class that started at 9 am on a Saturday morning. And then she was super creative.
Impressive.

Well, the ladies wanted to make something Springy that wasn't strictly "Easter-y."
So cute carrots it is!


They all turned out so well - more pictures are on madebymolliesmom on Instagram.


Vegetables were followed by fruit.


In case you have not noticed, I use Sherwin Williams Color To Go to paint my burlap door hangers.
 Actually, it's my favorite paint for canvases, too.
I have a SW fan deck in my car and in my studio. All those colors. So inspirational.
(They do not pay me to say this, it's just my favorite paint.)


I actually got a burlap door hanger on my own door this Summer!!


College Girl was in town so she came along to class and 
painted a watermelon for a friend who couldn't make it.


Ms. Dawn this fruit's for you.


Again, a lot of variation but each one turns out great.

 We had to offer the watermelon class twice so this time College Girl decided to paint a burlap door hanger for her place. 
Not being a fan of watermelon as art or food she decided to go with a peach!


 As we say in the South, It turned out stinking cute!!
The gray checkerboard border makes it for me (all her idea!!)

Before long we will be painting owls (but in Fall-ish colors) or candy corn!
As crazy as that seems ... school starts here on Monday. In August. And Hobby Lobby has already put out Halloween and Christmas items. Yikes!!
That means Summer is pretty much over as far as our mindset goes - just not as far as the hot weather  goes.

Saturday, December 14, 2013

A Little Manger Scene for Everyone

A few weeks ago at 
our Starry Night event at church
we used baby in a manger centerpieces and I wanted all of the children 
who attended to have their very own baby in a manger as well. 
Remember the budget was non-existent 
so cue the craft supplies hanging around at church or that were free.
In the "free" department I always like TP roll projects :)


I had my youth helpers cut the TP rolls in half lengthwise. We used a short piece of wire to hot glue a small wooden star to the TP roll "manger" I bought a huge bag of thin, small wooden stars at Hobby Lobby and spray painted them with paint I had. The starts were $2.97 for a zillion stars. I have more than half left for another day.This prep was done in advance since hot glue was needed.

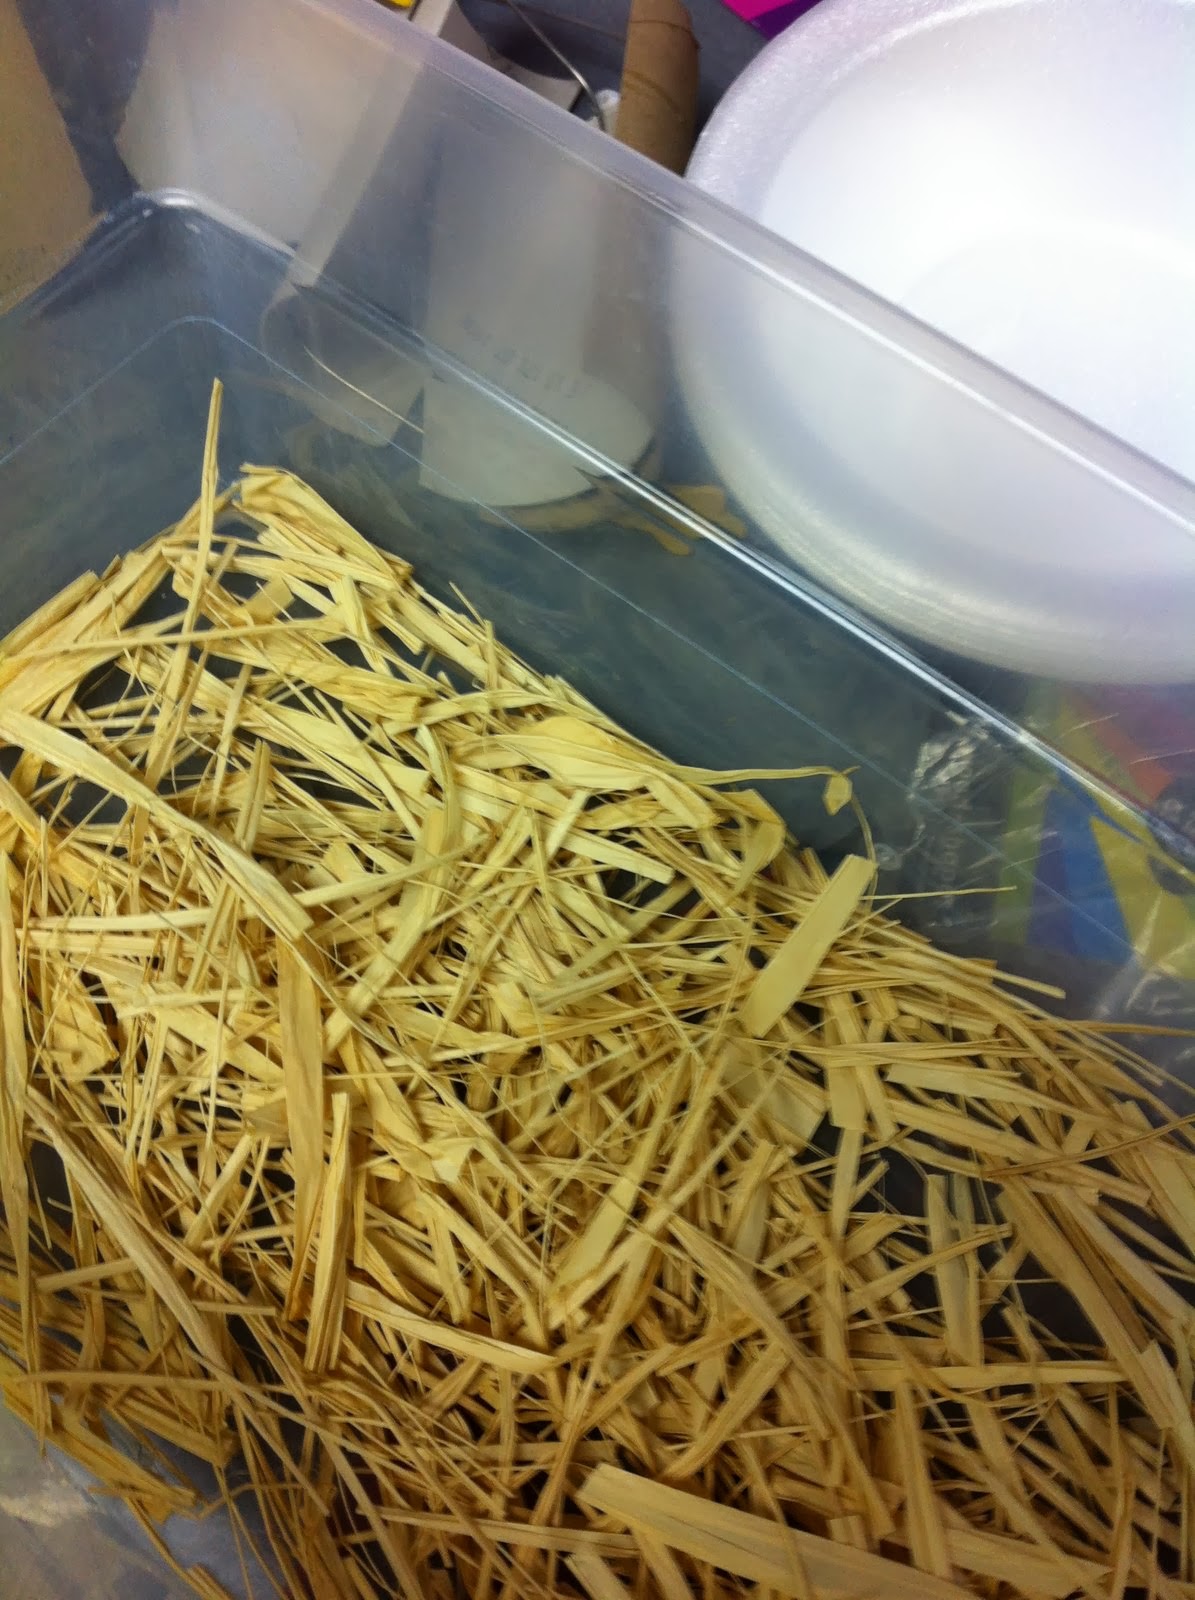
Then they cut a bunch of short pieces of raffia from an old bundle that was in the closet. 
Everyone has some raffia hanging around :)

An old white sheet that I have been using for projects for literally years was torn into strips about 3/4 of an inch by about a foot.
 It doesn't need to be exact and tearing looks great - no need to cut.

I bought this bag of little clothespins for $1.97 when wooden items were 40% off at HL. 
Then we let the children glue some "hay' in the bottom of the TP roll manger with a star. They made two little Sharpie dots for eyes on the clothespin and then "swaddled" the clothes pin with the torn sheet.
 It doesn't matter how they go about wrapping up the baby - it works every time.

They were so cute and they loved carrying around their little baby in the manger and the parents thought they were adorable. It was a quick and easy craft with low cost, small amount of prep and every age child could accomplish it!


I have been getting hang out with some 6th graders at a neighboring church once a month.
Their director invited me to come "make art' with them once a month. It is a ton of fun and she gives me a lot of freedom in choosing the projects to go with the verses or stories that are a part of their lessons.

They have a big, creative space and they are NOT afraid to get messy!! My kind of peeps. And, my friend has paid interns who will help set up and clean up whatever messy project I come up with!!! That's a bonus! 
Right before Thanksgiving we got a head start on the Advent season and made these ornaments from my favorite, Crayola Model Magic air dry clay.


They always turn out perfectly. 
This project is great for all ages and they can make several so they can give some as gifts!!
We challenged them to take one of their ornaments and give it to someone they don't normally give gifts to - even a stranger in a random act of kindness and bring a smile to someone's face. You never know when someone's day might be changed by even that small gesture. I can't wait to meet with them in January and see who followed through. That's kind of a tough assignment for a sixth grader.

Saturday, March 30, 2013

The 11th Hour....

Well, practically.
 I'm sure everyone else is beyond ready for Easter and this is of no help but the idea does have possibilities for future holidays and events.
As I said on Facebook, I threw a puffy burlap carrot on the front door and called it good this year. March was full of deadlines for free lance work and speaking at a major conference was also on the calendar  and Easter was early this year. 
 Cute got lost in the shuffle.
 So that's how we rolled this year. Also, College Girl went home with her boyfriend to my old stomping grounds, Athens, so a little less motivation to roll out major Easter decor.

We hosted* last year so we I am invited out for Easter dinner this year. I wanted to take a little something to my peeps and since they are all beyond the age of cute stuffed bunnies and more into gift cards I wanted to package the gift card creatively.
I bought "fancy" all natural lemonade in swanky real glass bottles. Lemonade is Spring-y. And I picked up Chi-Fil-A gift cards cause, well, it's the South and we are addicted.
So now I needed to put them together .... somehow...


Scrounging in the studio I came across these clear plastic name tag holders like you get when you go to a meeting or conference. They are super inexpensive and crystal clear. They are made to hold a single thickness name tag so they are "snug" if you follow. That means that when you stuff things in them they stay. Perfect.
 
 
I love the crisp, clear look. I just put some Easter grass, a little business card sized note and the CFA gift card in the pouch. There are holes in the back of the pouch that are meant for the neck string if you are using it for it's real purpose but they work perfectly to string curling ribbon through. Just tie it on the bottle and you are good to go.
You could combine all kinds of treats and gift card in the pouches.

* We did host Easter for friends who are like family last year. The kids have all grown up but I haven't so I still made cutesy Easter treats and put bunny tails and ears on the real Coke and Orange Crush glass bottles - you know the drill. But I really wanted the kids to participate in an Easter Egg Hunt and not just sit around on their iphones :) So I thought about how to motivate them... what motivates teenagers and college students?... well, money and gift cards, of course. So I filled the eggs with quarters or slips of paper with numbers that corresponded with numbered gift cards to places like Starbucks, Chic-Fil-A and to itunes. I announced that it was time to do the Easter Egg Hunt , there were some moans and a mention or two about the heat but not from College Girl who jumped up and announced that she was hunting eggs. Then she announced that I had filled them with money and gift cards and we had an Easter Egg Scramble! Everyone was all in for this hunt!! They acted like little kids running around looking for eggs.
 It was worth every penny quarter :)

Wednesday, November 14, 2012

Let's do the Twist...


... the Peppermint Twist. It's all about the peppermint stripe around here at Christmas time. I love candy canes and the iconic, traditional red and white stripe. I love peppermint tea and College Girl texted me from campus yesterday to just tell me she was having a Peppermint Hot Chocolate with whipped cream from Starbucks!! We did the happy dance when the Peppermint Mocha signs went up there at the beginning of November and we'll have a treat one day soon at Chic Fil A because the Peppermint Choc Chip shake is back!!!!
But right now I am all about filling the orders for these candy cane name signs!!! I can only show you a couple - the ones people ordered for themselves. The rest are gifts and I don't want to blow the surprise!


It's cold and windy so we have to settle for a picture taken inside on my kitchen cabinets in poor lighting. ( Every tip I read about being a good blogger says that excellent pictures are super important - oops!)

Someone asked about painting the peppermint look so I'll show you how I do it - I'm sure there is a right way, too. Haha !

I painted the letters in white on a black board.


Next I use a flat brush to make the red stripes. I curve them slightly to help with the illusion of the rounded candy cane. I brush fairly quickly and not too precisely. You have to give a little thought to where you are placing the stripes so that they mimic the shape of the letter and then I try to stay consistent with that if a letter is in a name multiple times. It makes it easier to read.


The key to the whole look is the little white highlight. I use a very small ( I call it a two hair brush!!! It's small!) and a little bit of slightly thinned paint and run a highlight over the red stripes. Make it fairly "loose" and quick. You can see the highlighted letter next to the unhighlighted letter above. It changes the whole look.


I'm not too worried about making sure the highlights look like the light source is from the same direction, etc the way you would for something more realistic. This is just cute and fun but the highlight adds a lot. Feel free to go there but I'm just cranking these babies out.

The other thing that I think changes the whole look and "makes" the Christmas items I make is the spatter painted "snow."


So, I give everything a light "dusting" of "snow" spatterpaint at the end.
 

Without....
 
 
... with.
 I think it makes a difference!  Happy painting... gotta go... it's time for hot Peppermint Tea.