Showing posts with label Model Magic. Show all posts

Thursday, November 26, 2015

Junior League Christmas House!

In the midst of the One Room Challenge hoop la
 I was invited to be part of the design team at a house on the
 
2015 Junior League of Woodstock Christmas Tour of Homes
.
That's a mouthful.
And pretty "big league' for me.
 
The lead designer at this home invited me to help and I chose two small areas.
Let me preface by saying that this was a model home. 
 The only nonresidential home on the tour and it was drop dead gorgeous
 from top to bottom.
It's very industrial chic and lots of moody colors and textures.
 To die for painted brick in the interiors in some spots.
 Really amazing.
I want to move in.


I chose a desk/study area in a small landing at the top of the stairs.
It's the hallway between the master and the other bedrooms. In many floor plans it's open in this area like a catwalk but this is a great use of space.
 I knew I wantd to do a gift wrap station.


And I wanted it to look like it was in use right now!!


We covered existing framed art that we couldn't move with pictures of the Big Guy in Red that I printed off of the internet.
We typed notes to Santa to go in the antique typewriter and left lists of naughty  and nice people laying around on the desk!


This cart was very popular. It's a hand me down .
It is really used to store floor plans in a drafting office but I like gift wrap better :)


It was a ton of fun and the hit of the whole deal was my tomato cage tree in a galvanized bucket.
 It's so simple and easy but sometimes that's the best.
We have a couple and I use them on our screened porch at Christmas. They have pebbles in the bottom so they don't blow over and I use plastic ornaments.
 
 
My other spot was in th kitchen on the main level.
 It was a huge bakers rack in between the kitchen and eating area.
 I knew what had to happen there the minute I saw it ... cookies for Santa!


This popular guy made an appearance at the Christmas Tour of Homes
 and, once again, was a big hit!!


I made stacks of air dry clay gingerbread men (I use Crayola Model Magic), painted them  and glued them to cookie sheets, spatulas and drying racks from the Dollar Store.
 
 
The "Fresh Milk" sign was a last minute, night before the tour project.
Someone asked how old the sign was and we said, "24 hours :)))))"

 
   Mollie helped me swirl white paint in milk bottles and add cute straws.
what did we do before you could buy cute straws in every color??


It put us all in the mood to decorate at home after Thanksgiving.
And that may be all the cookies that get "baked" this year.
 
Think I can get away with it??? 


Sunday, August 3, 2014

Daisies Are The Happiest Flowers

Do you know what movie that's from??
 I love Meg Ryan and I agree.
 I love cheerful, roadside daisies.
 I also loved, loved the show "Please Don't Eat the Daisies" when I was young.
 ( That'll date me, for sure.)

Someone dropped off an unwanted canvas - a large one. Yay!!

I spent a couple of cold, wintry afternoons painting a giant stylized daisy on the canvas.


It was red, so first thing - a turquoise base coat.
Then some basic shapes to create a stylized daisy.
 ( This is what I use my kitchen tools for!)


Outline in black.
My go- to Sherwin Williams paints.


Just filling in with cheerful daisy-ish colors.


 This color is Pickle.
 I want to have the job where I sit around looking at fabulous colors 
and thinking up their names.
SW, call me. I'm available.


Someone at church gave me the canvas so back to church it went.


The next daisy inspired project was painted at
 a little art camp with my favorite 4 and 5 year olds.


They made these canvases for their Moms :)


Then at the beginning of the Summer the stylized daisy painting
 inspired a project at another art camp.


The artists ranged in age from kindergarten to 4th grade 
and they created some pretty amazing line work.


Again, each one is so unique.


They definitely got creative with their colorways.


Aren't these fun? Didn't they turn out great?
I like them better than mine!


Saturday, December 14, 2013

A Little Manger Scene for Everyone

A few weeks ago at 
our Starry Night event at church
we used baby in a manger centerpieces and I wanted all of the children 
who attended to have their very own baby in a manger as well. 
Remember the budget was non-existent 
so cue the craft supplies hanging around at church or that were free.
In the "free" department I always like TP roll projects :)


I had my youth helpers cut the TP rolls in half lengthwise. We used a short piece of wire to hot glue a small wooden star to the TP roll "manger" I bought a huge bag of thin, small wooden stars at Hobby Lobby and spray painted them with paint I had. The starts were $2.97 for a zillion stars. I have more than half left for another day.This prep was done in advance since hot glue was needed.

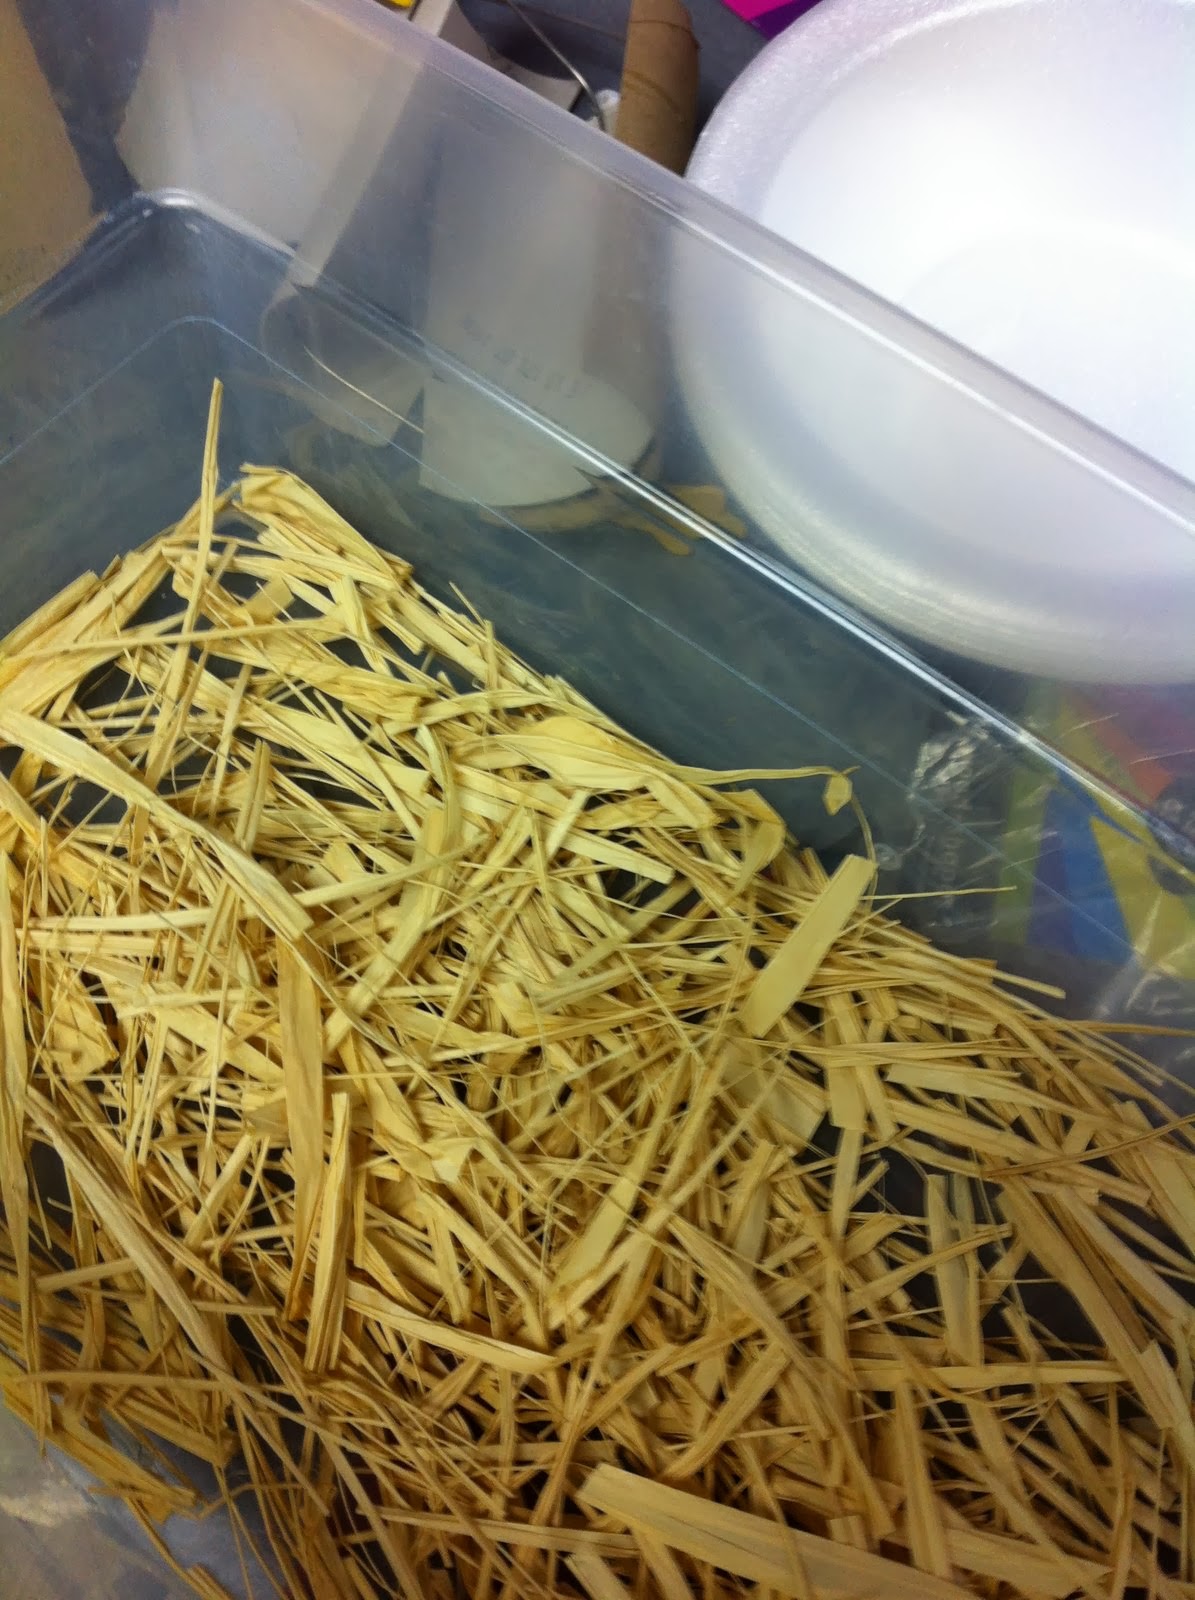
Then they cut a bunch of short pieces of raffia from an old bundle that was in the closet. 
Everyone has some raffia hanging around :)

An old white sheet that I have been using for projects for literally years was torn into strips about 3/4 of an inch by about a foot.
 It doesn't need to be exact and tearing looks great - no need to cut.

I bought this bag of little clothespins for $1.97 when wooden items were 40% off at HL. 
Then we let the children glue some "hay' in the bottom of the TP roll manger with a star. They made two little Sharpie dots for eyes on the clothespin and then "swaddled" the clothes pin with the torn sheet.
 It doesn't matter how they go about wrapping up the baby - it works every time.

They were so cute and they loved carrying around their little baby in the manger and the parents thought they were adorable. It was a quick and easy craft with low cost, small amount of prep and every age child could accomplish it!


I have been getting hang out with some 6th graders at a neighboring church once a month.
Their director invited me to come "make art' with them once a month. It is a ton of fun and she gives me a lot of freedom in choosing the projects to go with the verses or stories that are a part of their lessons.

They have a big, creative space and they are NOT afraid to get messy!! My kind of peeps. And, my friend has paid interns who will help set up and clean up whatever messy project I come up with!!! That's a bonus! 
Right before Thanksgiving we got a head start on the Advent season and made these ornaments from my favorite, Crayola Model Magic air dry clay.


They always turn out perfectly. 
This project is great for all ages and they can make several so they can give some as gifts!!
We challenged them to take one of their ornaments and give it to someone they don't normally give gifts to - even a stranger in a random act of kindness and bring a smile to someone's face. You never know when someone's day might be changed by even that small gesture. I can't wait to meet with them in January and see who followed through. That's kind of a tough assignment for a sixth grader.

Tuesday, December 20, 2011

Sweet Little Ornaments...

 
The children made the sweetest little ornaments for their tree at church ... I did an awful job of photographing them, though.  I wish the pictures were better because the ornaments are so simple and precious.


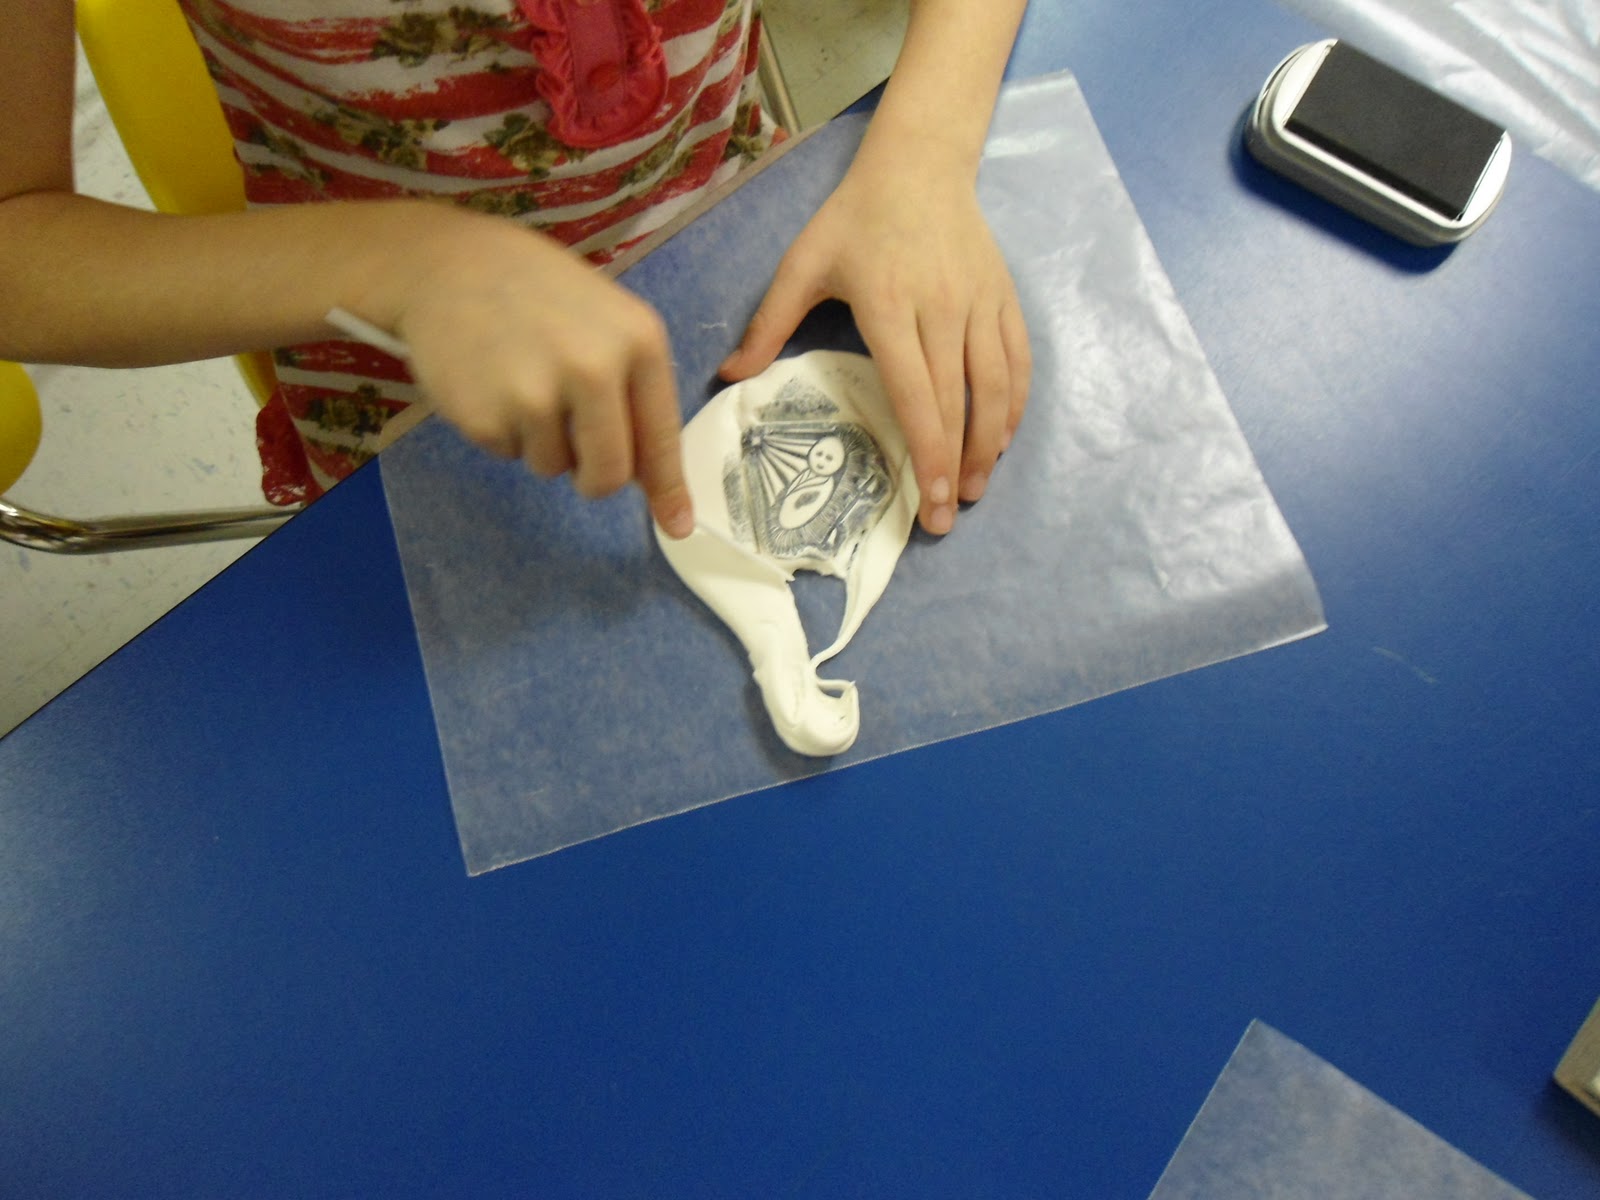
We used Crayola Model magic in white, rubber stamps and a black Staz On stamp pad ( This is the most amazing stamp pad ever!! It's like Sharpie in a stamp pad- just be careful because it is permanent. Like forever.)
 
 
All we did was to roll out the Model Magic to about 1/4 inch thickness on a square of wax paper. Then we simply used the Staz On and stamped our designs on the Model Magic - just be careful not to get ink on the edges of the stamp. Then we used circle cutters and plastic knives to cut out around the stamped image. We used a straw to punch a hole in our ornament and that was it. Let it dry, add a ribbon and hang it on the tree.


That's all it takes to make sweet and simple ornaments!