Showing posts with label kitchen. Show all posts

Thursday, August 5, 2021

Lamp Magic

 Lamp Magic - not Magic Lamps (like the kind with a Genie inside!) Lamps can add such an important touch to a room but they can be pricey. There are so many choices and styles plus add in decorative or colored lamp shades and the possibilities (and decisions) can be endless.  

But just like every other item in my home, I like to see if I can find an affordable and, hopefully, thrifted choice*. But sometimes those lamps just need help. 

Never underestimate the power of glossy white paint when it comes to lamp dilemmas. These are just a couple of examples of "lamp rescues" that I've done. 


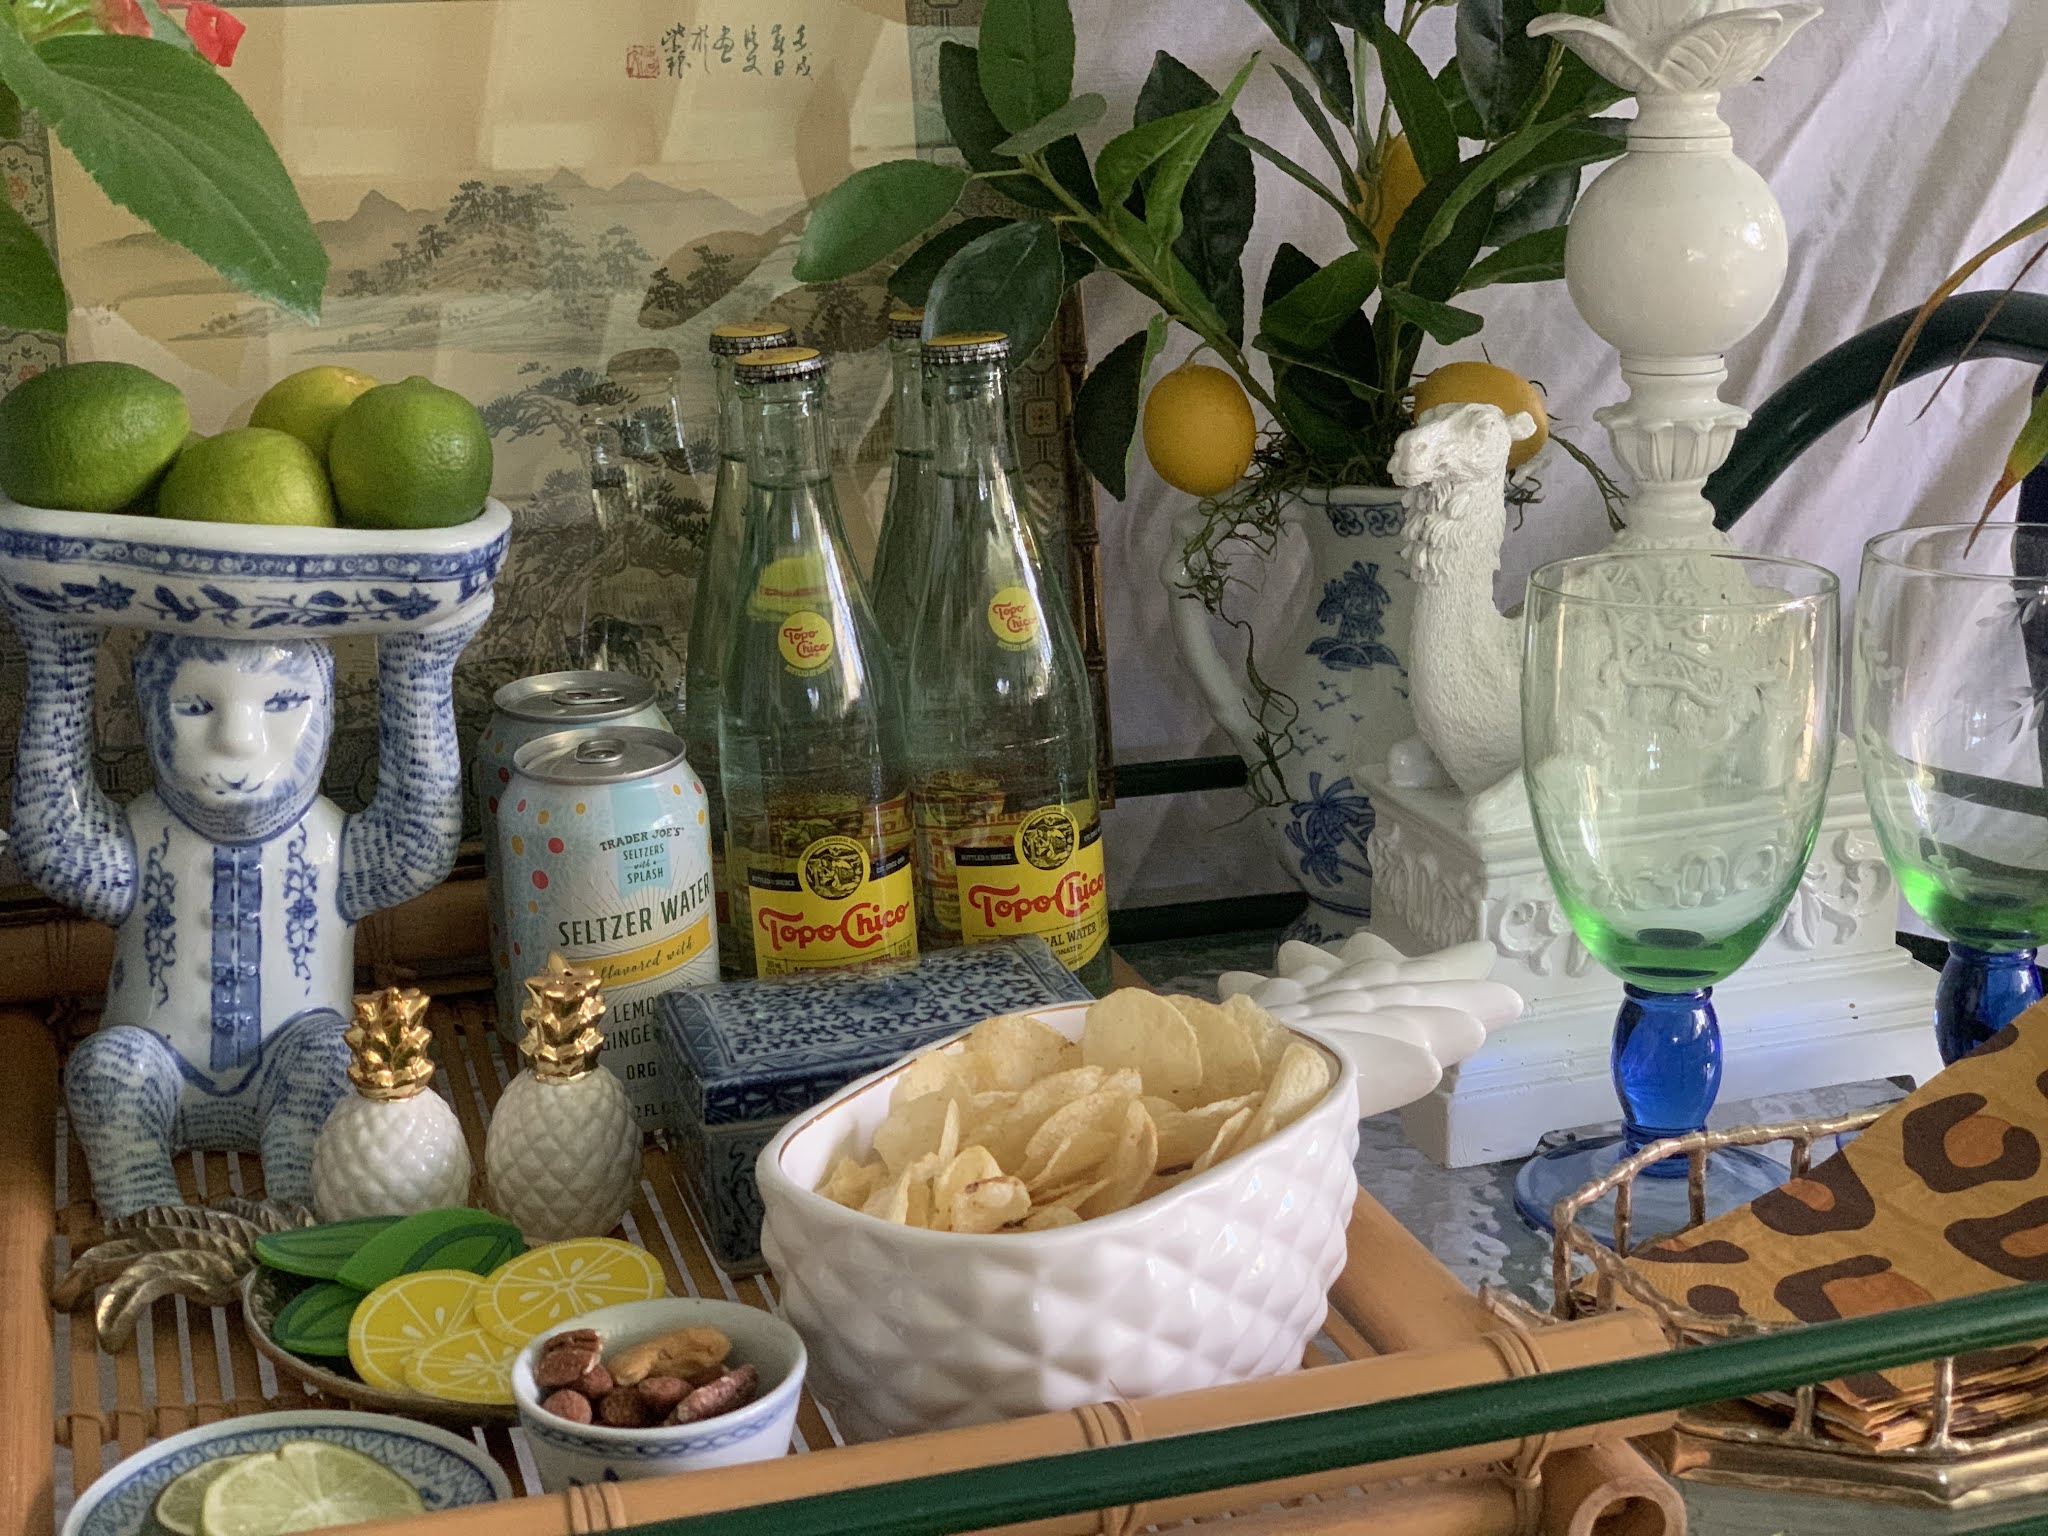
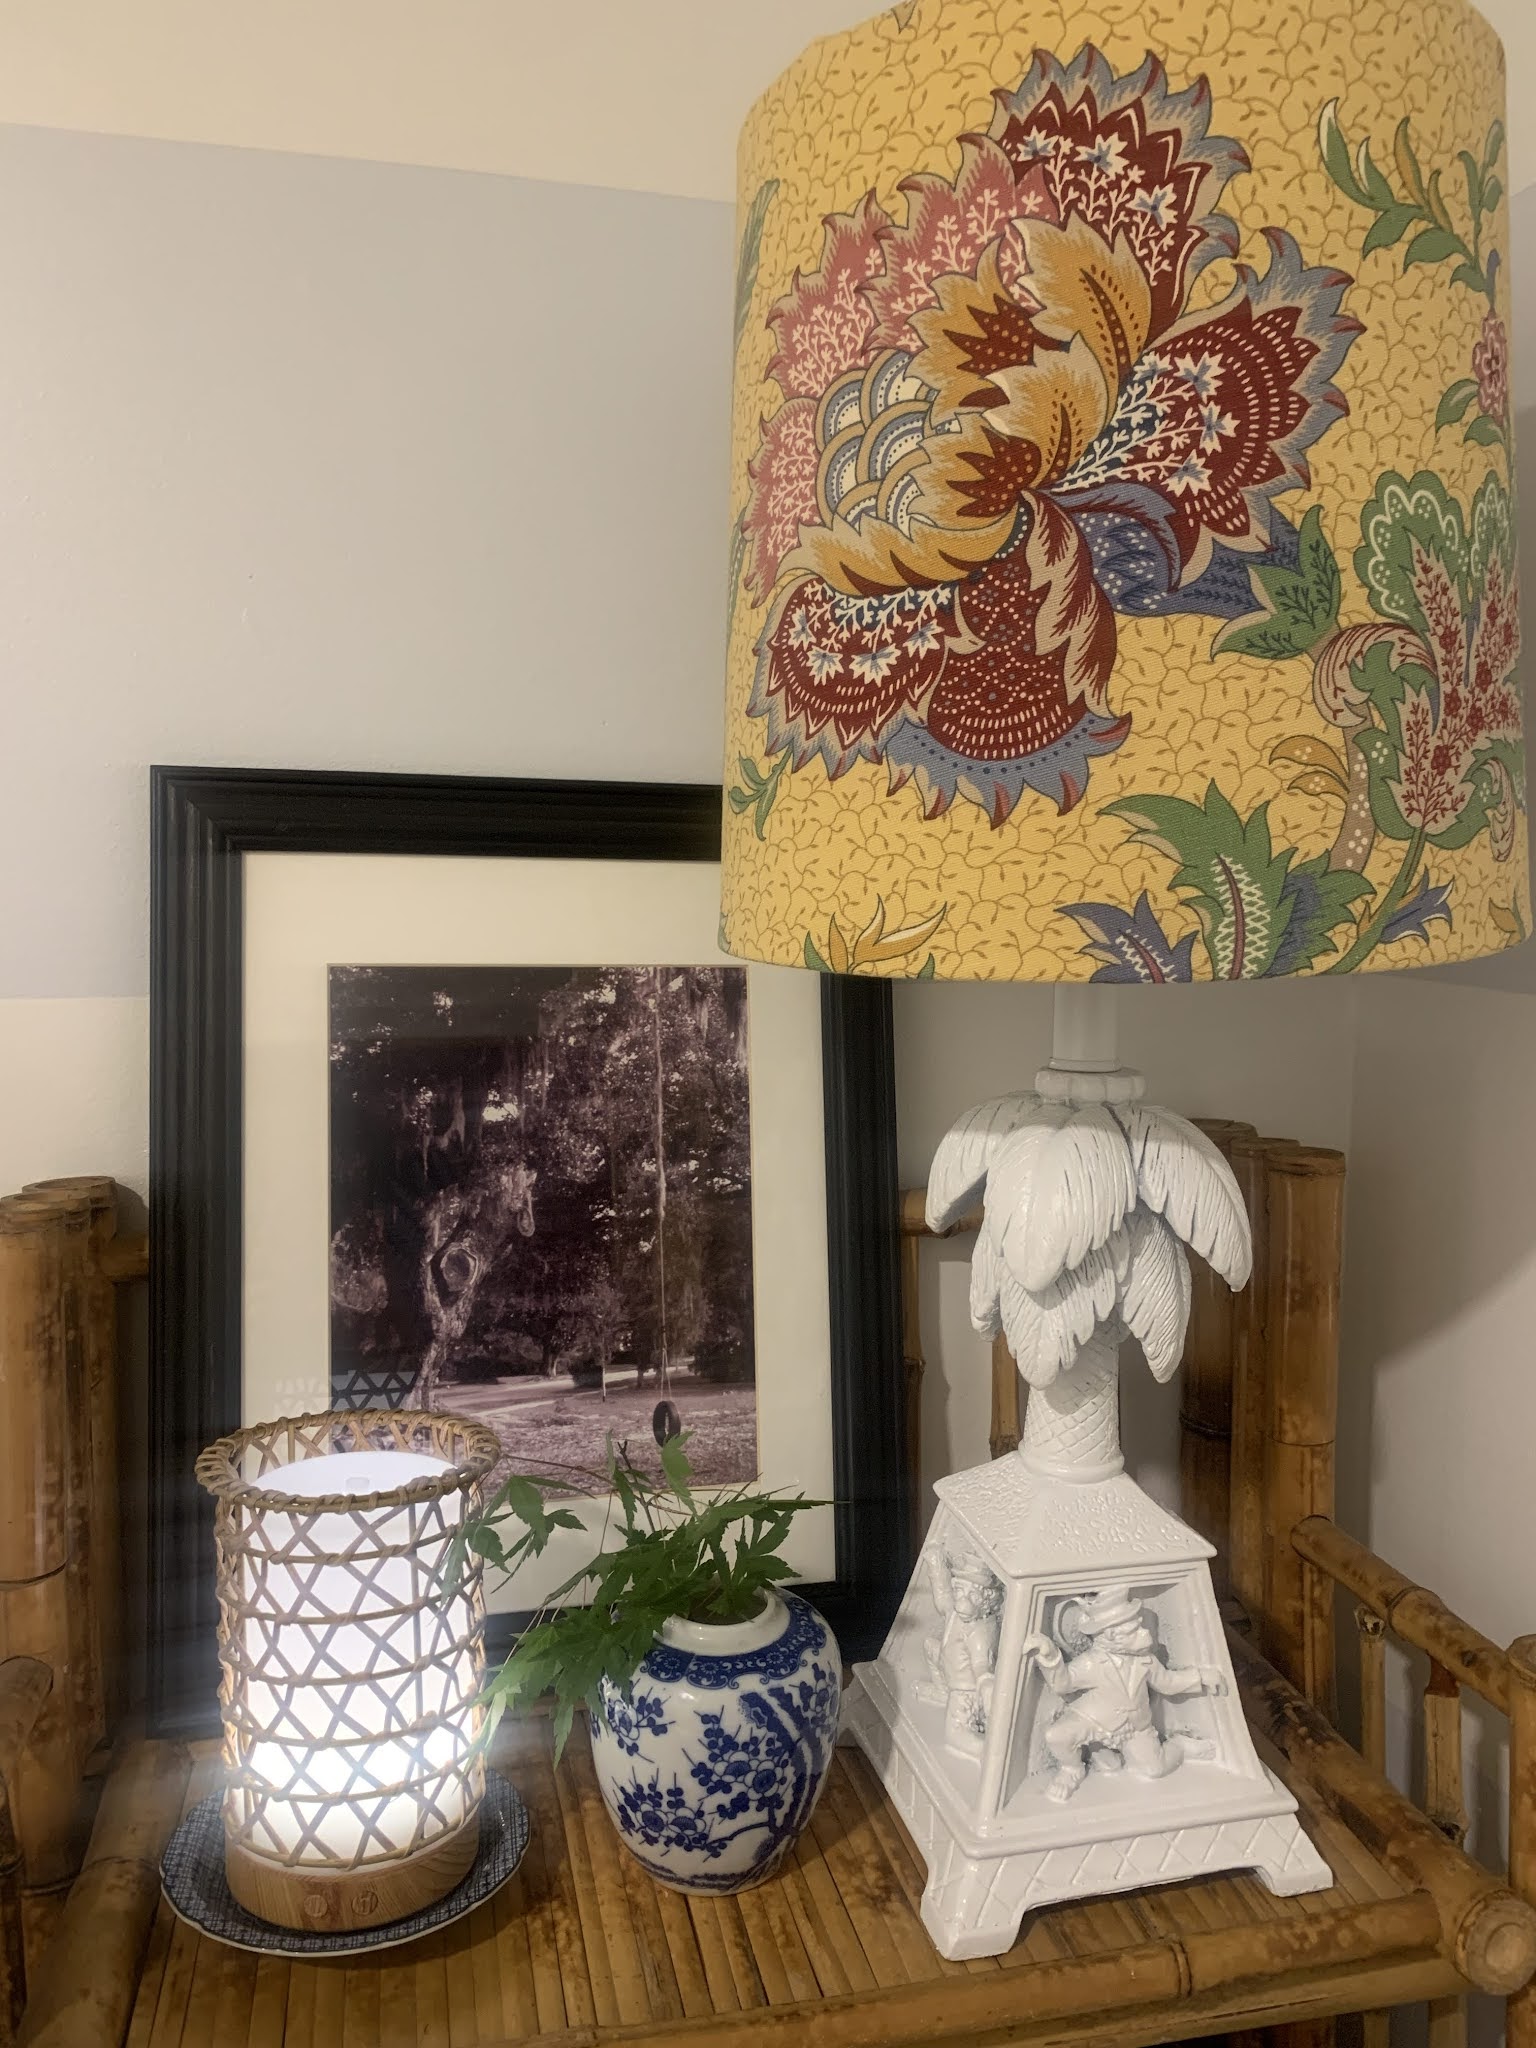
This rather regal looking camel lamp is one of my favorite white paint "transformations."
Here is his before. Brown lamps with gold brushed accents just don't work for my style so I paint my lamps - if the before is more your style, please don't be offended!! 


He happily lives on my screened porch bar cart - I just taped off the parts that shouldn't get paint on or in them and spray painted using my favorite spray paint. I know there are environmental issues with spray paints as well but a little spray painting keeps this lamp and all of it's electrical parts out of a landfill so I still consider it a plus. 


Last Summer I refreshed our main level powder room as part of the One Room Challenge and used a fun monkey lamp I'd been saving for just the right spot.


And the before:


I have a very difficult time leaving behind an elephant lamp when I go thrifting.
 I have a couple tucked here and there.
Just before my #thethriftedporch reveal I looked over and noticed this elephant lamp was still brown (it also still had the GW price sticker on it - welcome to my world!)


Freshened up with a coat of white spray paint and a thrifted white wicker lampshade. So much fresher and perfect on the porch. I think the white lamp shows up better and the details are more noticeable in the lighter color.


Not a great picture but he didn't look too 'great' when I found him.
Glossy white paint and a thrifted wicker shade made all the difference. 
Sorry for the holiday picture but that's probably when my kitchen was clean and photo ready! :)


I often use thrifted wicker and rattan lampshades on my lamps that I spray glossy white because I think the warmth and texture is a nice counterpoint to the lamps but refreshed, thrifted lamps are the PERFECT place to use one of my Faux DIY Pleated Lampshades. 


*Always check your thrifted lamp wiring for any safety issues. It is very easy to rewire most older lamps using rewiring kits. If you don't think you want to attempt rewiring yourself then it is not too expensive to have a lamp rewired at a local lamp shop. Even with the expense of rewiring, most thrifted lamps will still be far more affordable than a new purchase. Plus they often have a lot of character and it is environmentally sound as well to reuse a lamp that would be thrown out.
You just have to read the specs and choose the size that best fits your needs. And there are a ton of help videos on the internet if seeing helps you more than reading directions!

Tuesday, March 2, 2021

(Faux) Topiary Tuesday!

I actually call my little collection of fake topiaries "faux-piaries" :)


I love real, living topiaries but sometimes faux is the way to go because topiaries can be finicky (and pricey!)

I purchased a few of these in a variety of different places from Target to IKEA to a floral wholesaler I like in our area. 


And I made several of them using a few easy steps and supplies. I "planted" them in a collection of thrifted blue and white Chinoiserie planters. I originally made the boxwood topiaries for my mother's surprise birthday party a few years ago. When my parent's home closed last year I brought them home and I've enjoyed using them inside and out. 


                     The directions are here if you want to create a "faux-piary" of your own!


Tuesday, February 16, 2021

How I Made a (faux) Pleated Lamp Shade


It looks like the real deal! Except it is no-sew and easy to create!

I love the new interest in pleated shades. 
I remember going to the cute little cottage in Buckhead that housed Pierre Deux 
when I was in college and looking longingly at the pleated shades
made with Provencal prints. (That dates me for sure!) 
They were pricey. The pleated shades we are seeing again are a bit pricey for me - as they should be because they are made with beautiful fabrics and are quite labor intensive. 


I googled how to make a pleated lamp shade and it was way too "sew-y" for me but if there is a way to pull something off with scissors and a glue gun then I'm in. I saw a couple of how-to's using bias tape to wrap shades. I investigated how to create bias tape from my own fabric (I'm very remedial when it comes to sewing knowledge but it's all out there for the "googling") and then proceeded to adapt the wrapped shade process. 

Here is what I did:

I had a small dingy shade on a brass lamp in the kitchen. 
I had been wanting to cover it for ages and if I messed this up it needed replacing anyway.


I had a scrap of the fabric that I used to cover my chairs. It takes a bit of fabric to create the bias strips and I wasn't sure I had enough. I can't get it anymore so I couldn't start and then run out. Also we use this lamp to light our kitchen table (no overhead light) and the navy background might affect the amount of light coming through the shade.
I really had no idea if this was going to work and I had this Threshold curtain panel that I bought at GW for $1.99 ages ago. Buying curtain panels at thrift stores is a great way to get large pieces of fabric for very little cost. The color and pattern size would work well in my kitchen


I used a metal ruler, a pencil and fabric scissors.
I purchased this very handy set of bias tape makers from Amazon for about $5.00. 
You could cut strips and iron them without this little tool but it would take a long time. You need a lot of strips. This tool paid for itself in time and ease. And I'm pretty sure I'll be making another shade or two - it was that easy. And fun.


It came without instructions. For real. And I'm a novice on this kind of thing. So I googled it. Very simple and you create uniform, creased bias strips every time. 

I decided which size strip I wanted to create and following the google info on how to cut fabrics on the diagonal for bias strips I cut one as a test. I didn't want to cut all of my strips and them be the wrong size. I used about a 48" square of the curtain fabric cut on the diagonal. I used about half so I could have done a pair of these small shades with that one piece of fabric. 


Once I tested my strip making and liked the width I made a couple strips and started gluing using my simple, nothing fancy glue gun. 
I put a thin line of glue at the top edge of my shade and pressed the strip into it. I used a simple clip to hold it in place to cool.


I pulled the strip straight down. The bias strips have a bit of stretch - and forgiveness - which is why they are key to making this project turn out. Because of the stretch I pulled the strip gently before I glued it at the bottom. I didn't want it to be too tight but I didn't want the strip to sag because of the stretch. Using the clip helped with this step.

Then I cut the strip off at the bottom even with the bottom edge of the shade. I decided to use do this instead of wrapping around the shade for a couple of reasons. First, it would block more light to have a double thickness of fabric on the shade. Second, it would take a lot more fabric to make all of those strips and I thought there would be more waste because of how the strips need to be glued down.


Using this method I barely had any wasted fabric.

(Those were the scraps left at the end of the project!)

Also, if you wrap around the shade you have to work around the metal frame wires. 
My method is simpler.


The rest is easy. You just keep gluing strips moving around the shade. 
I overlapped about half the width of my strip. I thought this looked the most like the "real" sewn pleated shades and it was enough of an overlap that you can't see any of the shade peeking through from the side. Pulling the strip slightly like I mentioned above also helps with this.


Just keep making strips and gluing them around the lampshade. 

Once you get all the way around the lampshade you just glue the final strip to overlap the strip where you began.


You can barely see it but you would want this to be at the back of the shade. This is also the point where you will start and stop the top and bottom trim pieces to finish off the shade. 


To finish off the top and the bottom you want to use a long bias strip so that you don't need to piece it. On a larger lampshade you might have to use 2 pieces so those could be sewn together or glued together. You just want to think about where the seam will be.


I glued the strip to the front side first. I used the inside fold line to help me keep it straight. 
At the end I folded the raw edge under and glued it down.


Then I put glue along the edge of the fabric and rolled it over the top edge 
and clipped it down to dry. 
I just did about 2 inches at a time. 


Just smooth it over the wire frame. This isn't hard you just have to do a small section at a time so that you can be sure you don't have any bumps or puckers. The bias strips are very forgiving.


That's it - your cute (faux) pleated lampshade is ready to use!


At night my shade looks a little darker with the light on
 but it looks so charming glowing at the end of the table.


Be sure to share if you make one too!


Thursday, October 31, 2019

ORC Fall 2019 - The Kitchen (yep, again)

Thursday #5 Check-In time!!
One Room Challenge time really flies. Like warp speed!!

I am still painting, painting, painting but the big news is.....
that the black tile island top has been replaced by very gorgeous white carerra marble tile.
This was my longshot project on my "wish list" for this challenge waaaay back on Week 1.


I don't think I've ever shown such chaotic pictures on my blog before!! 
I must be tired or lazy or something!
Keeping it real - I am not able to maintain calm and control of any part of my house when a project is underway. It all goes to pieces!


In the middle of that chaotic kitchen mess I decided to paint a big ol' orange pumpkin 
for Trunk or Treat at church. 
I believe that expression is a reflection of mine!! 
We are definitely going to need a Week 7 around here to have a finished product for the reveal!! 


Be sure to follow all of the One Room Challenge progress here.
I've definitely enjoyed finding some favorite projects/inspiration and watching the progress!

Thursday, October 24, 2019

ORC Fall 2019 - The Kitchen (yep, again)

Check In Time!! Thursday Number 4!

A lot of painting has happened. Like, a lot. 
It doesn't make for a fascinating post but it has made a huge difference. 
I found out that my "white kitchen" was actually a dingy, dirty, yellow-y off white kitchen. 
Like, embarrassingly dingy.
But lots of white paint to the rescue.


(Look at how dingy the previous white had become #mortified)

 I am using Sherwin Williams Super Paint in basic, bright white.
 So far paint is basically all I have purchased for this ORC:
One gallon of a soft blue for the eating area ceiling that I diluted with some white I had on hand to get the shade I was after, 2 gallons of white and a gallon of Naval, Sherwin Williams Color of the Year 2020!

(Mollie scraped all 48 window panes for me. Bless her!!)

We also got the microwave relocated to the book cases. We had to add a wider shelf but it works perfectly. I've wanted to do this for years to free up more counter space.There are definitely ways to place your microwave in a kitchen that is a bit more stylish but I'm working with what I have and what I can realistically expect to get done.
 Add in paint and some thrifted items and there you have it!

 (I am realllly sharing the unstyled, disaster area space that is my kitchen right now!)

One of the things on my to-do list was to change the black tile on the island. I considered it to be a longshot. I priced white marble slabs installed, not installed (just not something we can physically do ourselves right now), formica faux marble countertops and more. I just wasn't willing to spend what any of the above was going to require right now. BUT then I found 12 x 12 gorgeoussss white marble tiles the other day for under $5.00 a square foot!! So while a big seamless slab would be amazing this is going to be the next best thing, look so much better and cost under $75.00!! 


I cannot wait for the tile to be glued down and the island cabinetry painted Sherwin Williams Naval. 
Here's the back door "in progress" with just one coat of Naval. Already gorgeous!


And since every picture in this post is pretty scary...


...here's my cute terra cotta pumpkin collection all ready for the big night!
I found them all in thrift stores this year. They've been a big hit on IG!

Follow along with all of the other great projects on the One Room Challenge blog.

One Room Challenge™