Showing posts with label bunnies. Show all posts

Thursday, March 11, 2021

Faux Bois

 Faux Bois means "false wood" in French. 

I realize I'm starting to look like a big fake on here - first my "faux pleated shade" post, then "faux-piaries" and now I'm talking about fake wood :)

Never fear, Faux Bois really is a thing and it's getting a lot of attention right now. It's not a trend, though, in my opinion. (I talked about trends here if you want to know my view on trend v. classics.)  I first discovered Faux Bois in my twenties (so, a long time ago!) via a Martha Stewart magazine article. Antique French Faux Bois furniture pieces are quite spendy and rare. Newer faux bois pieces can be the same. Here is the link to an artist in Virginia who practices the 150 year old tradition of making faux bois furniture! Amazing. And my latest Ballard Catalog featured some new faux bois items by the fabulous gardener Bunny Williams.

 Faux Bois can also mean a faux finish technique that makes wood, paper, or fabric look like it has a pronounced wood grain. There is a tool called a rocker that helps create this look. I have a rocker and learned to create a faux bois finish many years ago. I thought it was fun and pretty easy to master. Maybe I'll dig it out and use it for a project soon! I keep looking at this faux bois rug from Martha Stewart!

But this post is actually prompted by a cute little, reasonably priced faux bois candle holder I found the other day. I have a serious case of Spring fever and it seemed like a fun accent piece to display a little plant or some other springy items. Or an actual candle, it's intended purpose!


Do you like Faux Bois? People seem to either really like it or want to give it a definite pass. 


Thursday, March 12, 2020

Chinoiserie Easter Eggs

UPDATE: Post your Easter Egg GIVEAWAY comments on this post. Details on Instagram.

I'm not an over the top seasonal decorator but painting is "my therapy"
 and there's a lot of crazy going on right now so late night painting sesh it is!!


I purchased plain white plastic eggs.
 They aren't the slick, shiny plastic ones that open into 2 parts.
 They have a matte finish.


They are actually pretty realistic looking 
and the same size as a real grade A large egg, I think. 


I used a small (very, very small) paintbrush and acrylic craft paint.
This is a very quick and simple project. 


The matte finish is very easy to work with and dries very quickly. 
I painted a dozen eggs in one sitting!


If you "hunt" around you will find Chinoiserie Easter eggs 
tucked in here and there all around the house!

See my blue and white Chinoiserie Christmas ornaments here and here
And my Chinoiserie Pumpkins here


Tuesday, March 31, 2015

Burlap and Bunnies

While the burlap and paints were still hanging around
 I made last week for a friends' Girls Night Out activity,
 I decided I should at least make an effort to put something on the front door that would give us a little Easter decor before it's too late.
 
 
So Burlap and Bunnies it is!
 
 
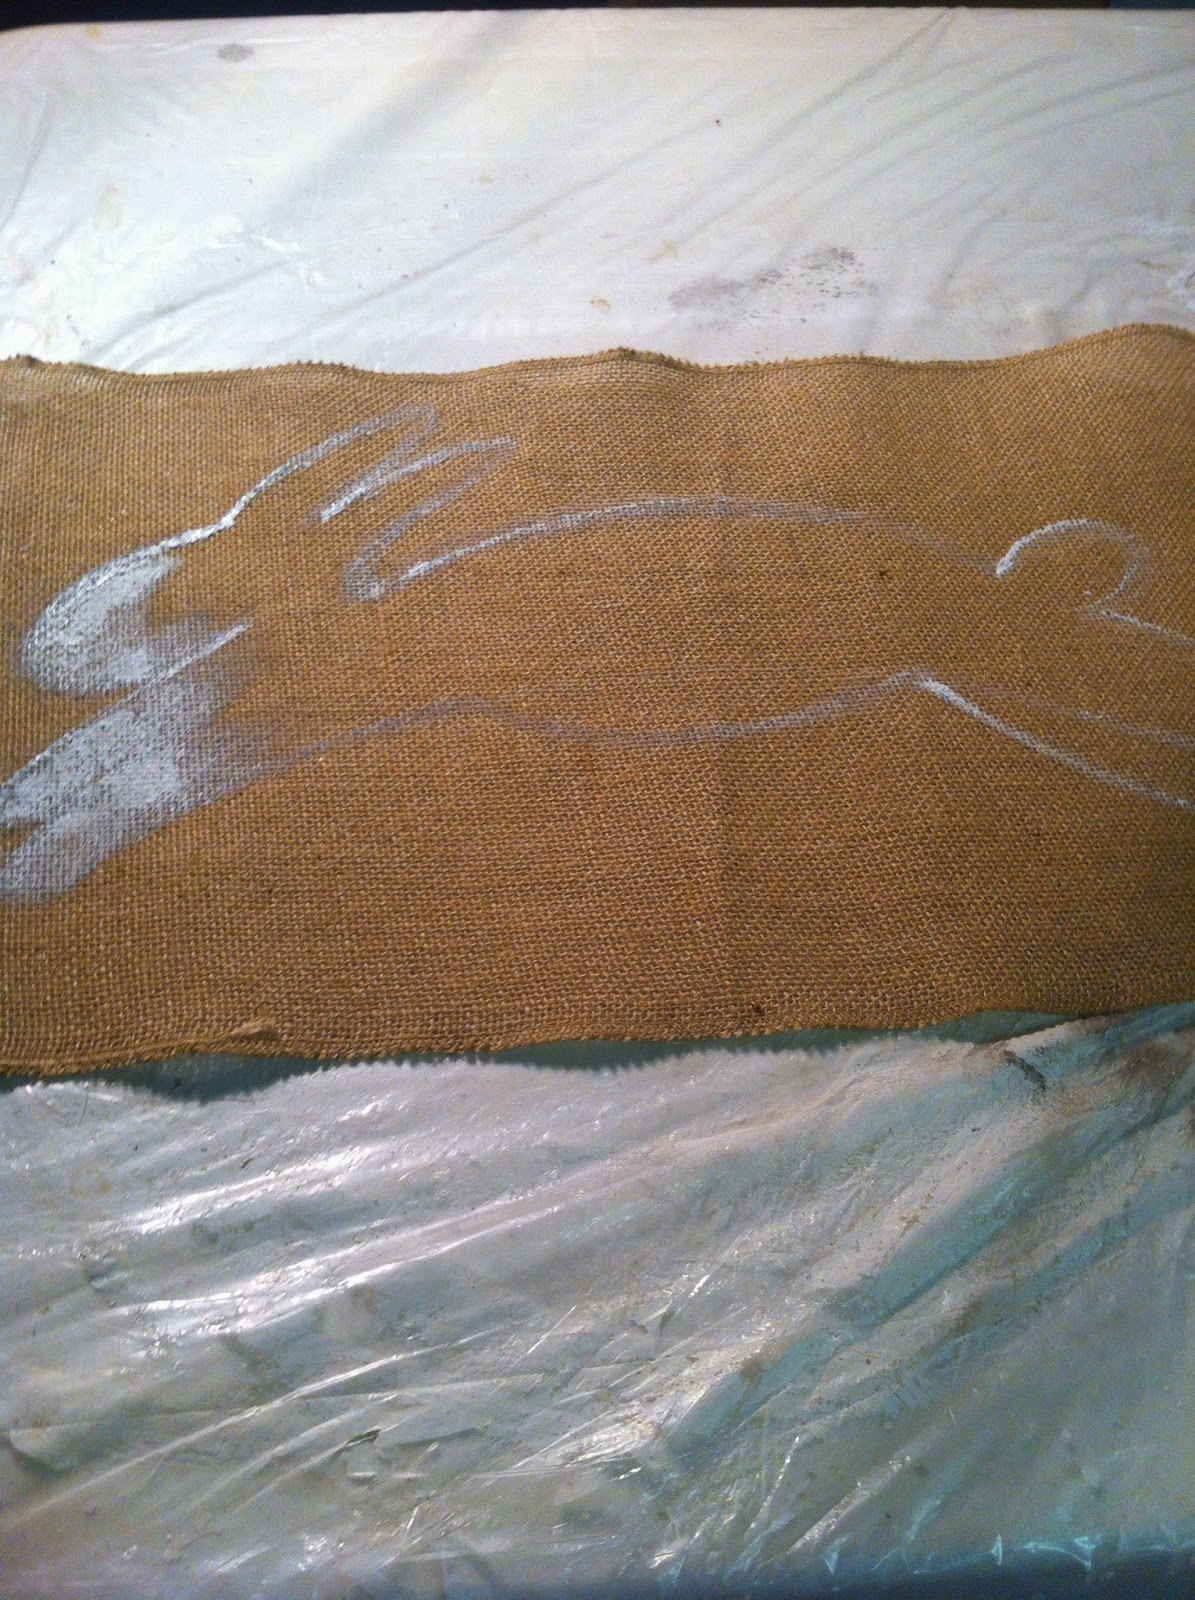
A quick outline on the burlap runner remnant.
 I just use a flat paintbrush about 1/2 inch wide and paint the shape.
 
I filled it in with a larger brush and then while the white was still wet,
 I gave the bunny pale pink insides of his ears and cheeks.
I love to paint leaping bunnies.
 
 
I sketched in some carrots at the bottom
 and started painting grass in multiple shades of green.
All very quick and simple.
 

I painted lots of blades of grass.
Then I used a Spouncer and added yellow polka dots all around the bunny.

 
I gave him a pink nose and a black dot for an eye.
After he dries I will erase the chalk outlines you can see around the carrots.
I'll use a sharpie to draw a few whiskers!
 
And it's on the front door -and it's not the day before!
Time to spare.
 
I didn't have a dowel rod long enough so I used a fairly straight branch from the yard.
 We've been pruning so plenty of branches on hand.
 
 
It was impossible to get a non- shadowy picture on the front door yesterday so I took one of it flat on my kitchen table so you can see the branch.
I just added a hanger from orange gingham ribbon.
 I had it on hand and it looks good against my SW Urbane Bronze front door.

So quick and easy with the hemmed burlap table runner.
Other than drying time this whole project takes less than an hour.
So, hop to it and get one made before Easter!!


Saturday, March 30, 2013

The 11th Hour....

Well, practically.
 I'm sure everyone else is beyond ready for Easter and this is of no help but the idea does have possibilities for future holidays and events.
As I said on Facebook, I threw a puffy burlap carrot on the front door and called it good this year. March was full of deadlines for free lance work and speaking at a major conference was also on the calendar  and Easter was early this year. 
 Cute got lost in the shuffle.
 So that's how we rolled this year. Also, College Girl went home with her boyfriend to my old stomping grounds, Athens, so a little less motivation to roll out major Easter decor.

We hosted* last year so we I am invited out for Easter dinner this year. I wanted to take a little something to my peeps and since they are all beyond the age of cute stuffed bunnies and more into gift cards I wanted to package the gift card creatively.
I bought "fancy" all natural lemonade in swanky real glass bottles. Lemonade is Spring-y. And I picked up Chi-Fil-A gift cards cause, well, it's the South and we are addicted.
So now I needed to put them together .... somehow...


Scrounging in the studio I came across these clear plastic name tag holders like you get when you go to a meeting or conference. They are super inexpensive and crystal clear. They are made to hold a single thickness name tag so they are "snug" if you follow. That means that when you stuff things in them they stay. Perfect.
 
 
I love the crisp, clear look. I just put some Easter grass, a little business card sized note and the CFA gift card in the pouch. There are holes in the back of the pouch that are meant for the neck string if you are using it for it's real purpose but they work perfectly to string curling ribbon through. Just tie it on the bottle and you are good to go.
You could combine all kinds of treats and gift card in the pouches.

* We did host Easter for friends who are like family last year. The kids have all grown up but I haven't so I still made cutesy Easter treats and put bunny tails and ears on the real Coke and Orange Crush glass bottles - you know the drill. But I really wanted the kids to participate in an Easter Egg Hunt and not just sit around on their iphones :) So I thought about how to motivate them... what motivates teenagers and college students?... well, money and gift cards, of course. So I filled the eggs with quarters or slips of paper with numbers that corresponded with numbered gift cards to places like Starbucks, Chic-Fil-A and to itunes. I announced that it was time to do the Easter Egg Hunt , there were some moans and a mention or two about the heat but not from College Girl who jumped up and announced that she was hunting eggs. Then she announced that I had filled them with money and gift cards and we had an Easter Egg Scramble! Everyone was all in for this hunt!! They acted like little kids running around looking for eggs.
 It was worth every penny quarter :)

Wednesday, February 22, 2012

Hopping Ahead to Easter...*

I have never used these little cotton rounds from the Make-Up department for anything beauty related. I'm sure they are great for removing eye make up or something. I just don't know. I do know they are really great for practically free art projects. You can buy a whole sleeve of these little circles for a dollar. Just grab some supplies you have hanging around and get started.
I cut one circle in half and slathered those and a whole circle with Mod Podge and then just mushed the ears to the head. The generous coat of Mod Podge will seal up the cut sides of the ears. The inside of the circle is like a cotton ball and needs the MP to keep it together. And it just all sticks together.
Then I gave it a dusting of crystal glitter because it is leftover from the January Art Camp projects (http://madebymolliesmom.blogspot.com/2012/01/remember-sparkly-snow-guys-children.html
and http://madebymolliesmom.blogspot.com/2012/01/irresistible-snowfllakes.html) and it was there. Good enough reason. If you don't have it then just go on to giving this guy an adorable face.

Just pull out your buttons and scraps of fun foam or felt or whatever. Just get creative. Just put a dab of MP on your bunny face and add the details. I made the whiskers from fun foam and the eyes and nose are buttons. That's what I had sitting around. You could use wiggle eyes and wire... doesn't matter.
Then I added some pink glitter fun foam for the inside of the bunny ears.He's so stinking cute. And easy.
You could glue him to a card, add a pin back and, ta-da, Easter jewelry, string them together for a garland with some plastic eggs or glue them on popsicle sticks for a puppet show if you are in a classroom.

* I will backtrack to St. Patricks Day.  I'm jumping all over the place right now.