Showing posts with label DIY ornaments. Show all posts

Sunday, December 11, 2022

DIY Faux Fruit Pomanders.


Clove studded citrus, or pomanders, has become very popular the last couple of years but it is really a very traditional, classic and old tradition. My mother always made them at Christmas and we would help push the cloves into the oranges after she made the holes with a toothpick. Citrus like oranges, lemons and loquats were always a part of our lowcountry holidays and the tradition continued after we moved to Washington DC and often visited Williamsburg. 


From Wikipedia:  A pomander, from French pomme d'ambre, i.e., apple of amber, is a ball made for perfumes, such as ambergris (hence the name), musk, or civet.[1] The pomander was worn or carried in a vase, also known by the same name, as a protection against infection in times of pestilence or merely as a useful article to modify bad smells.[1] The globular cases which contained the pomanders were hung from a neck-chain or belt, or attached to the girdle, and were usually perforated in a variety of openwork techniques, and made of gold or silver.[1] Sometimes they contained several partitions, in each of which was placed a different perfume.[1]

The term "pomander" can refer to the scented material itself or to the container that contains such material.[2][3][4] The container could be made of gold or silver and eventually evolved to be shaped like nuts, skulls, hearts, books and ships. Smaller versions were made to be attached by a chain to a finger ring and held in the hand. Even smaller versions served as cape buttons or rosary beads.[5]

A pomander can be a bag containing fragrant herbs and might be viewed as an early form of aromatherapy. Pomanders can be considered related to censers, in which aromatics are burned or roasted rather than naturally evaporated.

Pomander Balls in America

It’s in the 18th century we do see pomander balls as we know them today. However, it should be noted these were a luxury. Most founding families would not have wasted perfectly good oranges on simple decoration. Not when there was scurvy to keep at bay during those long winter months. Having said that, one could find a pomander ball in colonial homes in baskets or cupboards and in a handkerchief for a traveler to smell on the road (again, to cover any nasty smells in the street…and oh, were there nasty smells).In the Victorian era, pomander balls were a staple in many American homes and a lovely tradition families looked forward to creating.

I have to agree with the founding families - I am funny about using food that cannot be eaten as decoration (I'm not as concerned about candy like on gingerbread houses.) I have just worked with too many populations who are food insecure so I choose to go faux with my citrus plus using plastic fruit that someone else tossed out and I thrifted is recycling at its best!! You do you - no judgement here.

If you want to make faux fruit pomanders that will last for years this is what you need: 

Faux oranges and lemons. I happened to thrift two huge bags of faux/plastic citrus - one bag of oranges and one bag of lemons. Each less than $4.00. 


Whole cloves - easily found in the spice section at any grocery store.

A drill with a small bit. Just match the drill bit size to the size of your cloves. You want a snug fit but not so tight that you break your cloves when inserting them. 


Glue that dries clear (optional) 

Thin ribbon of your choice. I used velvet. (optional)

I have a video on Instagram showing the steps but you simply drill holes into your fake fruit  using a small bit and then gently push the cloves in. I put a dab of glue on my cloves but it is not necessary if you want to skip that step. 

You can add as many cloves as you wish and even create designs if you wish. If you plan to tie them with ribbon be sure to take that into consideration when placing your cloves. 

The cloves smell nice and these will last for years without trying to figure out how to store real, cloved fruit. 


I have another "faux fruit' Christmas decoration DIY
here that is quick and easy too!!

Sunday, November 27, 2022

Can You "Spot" the Newest Ornament?

You didn't really think I'd decorate my new King of Christmas Tree and not include leopard print in some way, did you??

I decided to go big and incorporate leopard print by including the leopard itself! I found these leopard shapes back in the summer. I could immediately imagine them on my tree. I liked that they were a little larger. It adds a nice variation in scale and it only takes a few to make an impact on the tree. 

I painted the first one or two in "traditional" leopard tones - golden tans and black spots. 

And then, I wondered about a fun colored leopard and tried a couple of blue ones! 


Now I can't decide! Tan only? Blue only? Or both on the tree? 

What do you think? 

Be sure to keep following along because I still have a couple more DIY ornaments to create for the tree. I'm not finished yet!

Thursday, November 10, 2022

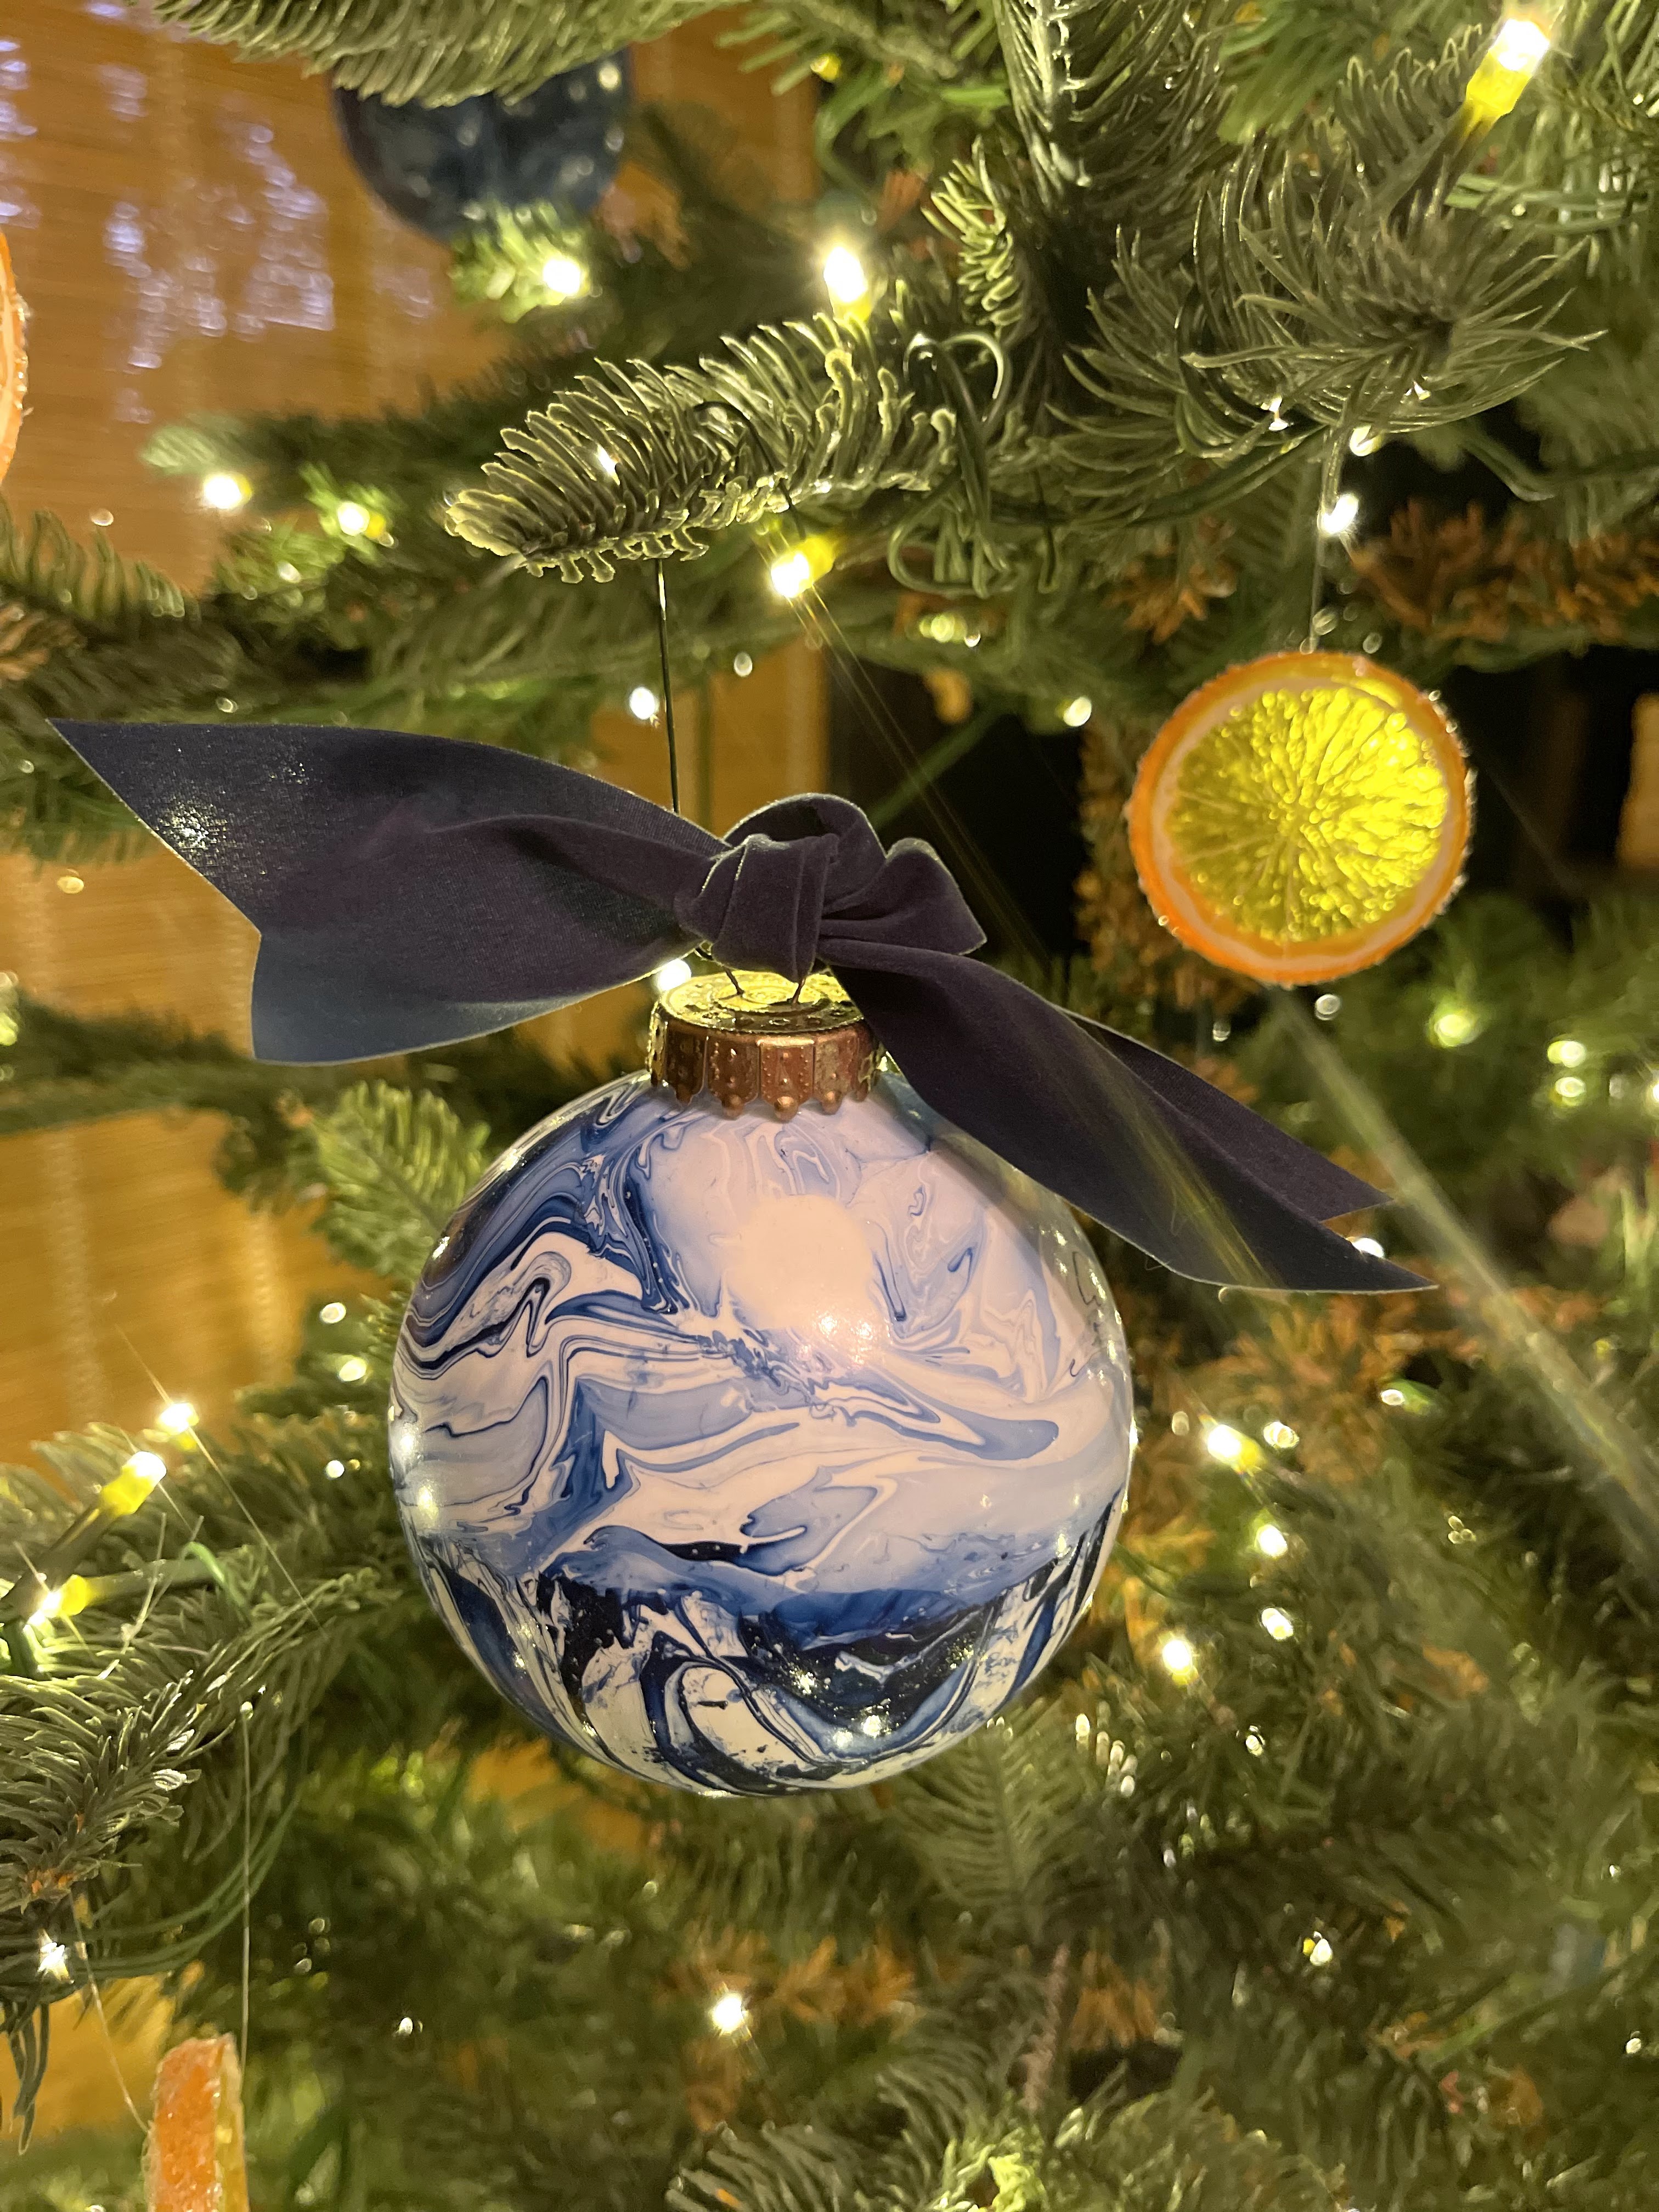
Marbelized Christmas Ornaments

I'm having so much fun DIYing ornaments for my new King of Christmas Noble Fir. You can find the first DIY here. 


If you've followed me on Instagram  for any length of time then you know I have been on a marbleizing kick for a while. I marbleized some mini pumpkins last year and then marbleized all the pumpkins this year. I tried my hand at some Easter eggs last spring. I've had so many questions on IG about which technique I use so I decided Christmas ornaments would be next so I could show you how I marbleize.


Marbleizing Christmas ornaments is nothing new. I did this the first time a long, long time ago - I think it might have been a Martha Stewart craft years ago but there have been a lot of tutorials and methods around for ages. I'm going to share what works for me - I use spray paint. But you can also google it or check Pinterest and find a lot of methods and ideas to inspire you.

You will need: 

Spray paint. I use Rustoleum 2x (not sponsored but I wish they would send me a can of every color so I could go wild!) We do this outside on a plastic covered table.

Container for water. It will be covered in paint so use an old plastic container. It needs to be wide enough to get your item in with some space around it and deep enough that your item can be submerged without touching the bottom. Your water needs to be "room temp" not cold. Cold water will keep the paint from staying loose and smooth when you dip. Change your water in between colors and I think it helps to let the overspray on your container to dry before you spray a new color.

Plastic gloves and a spray paint mask if you choose.

Skewers to swirl the paint.

Ornaments. I think the marbleizing shows up best on white ornaments. You can use plastic or glass. You can find them at craft stores, Wal Mart, Target.

And you need a place for your ornaments to dry. I'll touch on that later.

Gather everything and get ready to get creative. This is not a precise process and every ornament turns out differently so just relax and experiment until you figure out what works for you.

Here's what you do:

Fill your container with water and choose your paint colors. 

I tend to use one dark color plus white but you can use any combo you want. Experimenting is what makes this fun. You'll want to have plenty of blank ornaments on hand.

Next you quickly spray your colors onto the surface of the water. I alternate color, white, color when I spray. You may need to spray one of the colors an extra time. You'll get a feel for how much you need and also depending on how much coverage you want on your ornament.

Use the skewer to swirl the paints together lightly so that they look like marble. 


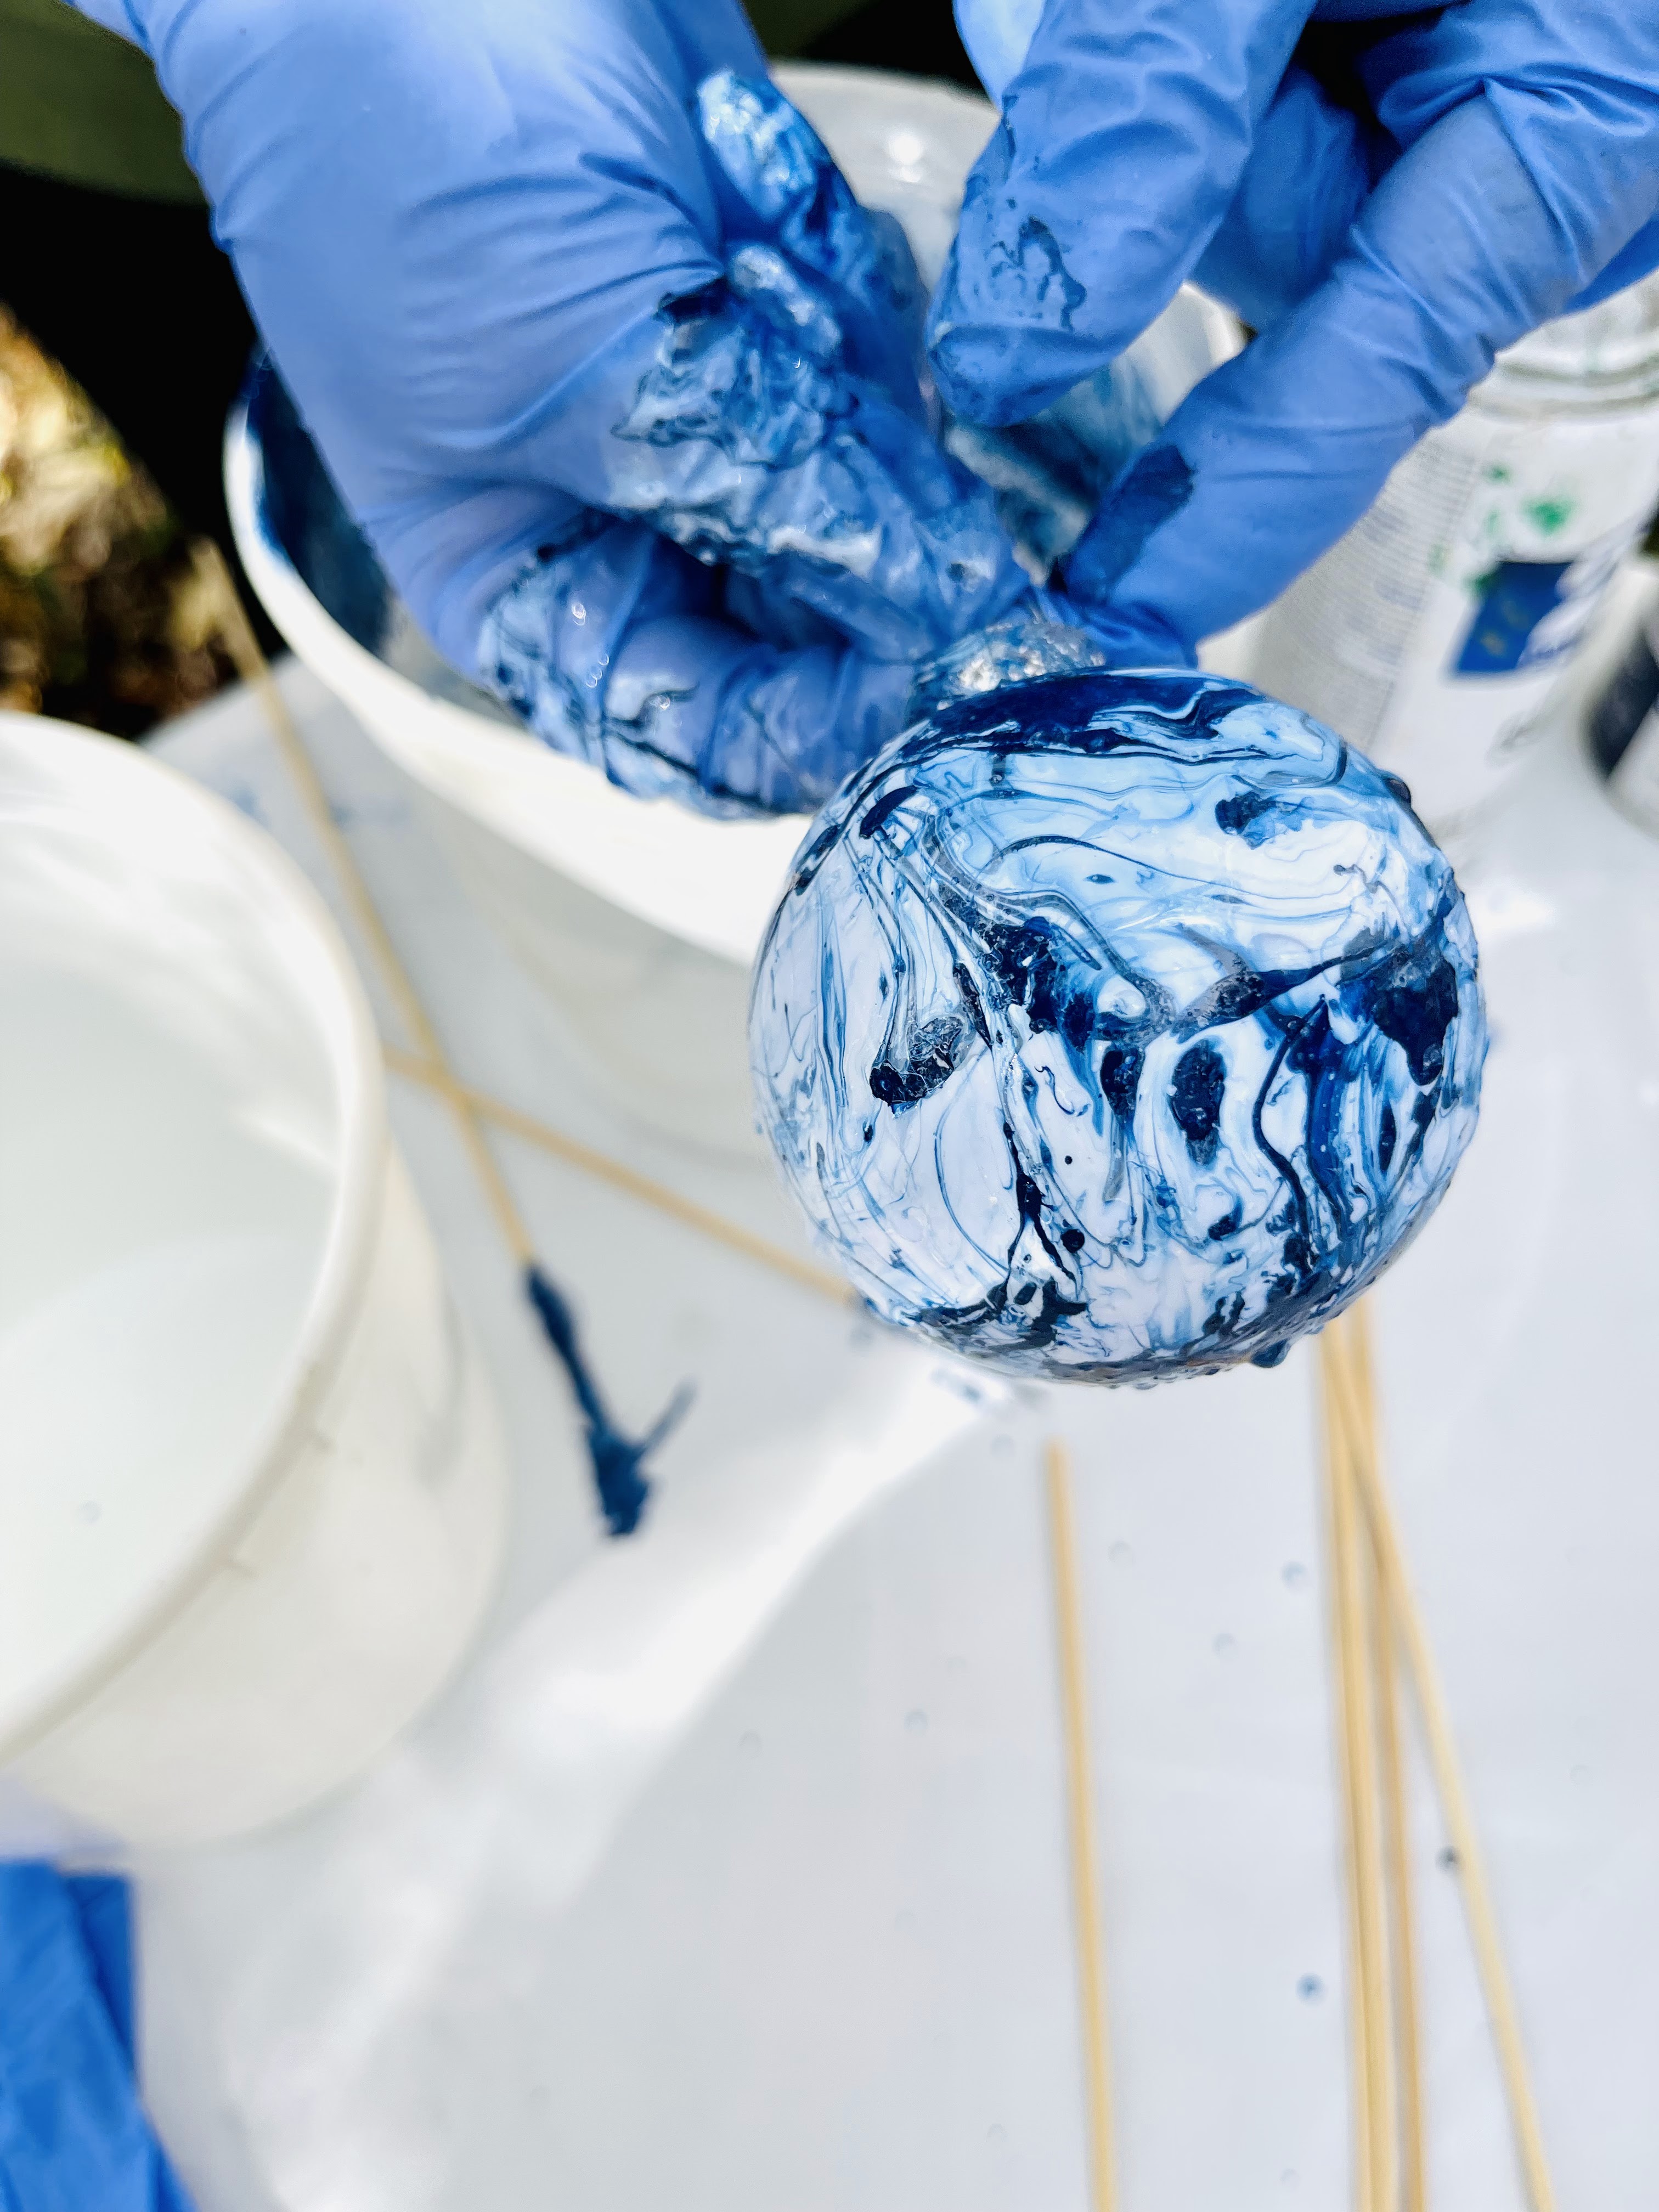
Now you want to dip your ornament slowly into the bucket of water and paint. I like to twirl my ornament slowly as I dip it to get a little more "swirl" and it helps to cover the ornaments surface. You can see a video of these ornaments being dipped here.


You can also place a dowel stick or skewer into the ornament and secure it with painters tape. I planned to paint my ornament caps gold so I didn't mind if they got a little paint on them. If you want to preserve your ornament caps then just remove them and set aside until your ornament is dry and use the tape and stick method.


If you use the method where your ornament is taped to the stick simply turn it upside down and place in a jar so the ornament can fully cure and the water droplets left on it will evaporate. If you use the method with the ornament cap left on you can simply use an ornament hanger to hang it up to dry. You can use a coat hanger to hang a few on but if you are like me and can't get stopped then string up a clothesline by your work table.


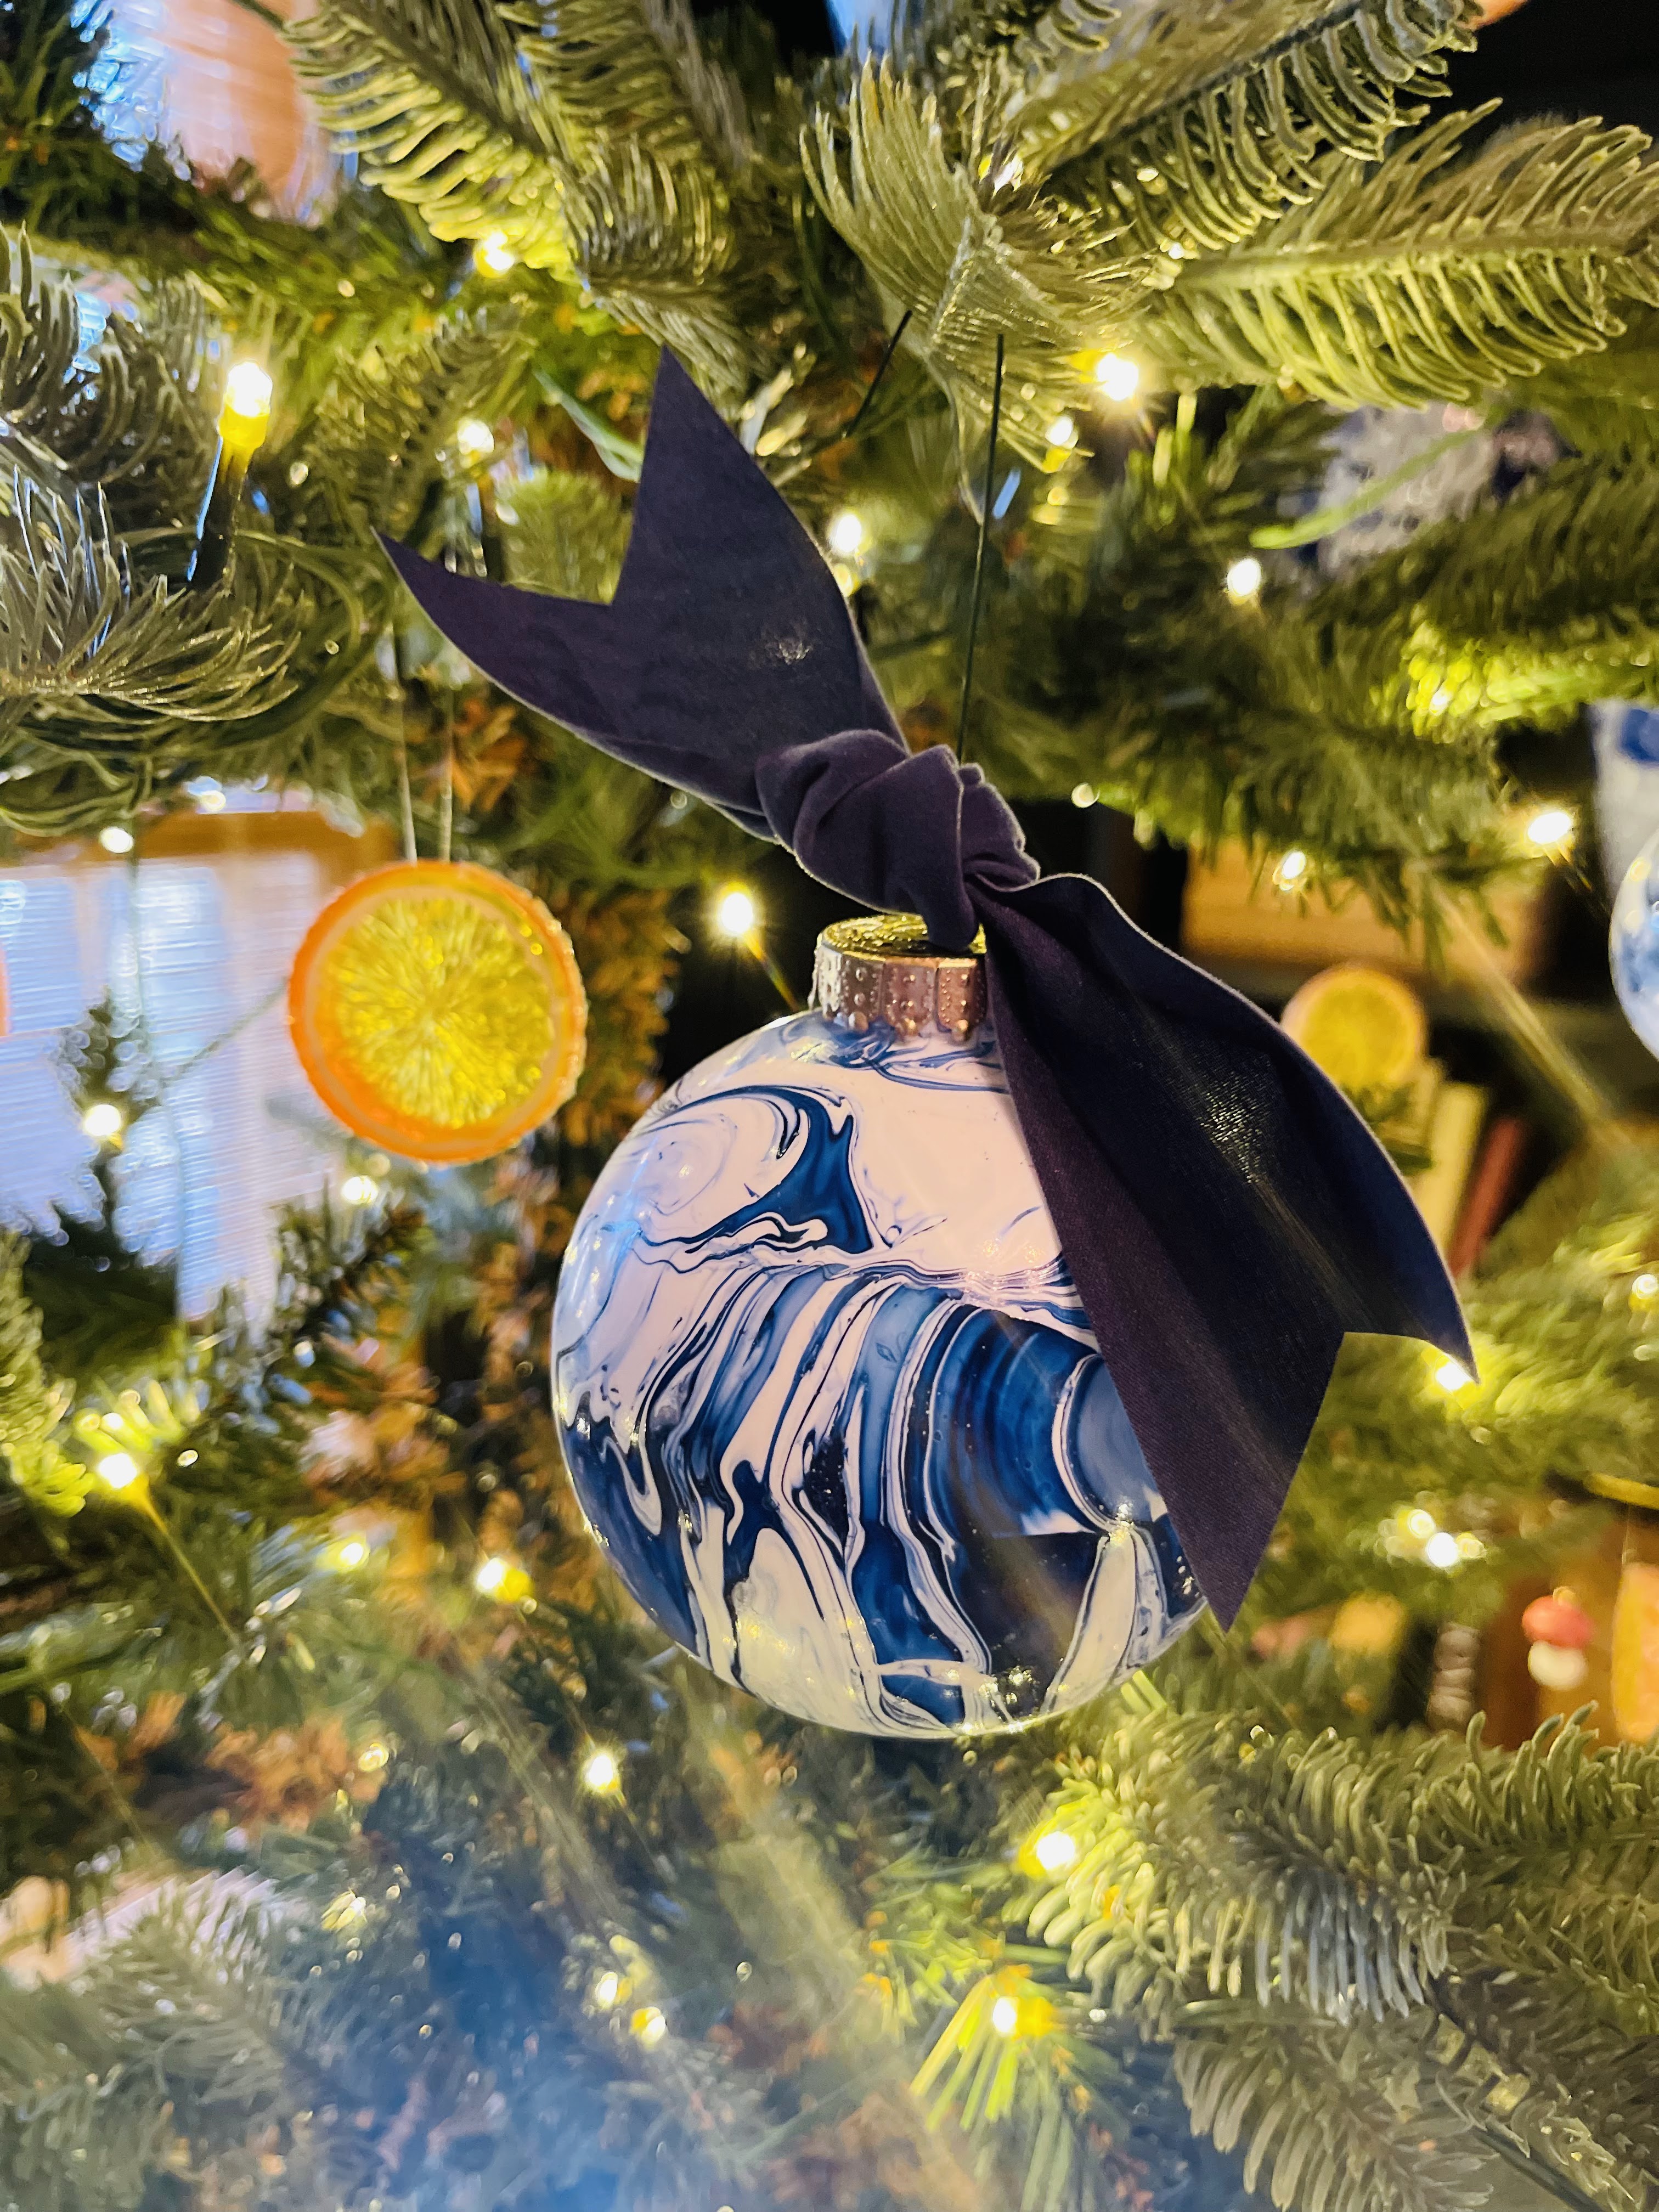
Once they have dried they are ready to enjoy. Add a ribbon and hang on the tree, pile in a bowl, use on top of a package, give them as neighbor gifts! Be sure to let me know if you create your own marbleized ornaments this year!
And be sure to check here on the blog and on IG because I have a couple more DIY ornaments to share. My new tree has the perfect shape for lots of ornaments!


Every ornament turns out a little different. This isn't a precise process. Relax and enjoy being creative.