Showing posts with label fabric scraps. Show all posts

Thursday, October 20, 2016

Fall 2016 One Room Challenge - Week 3

I am scarily calm about this.
I'm not sure why.
Because the Master Bathroom is scarily a mess!!


The giant mirror is down and the 80's wallpaper is there for all to see. 
I shared how I feel about 80's wallpaper on my Instagram this week.
White paint headed that way!
 There is one of the fabulous thrifted bamboo mirrors temporarily propped on the counter so we can leave in the morning knowing we've brushed everything that should be brushed and I have both earrings in!


I did clear out the tub.
 Had to find a new storage spot for my bamboo mirror stash 
but we are doing some electrical and they were in the way of the ladder.


The cabinets are still gray.
 I should be more concerned about this. 
And the floor is covered in drywall dust which is luckily the color of our carpet.
 So there's that. 

I did spend some productive time looking at fabric to use in a shower curtain hack. 
I'm in love with several. 

Price might be the deciding factor, I'm sorry to say.
#reallife


Waverly Chinoiserie Chintz:


And I worked on this mirror a bit.
 But not a lot :)


See? 
Waaaay to calm for the number of weeks left on this shindig!

Be sure to check out all the other room transformations on Linda's blog, Calling It Home!

Wednesday, August 17, 2016

National Thrift Shop Day!

I saw on Instagram earlier that it is #nationalthriftshop day.
That's a holiday I can get behind!
So in honor of the day I decided to post about one of my "newest" vintage finds.


 My husband actually found this wicker couch. 
In perfect condition.
 For $45.00
He sent me a picture and I loved it and then I said don't get it.
 I really didn't have a spot for it. It's big and solid and heavy.
 The cushions needed to be recovered. 

You can't keep buying fabulous vintage wicker if you don't have a place for it - said no one ever. 
But I did. And then I was sorry all night!! I won't do it again. 
#pinkypromise
I told him I made a mistake but it wasn't meant to be because I'm sure its gone. 
Trying to be philosophical and self - soothe. 
(Didn't really help but I was trying to be an adult about it.)
But he went back the next morning, it was there and he got an over 50 discount so- tada!! 
It was mine for under $40.00!!!!!!

Then last week before we had a large group over I decide to stay up half the night 
and make some slipcovers for the cushions 
which were in good shape foam-wise but the fabric covers were not good at all.
Here's a pic taken at 11 p.m. as I was getting started. 
Porch light is all the light to be had for the photo op!


So it was late, last minute and, oh yeah, I don't sew.
I'm a sewing faker. 
#truestory
#confession
However, we have the internet and I found this amazing tutorial and I followed it.

I used a drop cloth from Sherwin Williams that I had on hand - cause, you know, midnight.


I couldn't believe how amazing the tutorial was.
 It was quick
 ( I still have to go back and finish the handstitching on the back. A few still have "temporary" safety pins. It was midnight on Thursday before we had forty people for dinner on Saturday, so... pins) and I think they look amazing.

And worked a lot better for me than the $45.00 plus fabric quote I got per cushion when I started pricing "real slipcovers!" 

And then since I was in a major time crunch I decided to pull down my "stash" and make envelope covers for some IKEA pillow forms I had on hand!
#thisishowiroll


This vintage beauty is big - stretch out and nap big. 
Don't worry- I sprayed the cushions with wrinkle relaxer before everyone came over. :)
#thisishowiroll


Thank you Thrift Shops for existing!!
I'm glad you got your day!!

PS. Can you spy Biscuit in a couple of pics??
He is our porch dog. He loves it out there!!

Saturday, June 20, 2015

Banner Making


Soooo, every year the team gives a banner to the village we visit in Honduras.
There is always a welcome banner hanging up at the school when we arrive 
and we present ours when we are preparing to leave. 
They keep the banners and display them in the village. It's very sweet.

Wellll, I volunteered to make the banner.
 Months before the trip.
Literally months.
Last year we did it at the camp one night and I thought that it would be nice to do it in  advance with all my supplies close at hand.
Makes sense. Except I procrastinated. 
I had a zillion things going, deadlines, etc. and I just didn't get on it.

I thought about it. 


And I barely took any pictures when I finally did it.
And when I did, it was dark and I was working on a table outside on the screened porch.
So this is what I've got :)

I made the banner from a remnant of bleached drop cloth.
 It's about two and a half feet wide by 5 or 5 1/2 feet long.
I made two rod pockets - top and bottom 
and straight stitched the sides because drop cloth ravels like crazy.


I outlined a big flower in black and College Girl and I painted it with lots of bright colors.
We used craft paints and Sherwin Williams Color To Go samples.
We used big brushes and blended the colors in big strokes on the banner. 

I slid a slender branch into the two rod pockets.
I tied twine on the top branch to make a hanger and
 the branch in the bottom rod pocket was to give the banner weight 
so it would hang straight after being rolled up in a suitcase and hauled up a mountain!


But the really fun part of this banner 
was the rainbow ribbons I sewed to the bottom 
and forgot to take a picture of!!

This is the only shot I have of the completed banner which we all signed 
and gave to the village on our last day.

We provide the food for a fiesta which is a big deal and a lot of fun. 


Everyone in  the whole village gets to eat a big meal.

We sing our respective national anthems, there are a couple of speeches, games
 and hugging and goodbyes.
It's hard to leave.

Thursday, April 23, 2015

ORC Week 4 - Getting It White

This is my first One Room Challenge
and I'm really trying to get it right.... and white!!
 
I mean, all I did last week was make a tray.
And while it received lovely comments,
we are at Week 4 which means there are only  two more posts.
That's it.
 The BIG REVEAL is on week 6.
 
I've thought a lot about this 6 week deal and how the clock is ticking and that I may have been slightly delusional when I decided to do this ORC and then I decided to think philosophically about this process and I have come to the conclusion that it is indeed time to PANIC!!!!
 
Back to getting it white...
I am using my favorite white paint.
And thank goodness for really good Sherwin Williams paint
 because covering this green has been a pain.
My 'I'll paint this room in a few hours on Saturday because it is small after all' has turned into "If you need me I'm in this claustrophobic room on a ladder rolling paint and rolling paint and... rolling paint.

 
One plus to this whole process has been that everything is getting a coat of the exact same white.
Trim and all.
 Not having to paint trim a different color and cut in all of those edges on the wall will make you feel completely differently about trim.
 
However it is hard to understand why it's taking so doggone long to paint one little room one color.
Another question is why I always paint in extremes... you know- white over bright green or tan over glossy red walls. Black over pale peach. The kind of changes that seem to take extra coats.
 This is my painting MO.
I guess when I am ready for a change I want it to be a big one.
Can you tell I have spent waaaaay too much time on a ladder rolling paint?
 
 Our focus was shifted for a bit - College Girl came home last week to "hide out" from distractions at school and write her 20 page Senior Thesis, another paper/final exam and a 10 essay question test.
 
( Taken in the middle of the night, one of the 5 nights this went on... Thank goodness for Keurigs!!)
 
 Oh my gosh!!
And there were computer issues that resulted in her Mac crashing 1 hour after her Senior Thesis was submitted so this is my way of telling you that this ORC has been interrupted by:
 
Drama! Drama! Drama!
Please tell me you know that scene from the movie:
 
Image result for how to lose a guy in 10 days movie quotes
 
We use this sound bite alllllll the time!!
 
But despite the drama, a lot of painting ( not all, unfortunately) has been accomplished. I have painted one lamp of two for the dresser in that room and that dresser has been moved to the window wall which is it's new home.
 

( I put the infamous tray on it! LOL)
 
I have curtains and a curtain rod which is going to undergo some DIY experimentation... 
 we shall see!
 I'm going to use the word "faux" on this project
and that will glam it up a bit if the results are questionable.
 
 
I have put out an SOS for anyone in ATL who may have seen wicker shades like these. I have accumulated 3 over the years. Not a one matches another. Nada. And I need a pair.


And I saw these at IKEA today:
 
 
Is that green fabulous, or what??
I have a chair I could paint that fabulous green
 but I've actually been leaning toward a green like this for the mirror
that will probably be coming in to the room.
I'm still up in the air on the shape of it and the back of the bed.
 
I have pulled some fabrics from my stash
 and gathered a few samples for some pillows for the daybed.
 
 
Some pretty fabulous pops of color going on with these.
 Up until now I've either shown white paint or dark wood but the pop of color is coming!!

 
And no matter how far I get or how this room ends up looking in 2 more weeks, I'm enjoying seeing the other Linking Participants projects and all the encouraging comments so far!!
Follow along on Linda's blog.
 

Monday, March 3, 2014

Monday Makeover...


 She wasn't an attractive ottoman but she had a good personality and sturdy legs...
This is about as much of a "before" photo as I have.
This was once a very nice upholstered ottoman. My mom handed it down to us and my husband used it in his office/man cave for a while.  She was old and a little worn.  We put her in the basement and somehow she never made it to Goodwill. 
Thank goodness. 
I gave her a second look a while back and dragged her upstairs. I gave her a good vacuuming and then I lifted her skirt and cut it right off. 
I primed her sturdy legs.


Then I made a little slip cover out of a washed and tumbled canvas drop cloth. 


(** Disclaimer:  I have said many times before that I am not a seamstress in any shape or fashion.  I'm sure there are many better ways to go about this but I just drape, pin, sew and trim off the excess. It works for us. )

This decision to revamp the stool  was made about 10 p.m. one night so the pictures are a bit dark and grainy. But if I didn't have an iphone I'm not sure I'd ever remember to snap pictures along the way.


Everyone has turquoise zebra print upholstery fabric hanging around their house in case they decide to redo an ottoman at 10 p.m. after all fabric stores close, right? 
Well, that's how it went down at our house.
Using the same drape, pin,sew, trim technique as the dropcloth dust cover
I made a turquoise zebra print cover for the ottoman.


After I made sure all of the sewing did, in fact, fit I gave her sturdy little legs a coat of
 Sherwin Williams Spa that was still hanging around from the turquoise ombre chairs we painted 
( You may have seen their progress on Instagram)

And here she is all cute and zebra-y and turquoise in College Girls townhouse.

We love her new look and she is a super useful addition.

And,total cost??
$O.OO 
I had everything on hand and if I had needed to buy fabric it would have been 
less than $10.00 with a coupon at Hobby Lobby 
or at the fabric store in CG's college town. 
Their prices are amazing.

Saturday, December 14, 2013

A Little Manger Scene for Everyone

A few weeks ago at 
our Starry Night event at church
we used baby in a manger centerpieces and I wanted all of the children 
who attended to have their very own baby in a manger as well. 
Remember the budget was non-existent 
so cue the craft supplies hanging around at church or that were free.
In the "free" department I always like TP roll projects :)


I had my youth helpers cut the TP rolls in half lengthwise. We used a short piece of wire to hot glue a small wooden star to the TP roll "manger" I bought a huge bag of thin, small wooden stars at Hobby Lobby and spray painted them with paint I had. The starts were $2.97 for a zillion stars. I have more than half left for another day.This prep was done in advance since hot glue was needed.

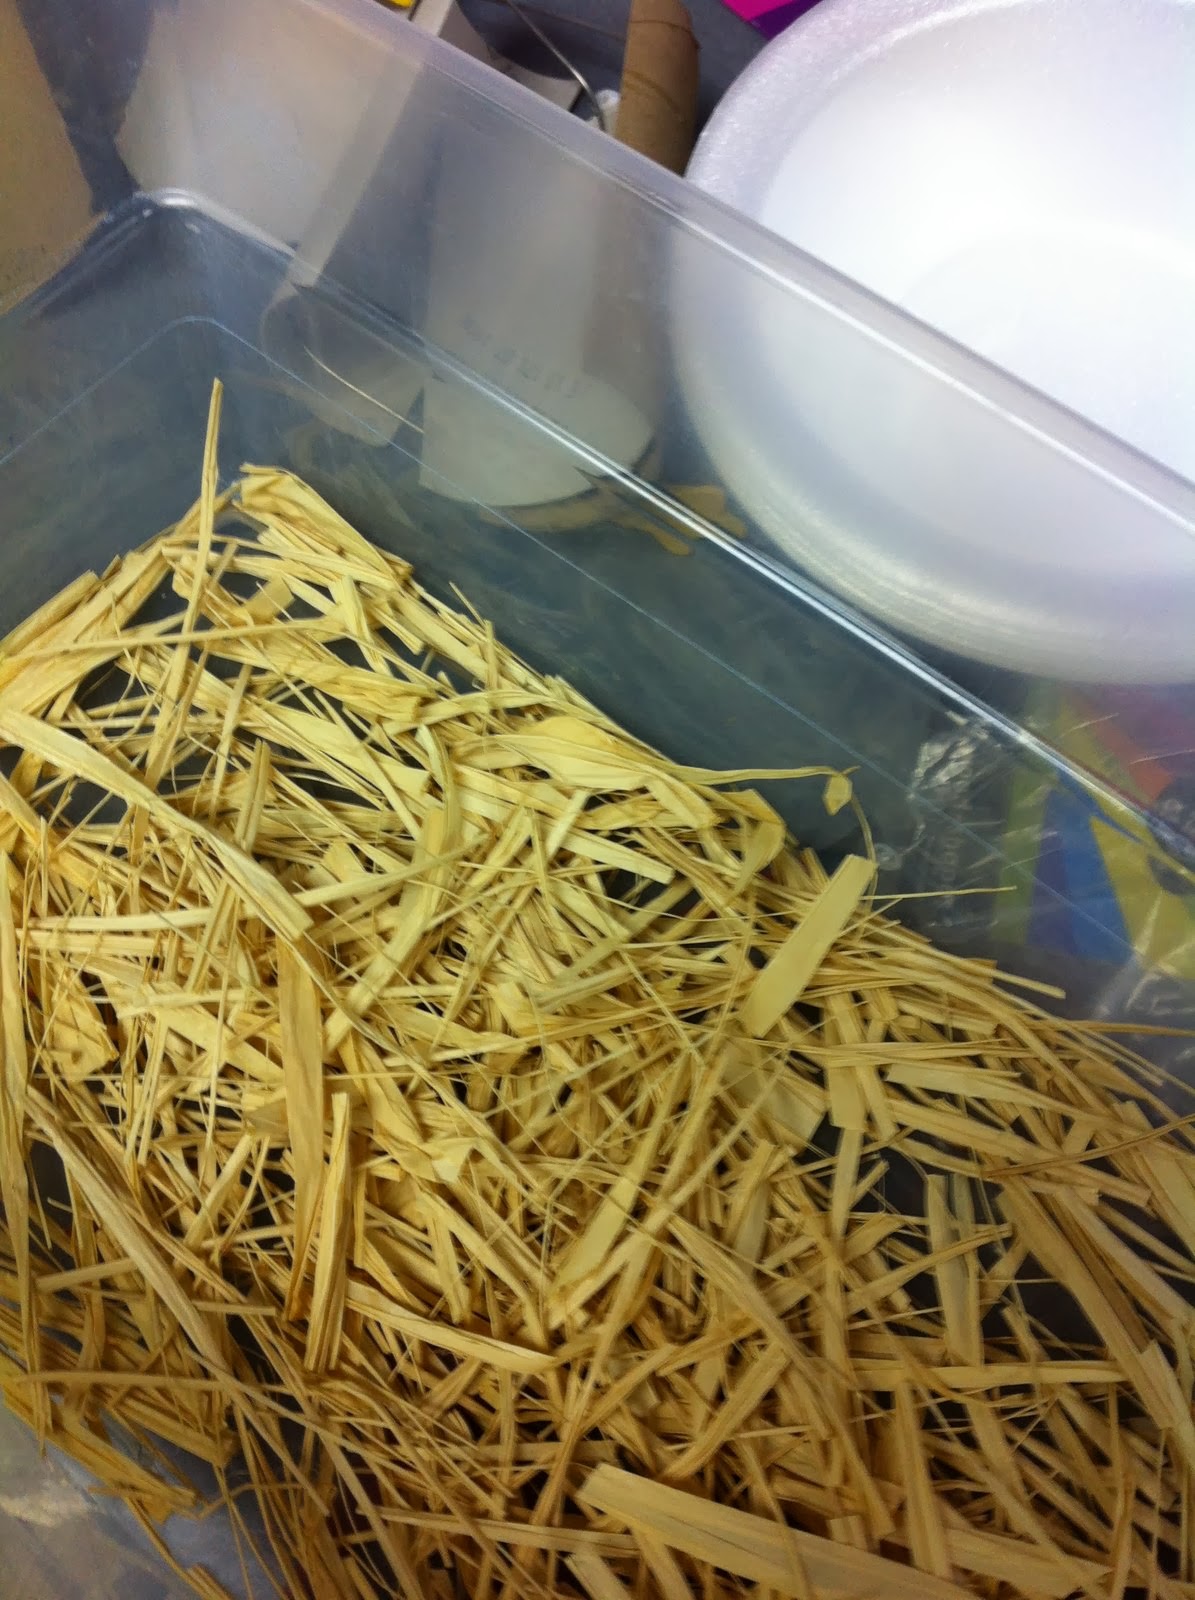
Then they cut a bunch of short pieces of raffia from an old bundle that was in the closet. 
Everyone has some raffia hanging around :)

An old white sheet that I have been using for projects for literally years was torn into strips about 3/4 of an inch by about a foot.
 It doesn't need to be exact and tearing looks great - no need to cut.

I bought this bag of little clothespins for $1.97 when wooden items were 40% off at HL. 
Then we let the children glue some "hay' in the bottom of the TP roll manger with a star. They made two little Sharpie dots for eyes on the clothespin and then "swaddled" the clothes pin with the torn sheet.
 It doesn't matter how they go about wrapping up the baby - it works every time.

They were so cute and they loved carrying around their little baby in the manger and the parents thought they were adorable. It was a quick and easy craft with low cost, small amount of prep and every age child could accomplish it!


I have been getting hang out with some 6th graders at a neighboring church once a month.
Their director invited me to come "make art' with them once a month. It is a ton of fun and she gives me a lot of freedom in choosing the projects to go with the verses or stories that are a part of their lessons.

They have a big, creative space and they are NOT afraid to get messy!! My kind of peeps. And, my friend has paid interns who will help set up and clean up whatever messy project I come up with!!! That's a bonus! 
Right before Thanksgiving we got a head start on the Advent season and made these ornaments from my favorite, Crayola Model Magic air dry clay.


They always turn out perfectly. 
This project is great for all ages and they can make several so they can give some as gifts!!
We challenged them to take one of their ornaments and give it to someone they don't normally give gifts to - even a stranger in a random act of kindness and bring a smile to someone's face. You never know when someone's day might be changed by even that small gesture. I can't wait to meet with them in January and see who followed through. That's kind of a tough assignment for a sixth grader.

Wednesday, November 27, 2013

Baby In the Manger


We had a very fun family event at church last Friday night. It was planned to kick off our Advent season. We were about a  week early but the way Thanksgiving hit we had to schedule this way and it was really perfect. Everyone was relaxed and not rushed because we weren't in the busy December season where everyone has 2 or 3 events every weekend night.
The event was called "Starry Night" and we served dinner so we needed centerpieces to go with the theme for each table and the budget was small - really small. Like $0.00 :)
So I scrounged around at home and this is what I came up with.
I had some large wooden balls and large jumbo craft sticks. I painted cute little faces on the balls and glued them to one end of the craft stick (which I broke in half)


Then I tore long strips of white sheeting that I had on hand.
 The strips were about an inch wide and about 30 inches long. 

I put a dab of hot glue on the top of the poor baby's head and glued the strip of fabric down. Then I just started wrapping the baby's head and body 
until it looked like a little baby all "swaddled" up!
 

And there you have the cutest little baby all wrapped up!

I went out in the yard and grabbed some 6 inch clay pots I had stacked up. I soaked them in Clorox water in the sink and washed them out very well. They were going on tables where we would eat so I didn't want some creature to come crawling out :)
I stuffed a couple of plastic Publix bags in the pots after they were dry.

Then I snipped a bundle of raffia into strips and
 filled my clay pot (manger) with the raffia (hay.)

Then I printed the verse that was our theme for the event onto some gold chevron scrapbook paper. I punched two holes and threaded it onto a skewer. This made a cute banner that I stuck in the pot and secured with a dab of hot glue.


 I glued the baby in the manger and 
then I repeated it until all the centerpieces were finished. 
 
 
I tied some scraps of ribbon on each skewer and when we got them placed on the tables I tied a star shaped gold helium balloon to each skewer. I didn't  take a picture of all of them on the tables but it was the perfect centerpiece - the baby in a manger was nice and low and then the bobbing gold star balloon was up high and out of the way of conversation around the tables. They were festive, the children loved them, they were perfect for our theme and I didn't have to buy a single thing other than the gold star balloons at the Dollar Tree!

And because the theme for our Advent Kick-Off was appropriately stars, we had a huge inflatable planetarium in our gym. This thing was awesome and can seat 60 people inside. Our families loved it - the tickets were $5.00 and 
benefited our Youth International Mission Trip 2014.

It was a fun and exciting Starry Night!