Showing posts with label paintsticks. Show all posts

Friday, December 4, 2015

The Favorites of Christmases Past.

As mentioned previously I haven't done a thing toward Christmas decorating.
 Nothing.
Bupkis!
Actually that's not completely true.
I have looked at all the blog tours of already decorated homes.
#seekinginspiration
#seekingmotivationtoo


Does decorating the dog count??
#notthrilled

But in years past I have been spot on


and accomplished Christmas décor greatness 
 (ok, at least gotten the tree up - with lights!) in a timely manner.


I also used to make cute Christmas projects and share the DIY!
Let's remember fondly and revisit my top Christmas posts.
In case you,too, are #seekingmajormotivation.
They are all simple and easy I can assure you!

This guy is and has been my number one blog post "view"
and my number one "pin" on Pinterest!

This paint stick project of the Three Wisemen
is also a top post.
It is practically a "free" green craft.


This simple outdoor Nativity that I first did with children
waaaaay back in 2011 is still a top 10 post year round.
It is made with concrete landscape pavers.
 Mine still looks like it did when I painted it four years ago!
(And we do use it outside)


A little more involved but a keeper from year to year-


is this Advent Candle Wreath made from terra cotta pots.
I made it with groups of children for a few years in a row so we painted the pots and made candles and "flames" from TP rolls and tissue paper. 
Many of their parents supervised its use and substituted real candles. 
It is equally pretty left in its natural terra cotta state and filled in with real greenery.
One of my  volunteer moms had her children craft them for their grandparents one year and it was a HUGE hit!

And I have a bunch of Snowman projects
 but this one is the second most viewed post of all time.

Snowman in a Baggie!!!
It was a simple idea I cooked up for a school party activity and it is still being used year after year.
So easy and inexpensive but everyone loves to make him and then squish that nose around!

If you are looking for more projects then check the archives!
I have several Nativity projects, more snowmen and some burlap and painted canvas projects that are 'oldies but goodies."

And maybe I'll be back soon with some actual Christmas decorating pictures -
from my actual house!!!
#icanhope

Friday, August 1, 2014

I Love Paintsticks.

I love paintsticks.
True story.
Sounds silly but I have a zillion projects with paintsticks.
I almost hate to use them to stir paint :)

A while back I had a super fun art day with a group of 4th and 5th grade girls. 

I had lots of creative activities planned but I decided to cover the basics before 
I turned them loose with a bunch of exciting supplies. 


We used a paintstick to learn about the spectrum and color mixing.


This may seem remedial to you for 4th and 5th graders but a few years ago I saw an adult do a little segment on Good Morning America
 and she said the primary colors were red, yellow, blue and green.
Maybe she was nervous but I never got over it :)
So I run through a color lesson in a variety of fun ways when I have an art activity with children. 


A little paint, a little color mixing fun and ... ta-da! Rainbow Sticks!!


** My nice Sherwin Williams guy, Todd, gives me paintsticks for the children to use :)


Friday, July 5, 2013

Popsicles Say Summer!!!

Popsicles are part of Summertime fun so I came up with a little "Pop"(sicle) Art for Summer Art Camp. It's fun and easy and everyone can choose what "flavor" they want their art to be!


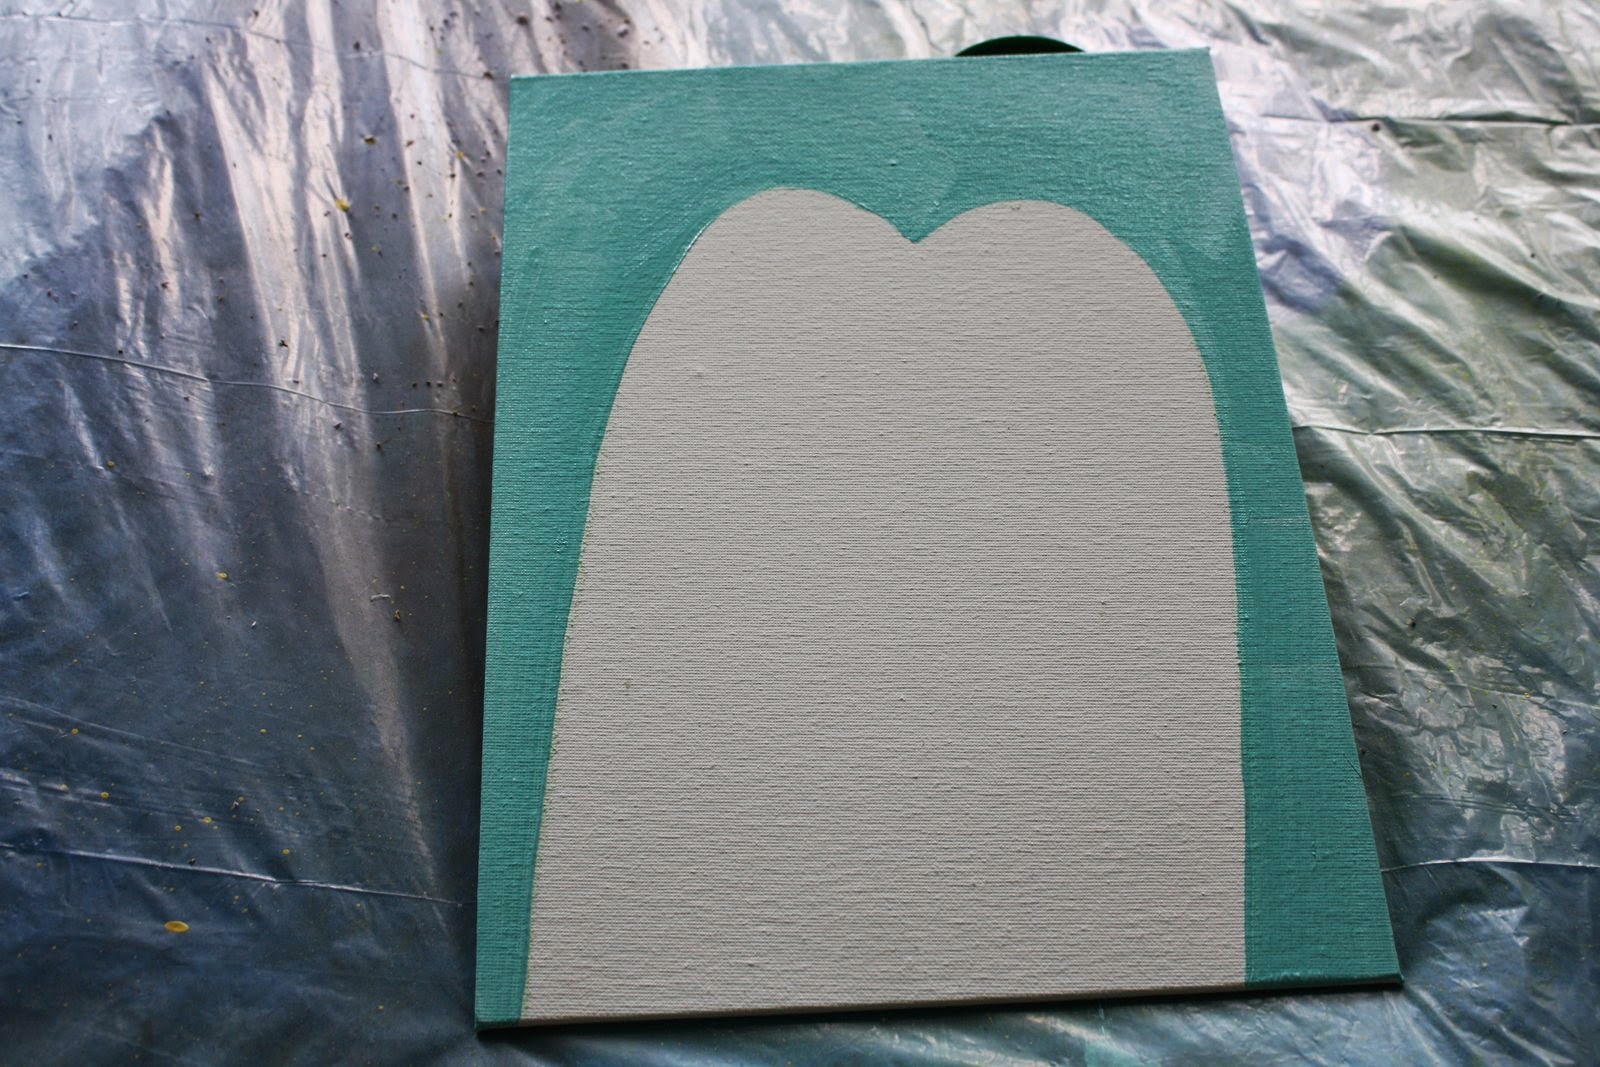
This is a 9x12 inch canvas from Dick Blick. I cut out a tracer for the popsicle shape but older children could draw it freehand with chalk. I painted my background a Summer sky blue but, again, color is up to each artist on this project.

I added white to my background color and used it to spounce on some polka dots for fun. A little color mixing lesson is a bonus.

I chose to make my popsicle orange but it took me a while to decide
between that and banana (yellow!)

Since white paint was already out I added a little to my orange and did a little shading on my popsicle. Another easy thing to try.

Then I punched 2 holes at the top of the canvas and added a wire,
some beads and a glittery scrap of tulle ribbon.

And then, the part that makes this so fun!! I added the "popsicle sticks"!!
I used two paint sticks that my Sherwin Williams "guy" kindly gave me and hot glued them (adults have to do this part) on the back so that they stick out from behind the painted popsicle.
It looks like the real thing!
You could do this project on smaller canvases and just adjust what you use as the popsicle sticks. For instance, jumbo popsicle sticks or cutting down the paint sticks. I went with 9x12 canvas because the proportion was perfect with the paint sticks and an easy size for children to paint.

Then a coat of sparkle glaze just on the popsicle.

... and your Summertime popsicle art is ready to hang and enjoy.
You can admire your work while you have your favorite flavor of popsicle!!
 

Friday, April 20, 2012

A Whole Lotta Stuff Goin' On...

I find myself a little bit over-committed, overwhelmed, off -task... you know what I mean. Normal for a mom with a lot to do. I'm not unique - we are all in the same boat - but I'm just sayin' !! :) and prepping you for what's coming in a minute!

There's a lot of painting on burlap going on along with my daily job obligations and yardwork and housework and some extra job obligations... ( my husband seriously told me to stand in front of the mirror and practice saying "NO!".)


So in the midst of all of this... I need an Art Camp project!! Yikes. And then on Pinterest ( funny how I can always snatch a few minutes for that!!) I see a "pin" of an adorable color wheel flower from Deep Space Sparkle and I snagged it!! I'm putting a little of my own spin on it. But what an inspiring blog!! So fun. I also think I may have to do a variation of her A Color of His Own lesson!! But I just want to put it out there right now that I already have a pumpkin lesson that looks a lot like her pumpkins that I've been doing for years !!!

Anyway, I found a pile of scrap papers and cut them into 2 x 4 inch strips. I sorted them into "color" piles. Each student can choose one strip from each pile as we go down the "Roy G Biv" spectrum! I cut a little notch in the end of mine - I'm creating a zinnia. You can round them or create your own flower petal shape. If children are younger I would limit the number of petals to simplify the project. I also gathered a green paint stick ( leftover from another project and free from my Sherwin Williams guy), and a couple of recycled bottle/can lids and an 11 x 14 Dick Blick canvas. I spritzed on a light spatter-y coat of blue spray paint I had on hand. I punched two holes with my Crop-a- Dile ( do not tell me if you have not bought one yet) and grabbed my Mod Podge. And for the person who asked : No I do not sleep with my Mod Podge under my pillow!!

I traced a circle in the middle of the canvas using my largest lid as a guide. The lids will become the center of my flower. Then I used the MP to glue my flower petals around my circle making sure that I overlapped my pencil line slightly. That way my lid will cover all the ends of the petals when I glue it down later.


Then I cut a small circle of scrapbook paper - black and white polka dots, of course - and glued that inside my smallest lid. Lid color choices are up to each artist. With enough time it would be fun to stack up a rainbow of lids in graduating sizes for the center. I just grabbed two. Remember the whole over-commited thing?

After the Mod Podge dried on my petals I put a coat over the entire canvas. It dries quickly and then you can use Tacky Glue to add the paint stick stem and the bottle cap center. (Hot glue will work as well as long as an adult does this step.)

And then I added a wire hanger and some bead ... oh, and a ribbon to the stem!

Happy Flower and ... Oh Happy Day!!! It's Friday!!!! :)  Have a super weekend!

Linking Up:
Reasons To Skip The HouseworkTrendyTreehouse

Monday, March 26, 2012

Trash to Treasure..

There was a Hobby Day at church and the organizer asked me to do a little "trash to treasure" project with the ladies who attended. It was so well organized - the ladies rotated to 6 different tables (one of our Seniors called it "speed crafting"!! I wanted to ask if she had been speed dating before?? Haha!) and we had a delicious lunch during our break. There was a quilter, knitter, jewelry maker, stamping and scrapbooking and "trashy" me :) We only had 30 minutes per rotation so it had to be a simple project. I brought along some examples of my trash to treasure projects to provide inspiration.
 
The "ladies" aged from 6th graders to over 65 years young. I'm used to teaching children but thoroughly enjoyed this table of Youth - of course, I taught them when they were children so it was great to reconnect.

This was our project - a small wooden sign with a bottle cap and paintstick flower. A simple, Spring-y project with two of my favorite recycle/repurpose materials. I chose the word "bloom" and replaced one of the "O's" with my flower.


It was a scaled down version of this inspiration sign* (remember 30 minute time allowance!):


Everyone got creative and made some great looking signs!
* I saw "Scatter Joy" on something on Pinterest and decided to paint it on a Spring-y sign for my newly painted tangerine door!!!  It is not getting rave reviews from the fam but I wanted something fun... I have a traditional home, I live in Atlanta - land of the brick traditional 5/4 and a door and am surrounded by black and red front doors!! Nothing wrong with either one but just not me. But I can't choose just any color because my brick is not my favorite brick ever. But as I tell the kiddos, "You get what you get and you don't pitch a fit!!" I would say that ugly brick would be a deal breaker on my next house hunt but if you know me then you know that if said house was on an island or in close proximity to any salt water of any kind I would move in it if the brick were purple!!! :)

Linking Up:

Funky Junk Interiors


MotivatedMondayatBeColorfulBetween Naps On the Porch
Between Naps On the PorchUndertheTableandDreaming
http://www.thethriftyhome.comSouthern Lovely

Sunday, January 29, 2012

It All Started at Wal Mart...

I found  adorable heart shaped paper plates at Wal Mart. In a package of 6 for 97 cents.
 Irresistible!!
Then, at Hobby Lobby I found a bottle of glitter named Bubble Gum. It was pink and crystal mixed together. No passing that up. It was $1.47. ( You could use what you have on hand and I'm actually going to do some with red glitter dots on the red. Just as cute!) I used a Spouncer ( remember those from a previous post??) dipped in Mod Podge to make my glittery polka dots.


 I painted the back of the plate red to make it look a little nicer.
Then I spray painted a General Foods International Coffee can with black chalkboard paint. I did give it a light coat of Kilz primer first because it was sitting on the table where I was painting. I don't think it's a necessity if you don't have any primer. This is one of the older metal cans. You could use a clay pot, a paper cup, a little bucket from Target's Dollar Spot,etc. Whatever you have.


Next I painted some paintsticks green.
 
Can't leave them plain- so stripes and dots are next. Just  get creative.


Then I used a little Plaster of Paris to "plant" my paintstick in the coffee can. I added some Easter grass to cover the P of P and tied on a scrap of polka dotted green ribbon. You could add leaves with fun foam or small wooden hearts painted green would be cute.

You can write a message or the name of the person who is going to receive this on the chalkboard painted can. I added some Hershey Kisses on top of the Easter grass.
 What's a Valentine with out chocolate??
And then, because we all know that once I get a theme I can't get stopped (remember Candy Corn and Candy Canes and then the Snowman overload???) I made a small version. I still have some of those little galvanized buckets left so I used that, a green jumbo craft stick, two of those ice cream spoon shaped wooden pieces and a red glitter fun foam heart cut out. I stuck some air dry clay in the bucket to hold it all together and added some Easter grass. So cute and it's just big enough to hold about 3 Hershey kisses. A cute little Valentine for someone or a great "place card" at a Valentine's meal.

A fun little valentine's day project for all ages. You don't even have to cut out a heart shape!! Start with the plates and a little Tacky Glue will hold it all together!

Southern LovelyDesign Dazzle

mop it up mondays