Showing posts with label powder room. Show all posts

Thursday, August 5, 2021

Lamp Magic

 Lamp Magic - not Magic Lamps (like the kind with a Genie inside!) Lamps can add such an important touch to a room but they can be pricey. There are so many choices and styles plus add in decorative or colored lamp shades and the possibilities (and decisions) can be endless.  

But just like every other item in my home, I like to see if I can find an affordable and, hopefully, thrifted choice*. But sometimes those lamps just need help. 

Never underestimate the power of glossy white paint when it comes to lamp dilemmas. These are just a couple of examples of "lamp rescues" that I've done. 
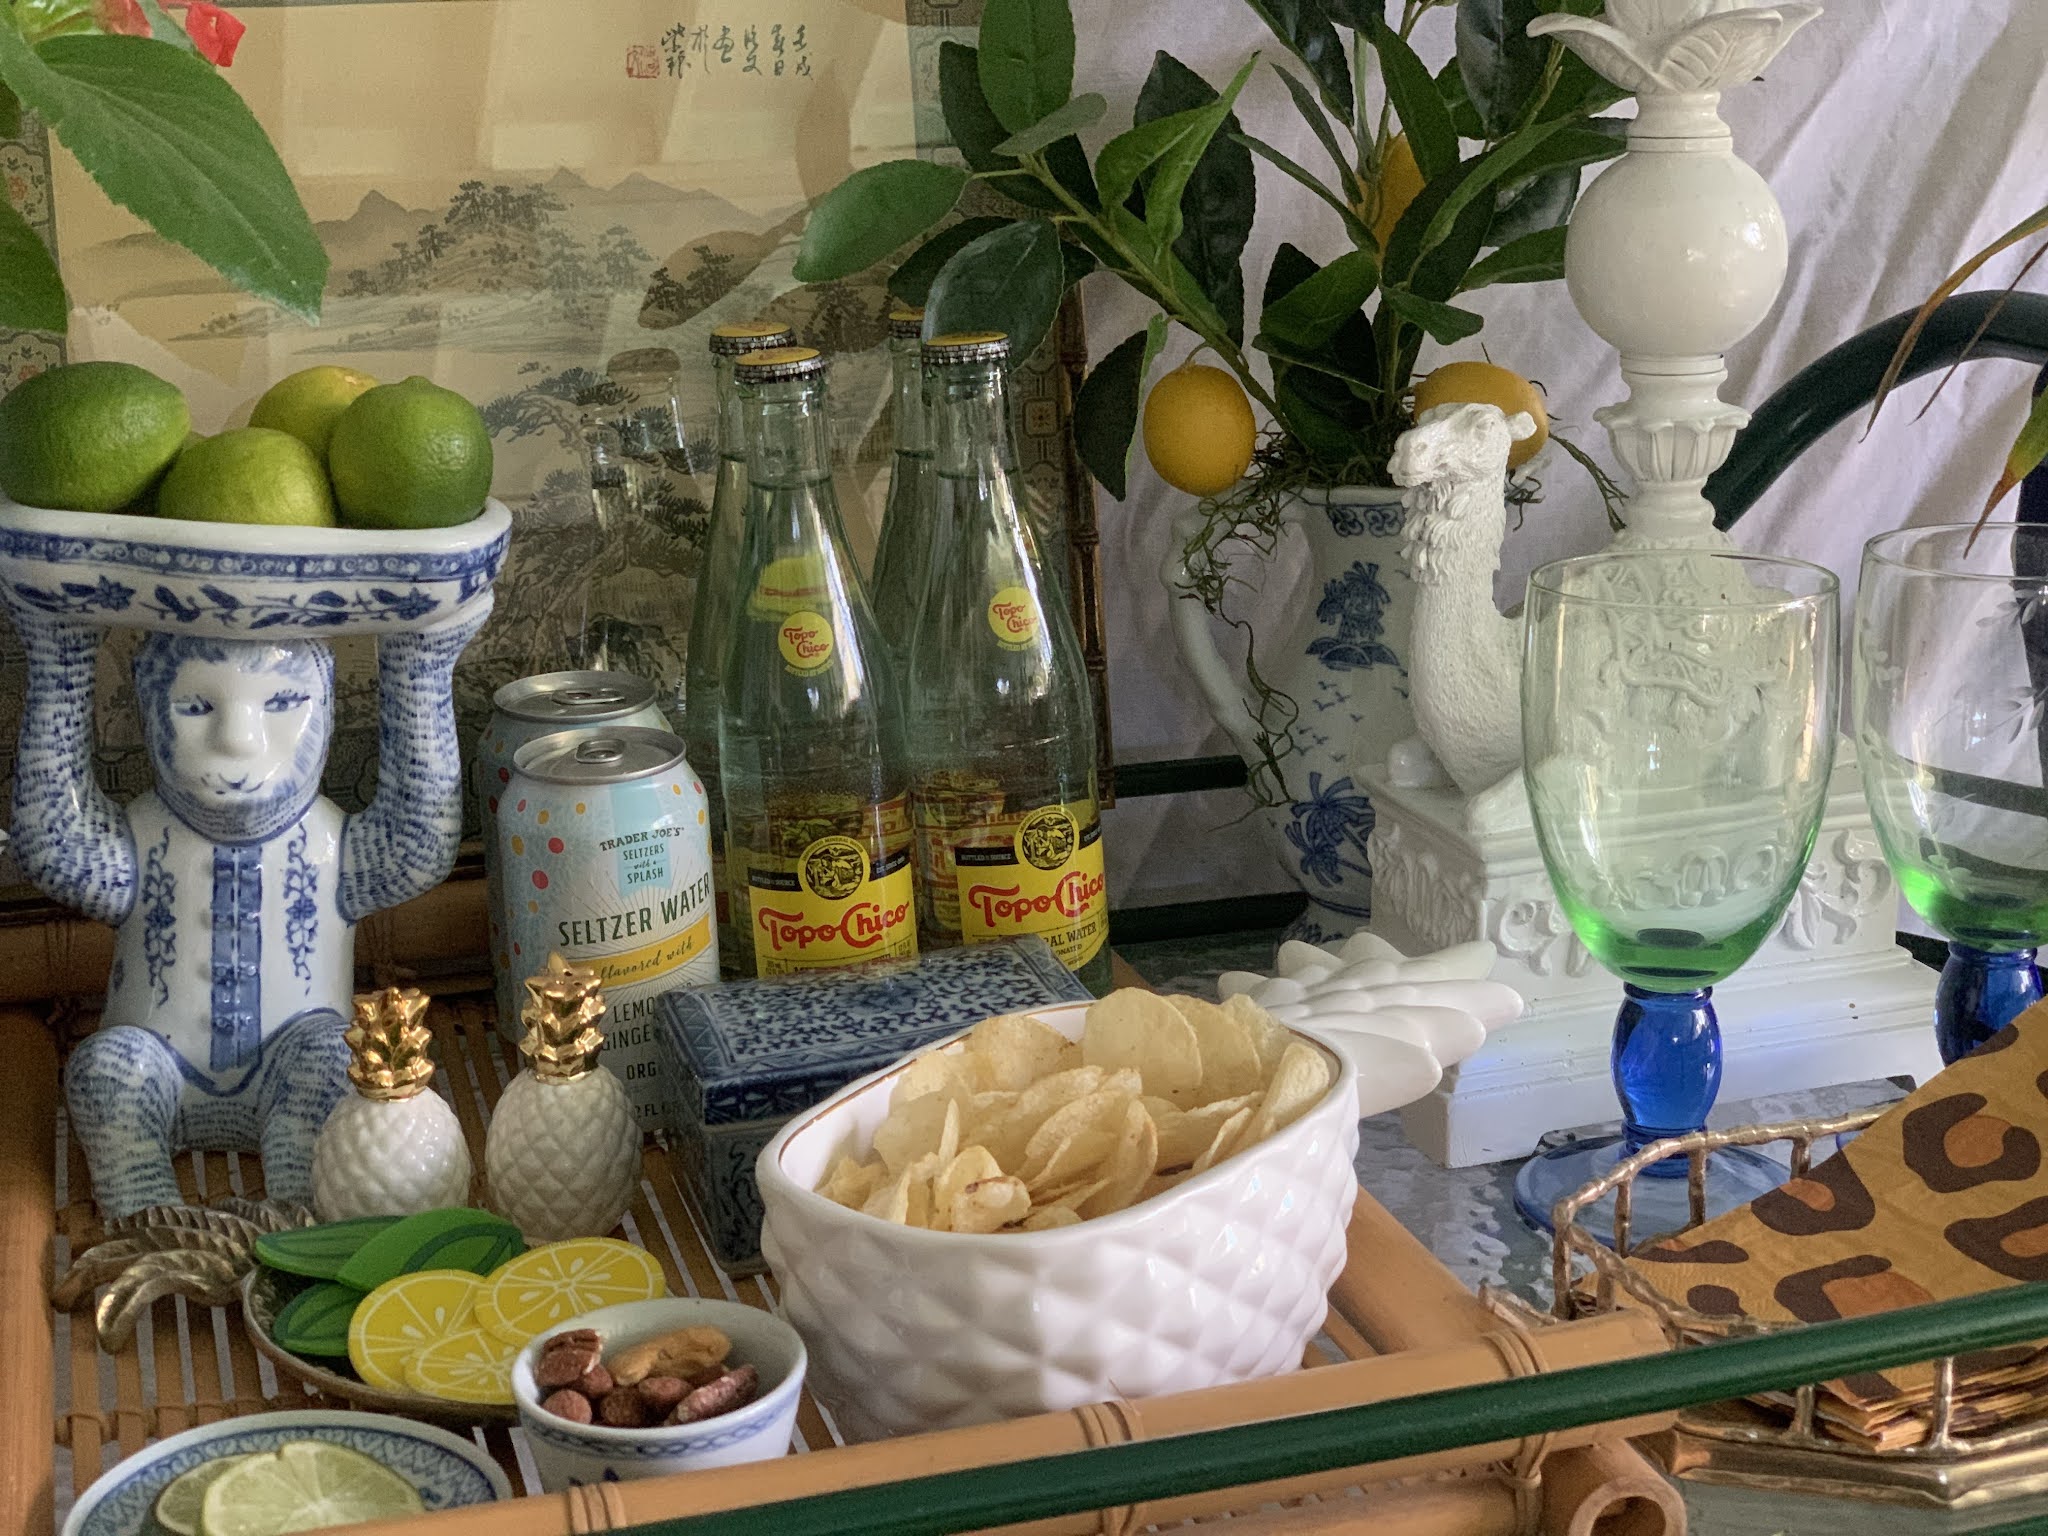

This rather regal looking camel lamp is one of my favorite white paint "transformations."
Here is his before. Brown lamps with gold brushed accents just don't work for my style so I paint my lamps - if the before is more your style, please don't be offended!! 


He happily lives on my screened porch bar cart - I just taped off the parts that shouldn't get paint on or in them and spray painted using my favorite spray paint. I know there are environmental issues with spray paints as well but a little spray painting keeps this lamp and all of it's electrical parts out of a landfill so I still consider it a plus. 


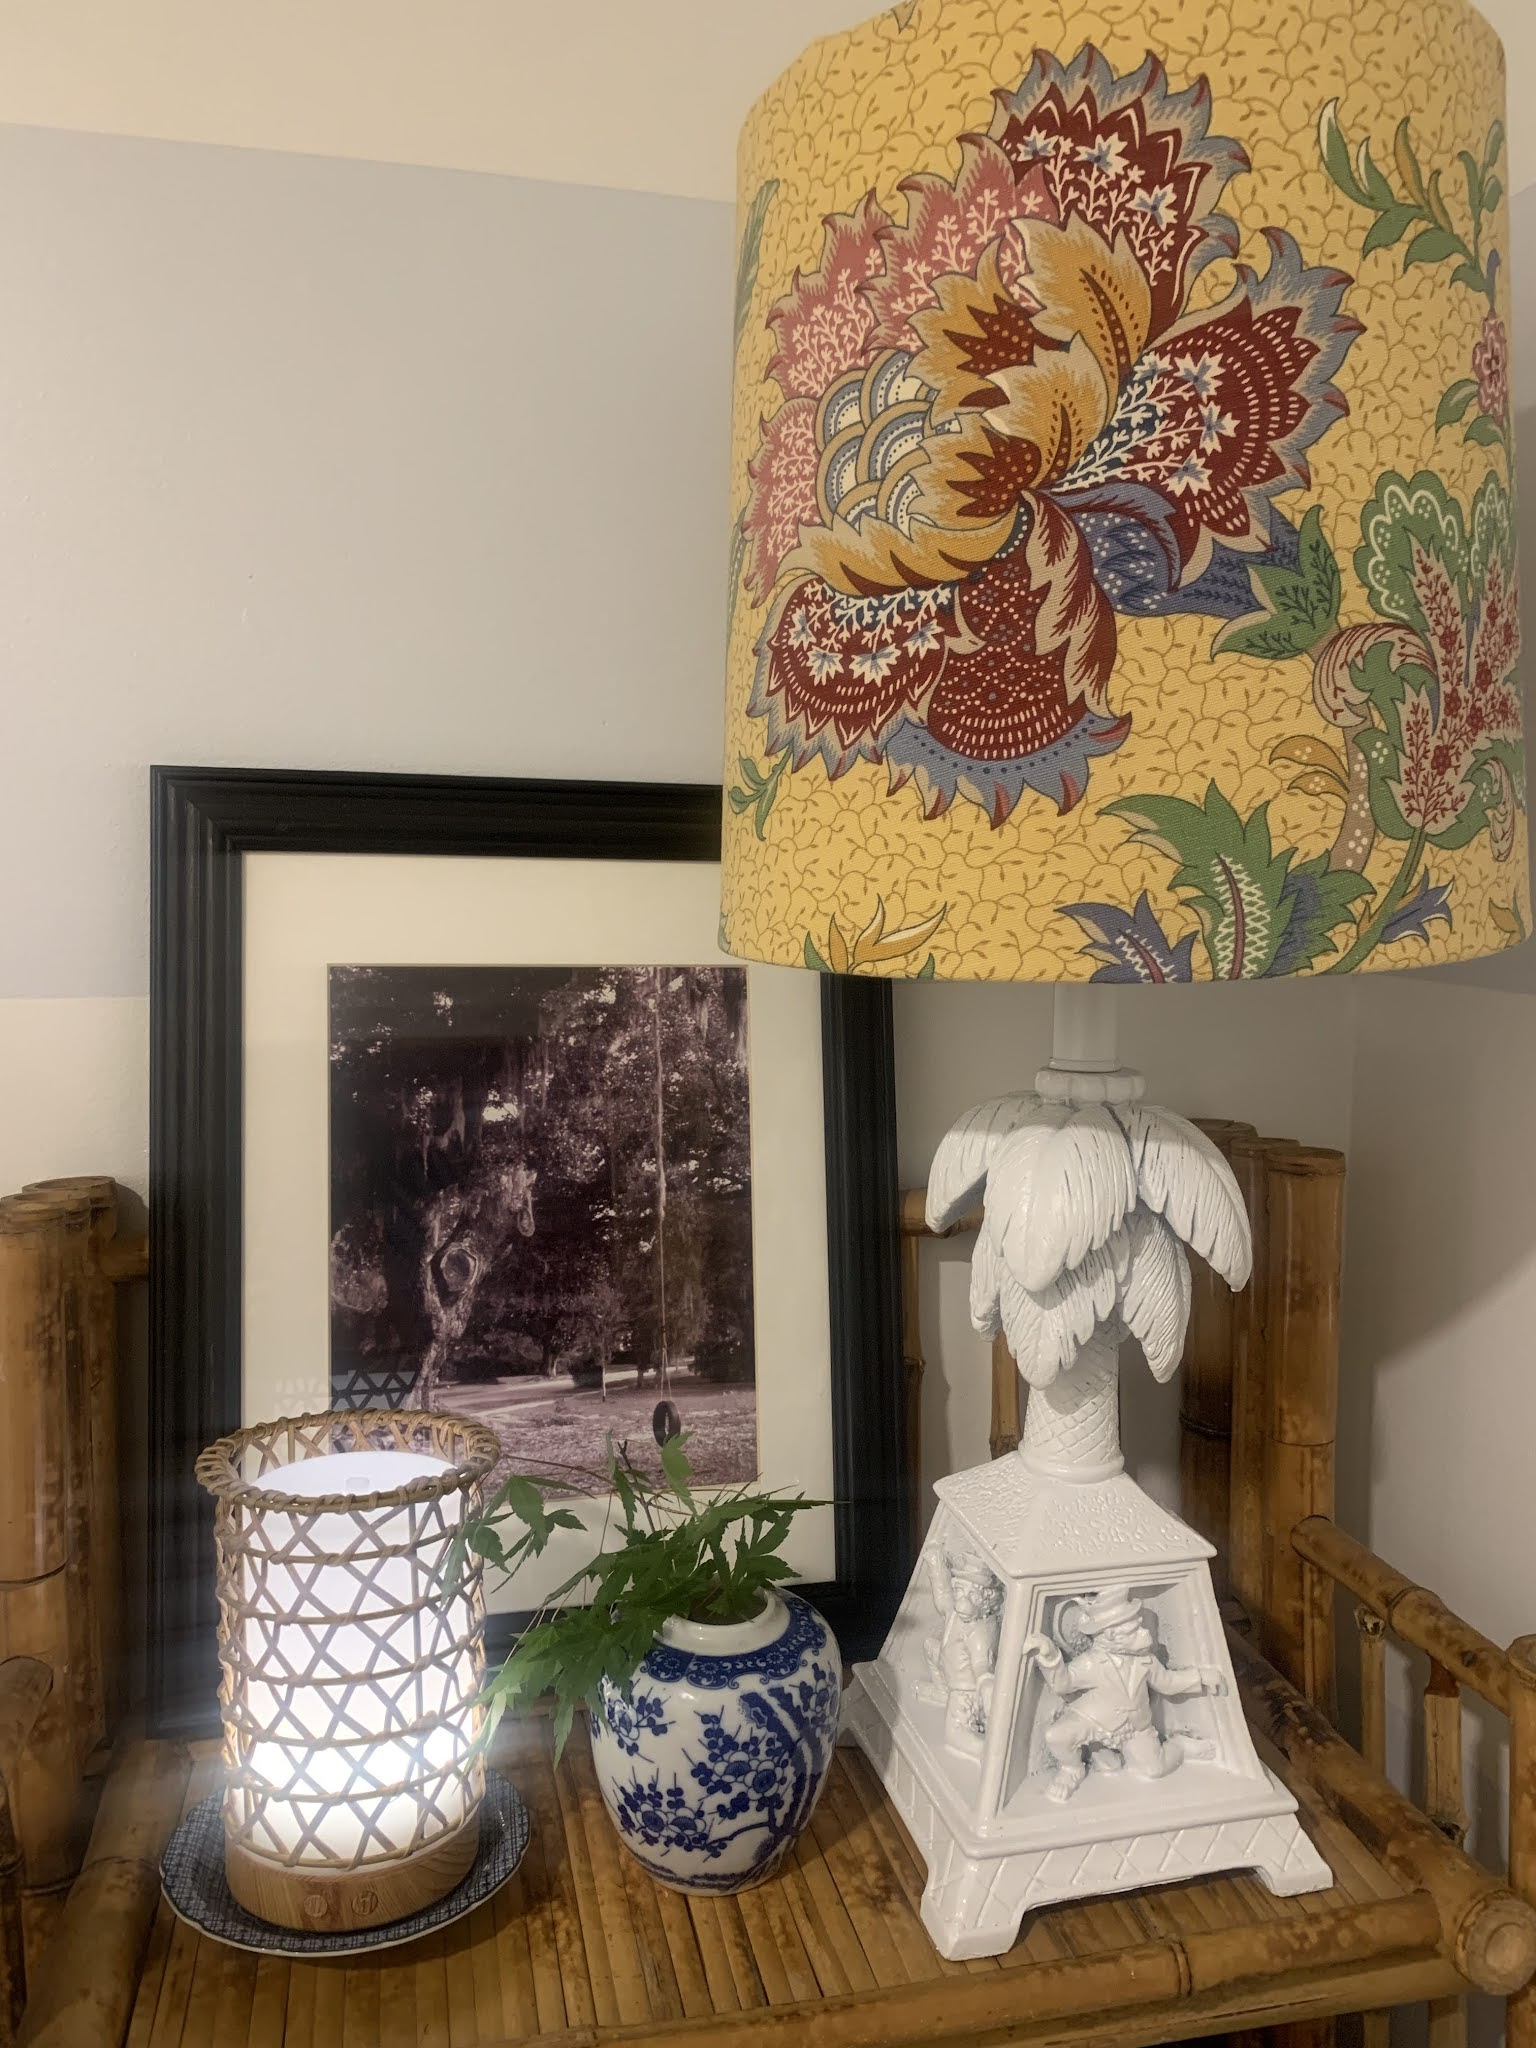
Last Summer I refreshed our main level powder room as part of the One Room Challenge and used a fun monkey lamp I'd been saving for just the right spot.

And the before:


I have a very difficult time leaving behind an elephant lamp when I go thrifting.
 I have a couple tucked here and there.
Just before my #thethriftedporch reveal I looked over and noticed this elephant lamp was still brown (it also still had the GW price sticker on it - welcome to my world!)


Freshened up with a coat of white spray paint and a thrifted white wicker lampshade. So much fresher and perfect on the porch. I think the white lamp shows up better and the details are more noticeable in the lighter color.


Not a great picture but he didn't look too 'great' when I found him.
Glossy white paint and a thrifted wicker shade made all the difference. 
Sorry for the holiday picture but that's probably when my kitchen was clean and photo ready! :)


I often use thrifted wicker and rattan lampshades on my lamps that I spray glossy white because I think the warmth and texture is a nice counterpoint to the lamps but refreshed, thrifted lamps are the PERFECT place to use one of my Faux DIY Pleated Lampshades. 


*Always check your thrifted lamp wiring for any safety issues. It is very easy to rewire most older lamps using rewiring kits. If you don't think you want to attempt rewiring yourself then it is not too expensive to have a lamp rewired at a local lamp shop. Even with the expense of rewiring, most thrifted lamps will still be far more affordable than a new purchase. Plus they often have a lot of character and it is environmentally sound as well to reuse a lamp that would be thrown out.
You just have to read the specs and choose the size that best fits your needs. And there are a ton of help videos on the internet if seeing helps you more than reading directions!

Monday, February 15, 2021

Painting Checked Floors


 I was mopping the floors the other day (loooonnnngggg overdue, I might add) and realized it had been 8 months since I painted the black and white checked floor in our downstairs Powder Room. They've held up very well so I posted a "reel" on Instagram and there were some questions about how difficult it was to paint.


It is very easy - just a little time consuming because of the drying time in between each step.
It really doesn't take any special skills and once you do a little measuring and figure out a couple of simple things then it's just a matter of following the steps below.


I'm going to explain what I did, how I went about it and what I used. There are a lot of tutorials and paint information available. This isn't the only way, it's just my way of going about this.

This Powder Room refresh was part of a One Room Challenge which is a great motivator for me. We were in the middle of pandemic lockdown, stuck at home and what was available was in short supply. I might have done a few things differently if circumstances had been different but the floors turned out great using what I had on hand and have held up very well!
If you want to see the blog posts documenting the  ORC process you will find them here:

 To begin with I painted the walls, cabinet, everything and left the floors for the very last.
This is the same process I use to get crisp lines on my wall stripes.
I sanded the floors a little to be sure any shiny finish was removed. Then I painted the floors with oil based primer using a small sponge roller. I had small spaces to get into so the small roller worked well. You can see below that it's pretty splotchy.


I did 2 light coats of primer but I have read that 1 is sufficient. This room
 gets a lot of traffic so I wanted it have a tough finish. The
next step was to basecoat the floors with white paint. I had a gallon of Sherwin Williams DTM in gloss white on hand. It is formulated for metal but this was during total lockdown so I went for it. It is very shiny and I like that! I would have normally used SW Exterior or Deck Floor paint in bright white.
 Then I measured and decided the size of squares I wanted to use and that I wanted to place them on the diagonal. Some people call this a "harlequin" floor but harlequin floors actually use a diamond shape not a square.
With my room size I found that I could do a 16" square and have it work out very evenly. I also determined where I wanted a full 16" square to fall (in front of toilet) so I started with a half square on the far wall. I think it works very well to measure your space and then divide by 12, 14. 16 etc to see how the squares work out the best. Or you can simply use a 12" square and go for it. Some people like to plot it out on graph paper. This is a great thing to do if you are having trouble visualizing. I'm more of a "it's only paint - let's go for it" kind of person! This was not my first painted checked floor so I could visualize what I wanted.

I let the 2 coats of white floor paint dry 24 hours- just to be sure - before I started taping.
 You will need a LOT of blue painters tape!


I taped my long diagonal lines first. I used a metal ruler to measure my spacing, made light pencil marls and then taped just to the outside of the mark. I used a 4' level to double check that my tape lines were not wavy. Then I  measured and taped off the squares. You are taping just outside the mark because these will be the squares you paint black. I put a dot of blue tape in each square that I am NOT painting to be a visual reminder. Anything to help from becoming confused. You can do every other row. 

Here is the BIG tip!! This is the key to crisp, straight edges...
If you look closely at the blue tape above you can see that I have painted along the edge with the white base color. I use a 1/2 inch or less brush and just lightly paint along the inside edge of my squares - the ones that will be black. This paint will seal the edge of the tape and you won't have black seeping under the tape. It requires one more step and drying time but you won't have to try and touch up afterwards!! So worth it. I never ever skip this step!!
 

Then I used a 4" foam roller that I had on hand to fill in the black squares. I used Sherwin Williams ProMar 100 Exterior Paint in Tricorn Black to paint my squares. This is my go-to glossy black paint so I had it on hand but this is what I would have used even if I hadn't been in lockdown.

This picture is the answer to the question, "Why does Cooper always have paint on him??"
#neverfarfrommyside 


Let the final coat of black paint dry completely and then the fun part - pulling the tape and revealing the crisp painted squares. Mollie was going to help but Cooper beat her to it!!


It really is easy and a great way to get a beautiful floor for very low cost too!!
Just measure twice, double check that you've taped off correctly before you paint and then don't skip the step where you paint along the tape edges.
 If you do that you will have a beautiful floor. 
I can't wait to see your painted floors!


Thursday, May 7, 2020

My 9th-ish ORC and WASH Your Hands!


To make a long (One Room Challenge) story short this is my 9th-ish ORC.
Working back from last Fall...

Fall 2019 - My Kitchen (2nd attempt) PS. I did finish my kitchen I've just never photographed and blogged it! Maybe soon!
Spring 2019 - My Kitchen (Another Incomplete, yet I keep trying!)
Fall 2018 - My Porch 
Spring 2018 - I took an Incomplete :(
Fall 2017 - My Entryway
Spring 2017 - My Guest Bedroom
Fall 2016 - My Master Bathroom
Spring 2016 - My Library  which has been my most viewed and commented on ORC 
and it got a little refresh here.
Fall 2015 - Mollie's Bathroom   
Spring 2015 - My Guest Bedroom  which was my very first ORC and a learning curve for sure!
That's why I gave it a second go in the Spring 2017 ORC.

Since I have a bit of a hit or miss record with this thing it seems only fitting that I attempt another One Room Challenge during a Pandemic!
Right?
And since the most important thing we can do in the midst of Covid19 is to wash our hands it is either very fitting and timely or completely nuts to refresh our downstairs Powder Room where we wash our hands a gazillion times a day.

We are still sheltering in place so items that I use must either be what I have on hand or available for curbside pick up or delivery from online ordering. 
(This has been a difficult situation for so many in so many ways and I am aware that participating in a non-essential decorating challenge could seem insensitive. However, we all cope differently and "busy" and/or being creative is my coping mechanism. You can read about our particular Pandemic situation here and here.)
I'm all for using #morecreativitythancash and shopping the house too!

 Our bathroom vanity top is just not in the best shape and has needed replacing for ages. I've painted and decorated around it but it is past it's prime. I priced a new top and basin but it was far more economical to get a cabinet/basin combo from a big box store and it gives me the opportunity to get something less bulky and fit it in the space a little better. 
I shopped online and purchased the simplest, most clean lined vanity I could find. 
It's pretty basic and budget friendly but I knew I was painting it, changing the hardware and pairing it with a fabulous faux bamboo mirror already in the powder room. 

That was the utilitarian part of this project. Check.
The rest is the fun stuff.

I have had in my mind for a long time that when I redid this powder room I was going to use a mustard-y yellow color as my inspiration starting point. 
My plan all along was to paint the vanity and mirror a soft mustard. 
But I needed a fabric for the window treatment that would work with this color idea. 

My favorite part of redoing a room is wandering the fabric store aisles 
and falling for a fabric! 
Again, no open fabric stores so I had to go about this differently. 
So I started online. 
I looked and looked and googled 
and then I remembered a bolt of fabric I bought at a thrift store last year. 


I had thought I might use it for some pillows on the porch but it wasn't quite right after all. 
So I dug it out and it has a great colorway!
And the mustard-y background matches my favorite mustard-y, goldish Sherwin Williams color, Anjou Pear!! ( I used it in one of Mollie's college apartments!)
Yesss!! Hoarding Thrifting for the win!


A quick call to Sherwin Williams to order a gallon of paint for curbside pick up. 

I have the white paint for the walls because I'm basically never without white paint! 
I'm going to scrounge around but I'm pretty sure I have the paint for a fun painted floor project. 


The rest will just fall into place as I look around the house and decide about art and accessories.

I didn't really have any inspo pictures going in to this - just the color in my head but I found this on Pinterest and it pretty much sums up what I've been thinking (plus some blue and white chinoiserie, of course!)


lorenzocastillo.org

Thank you for following along, be safe and stay well and...
WASH your hands!

Looking for some distraction?
Be sure to follow along with all of the ORC posts here.