I'm sure there are a lot of tutorials out there on the web for painting floors so I'm going to quickly share how I went about mine and what I used just in case you are thinking about giving it a try.
Your floor needs to be clean and if it has a glossy surface I recommend lightly sanding. I mopped my porch floor to get off the pollen and dirt tracked in.
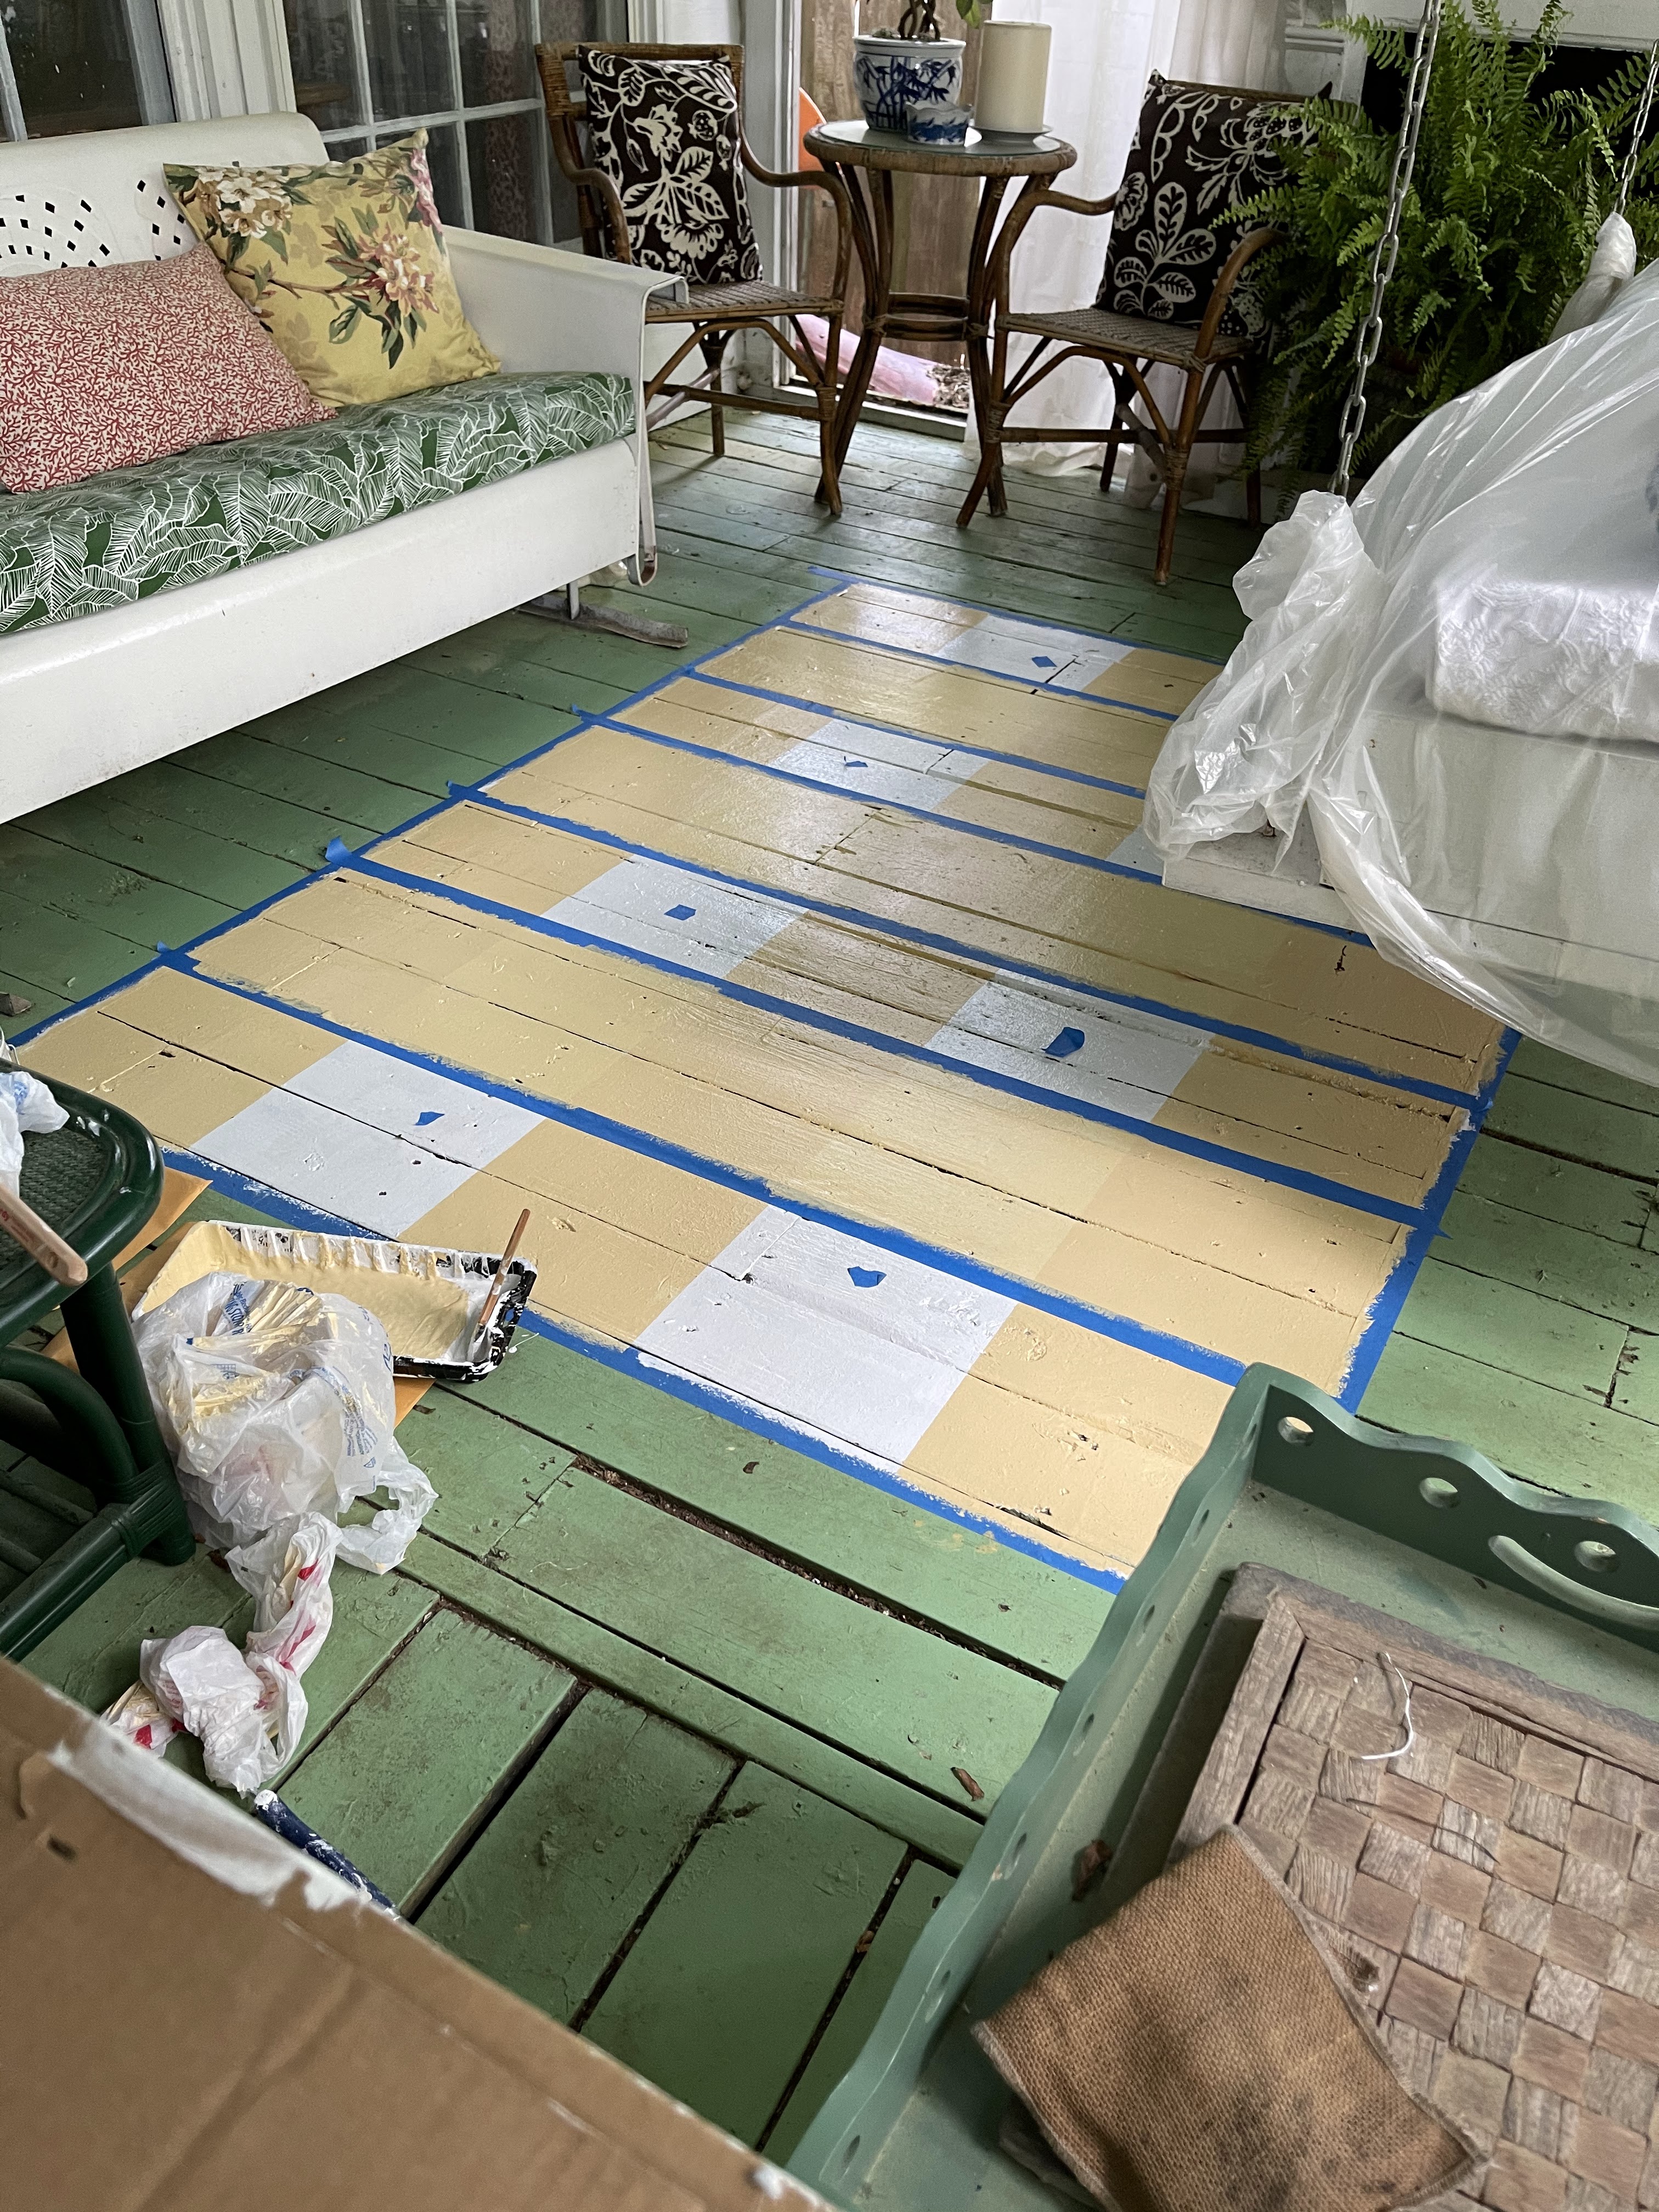
The first step is to tape off your rug shape or if it's the entire room just tape off your baseboards. Then you prime. I use oil based primer and I did two coats- possibly overkill but my Powder Room floor has shown no signs of wear and it's been 10 months of heavy traffic.
I let my primer dry overnight, painted the entire "rug" area white, let that dry and then I taped off the stripes lengthwise. I always put a tape dot in my "no paint" spaces while I'm in progress. It keeps me from making a mistake. You may not need it!
This is definitely a project where you want to measure twice before painting!! But if you make a mistake you can just paint over it and go again!!
I use Sherwin Williams Exterior Super paint on my floors. I've had great luck with it. #notsponsored
Because I was doing the checked pattern I mixed the Anjou Pear at about 1/3 AP to 2/3 white to get my lighter tone. Depending on your color choice you might have to adjust this ratio to make it work.
Two coats of my lightened stripe color lengthwise. I let that dry overnight before taping off the horizontal stripes and giving them two coats of the same lightened AP.
After they all dried I taped off a "test" square where the stripes overlapped. I painted two coats of the full strength Anjou Pear to be sure the contrast was correct. I didn't want to do all the squares and then be unhappy when the tape came off!!
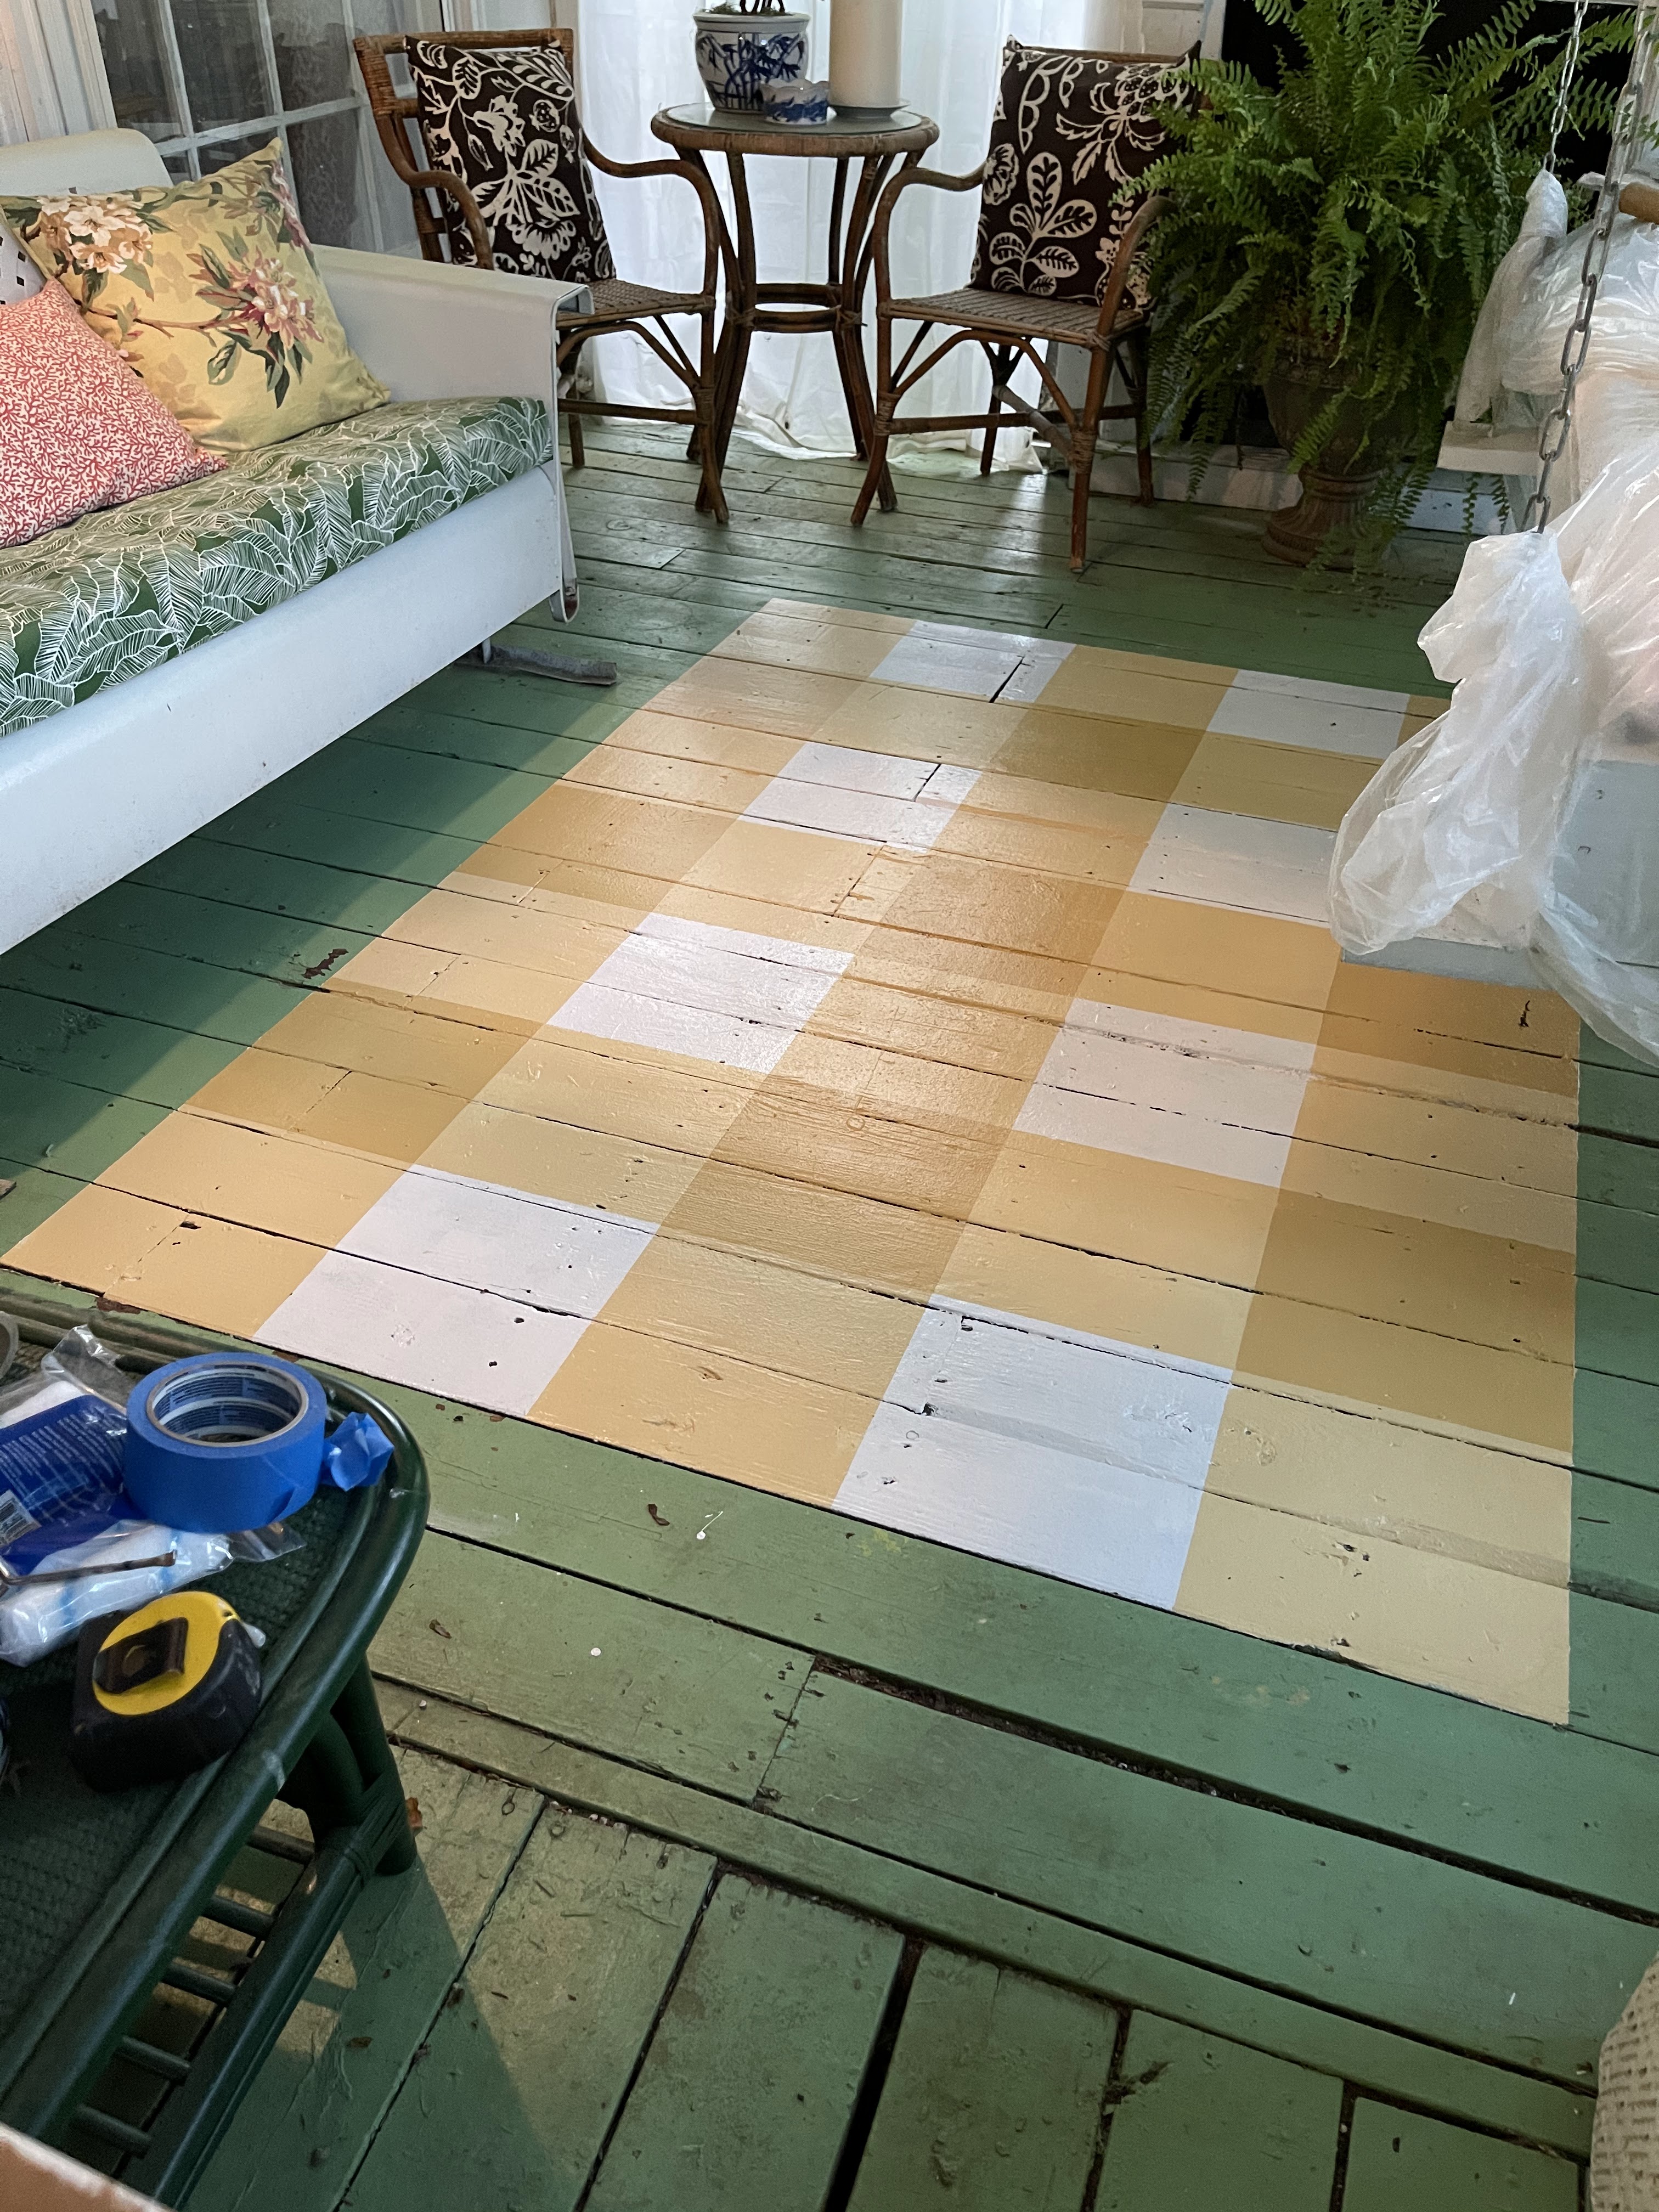
I liked it! It looked like gingham or buffalo check.
So I taped off the rest of the squares and painted them full strength AP.
Now for a confession. The furniture placement in this section is not perfectly balanced and the smaller rug I had in here before was off center so I knew the "rug" placement was a bit tricky. I debated forever about where I started it in relationship to the opening to the rest of the deck and the glider, etc. I should have gone with my first instinct because I ended up adding another 'row' of checks to that front edge after pulling all the tape up!!
Before the added row:
More measuring and taping to add the extra row of checks.
All of this taping and painting completely wore Cooper out!
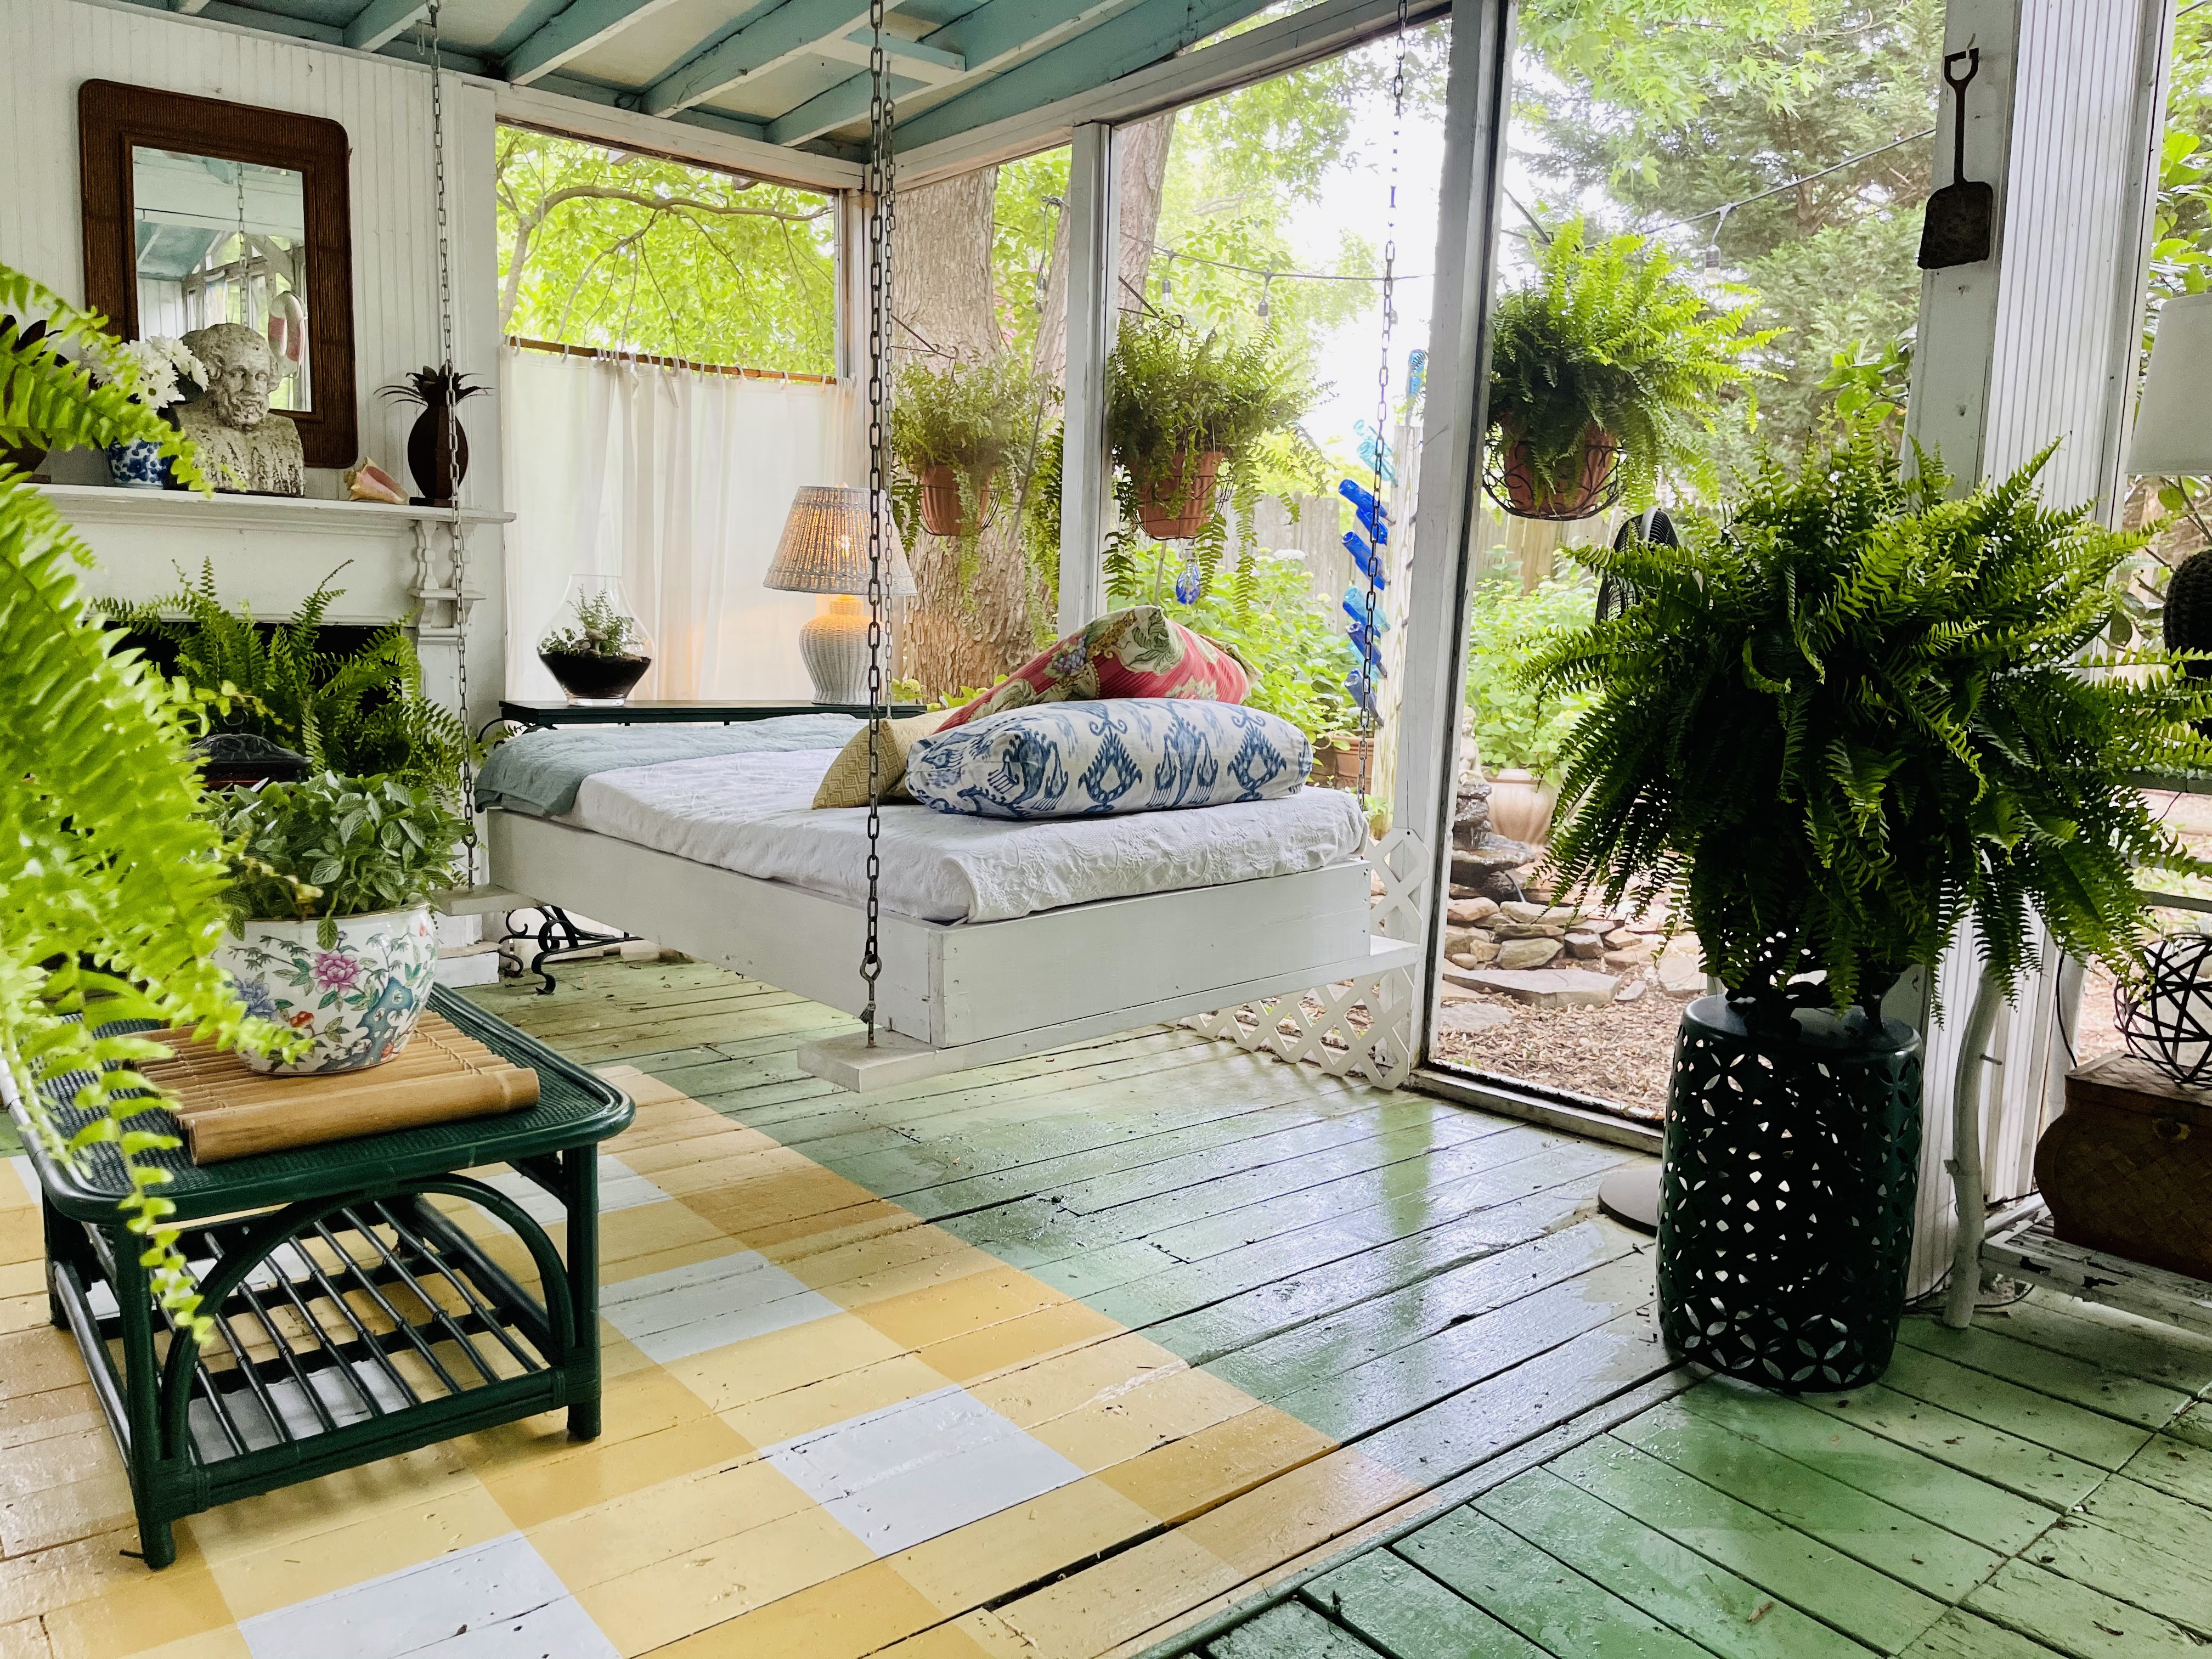
I think the proportion of the finished rug is better with the added row. I made the first outline 5 x 7 feet which is a traditional rug size. But that's the beauty of painting my own rug - I made it the size that "looks" right!
It's a great, inexpensive way to brighten up a space! And it's just paint - if you want to change it then simply paint over it!


No comments:
Post a Comment