Tuesday, January 28, 2025

January 2025

I can't believe that a new month is just a few days away. I posted on my Instagram that January had "januaryed" long enough which is true with all the very cold (for us) temps. On the other hand, how can one month of the year be finished?

We had snow all over the deep south which was fun for a day or two and then I'm ready for it to warm up. 


This was an asparagus fern that didn't make the cut for the greenhouse. 
It was perfectly coated in ice.


We have had some beautiful sunrises and sunsets when it wasn't overcast. I don't know if the cold weather affects that but we have had a lot of colorful ones.


I get very excited when the bulbs start to show! Spring can't be too far away.

In this cold weather the greenhouse was just too full. I brought a few plants in after the Christmas 'take down' and it's nice to have fresh greens in the house. 


I made these delicious steak and blue cheese chips one of the snow days. I snapped a few pictures and quickly posted on my IG and almost 18,000 people have viewed how to make them. Everyone wants to snack on a snow day! They are easy and delicious. The details are on the IG post. I used Boulder Avocado Oil Sea Salt chips, a skirt steak from LilyHill Farm and creamy blue cheese form Trader Joes. Plus fresh chives. That's it. So good. We had them again last weekend for a snack dinner.

I started out the new year by painting a large, glittery, sparkly monogram for a shower hosted by Mollie and some of her sorority sisters. 

And that is a wrap for January. I'm ready for some touches of Valentine's decor. Very small touches for me but I do like a little nod to the holiday. It helps with the dreary gray days that February can have in abundance. 

I'll be sharing those on Instagram. I hope you take a peek. 

Monday, January 6, 2025

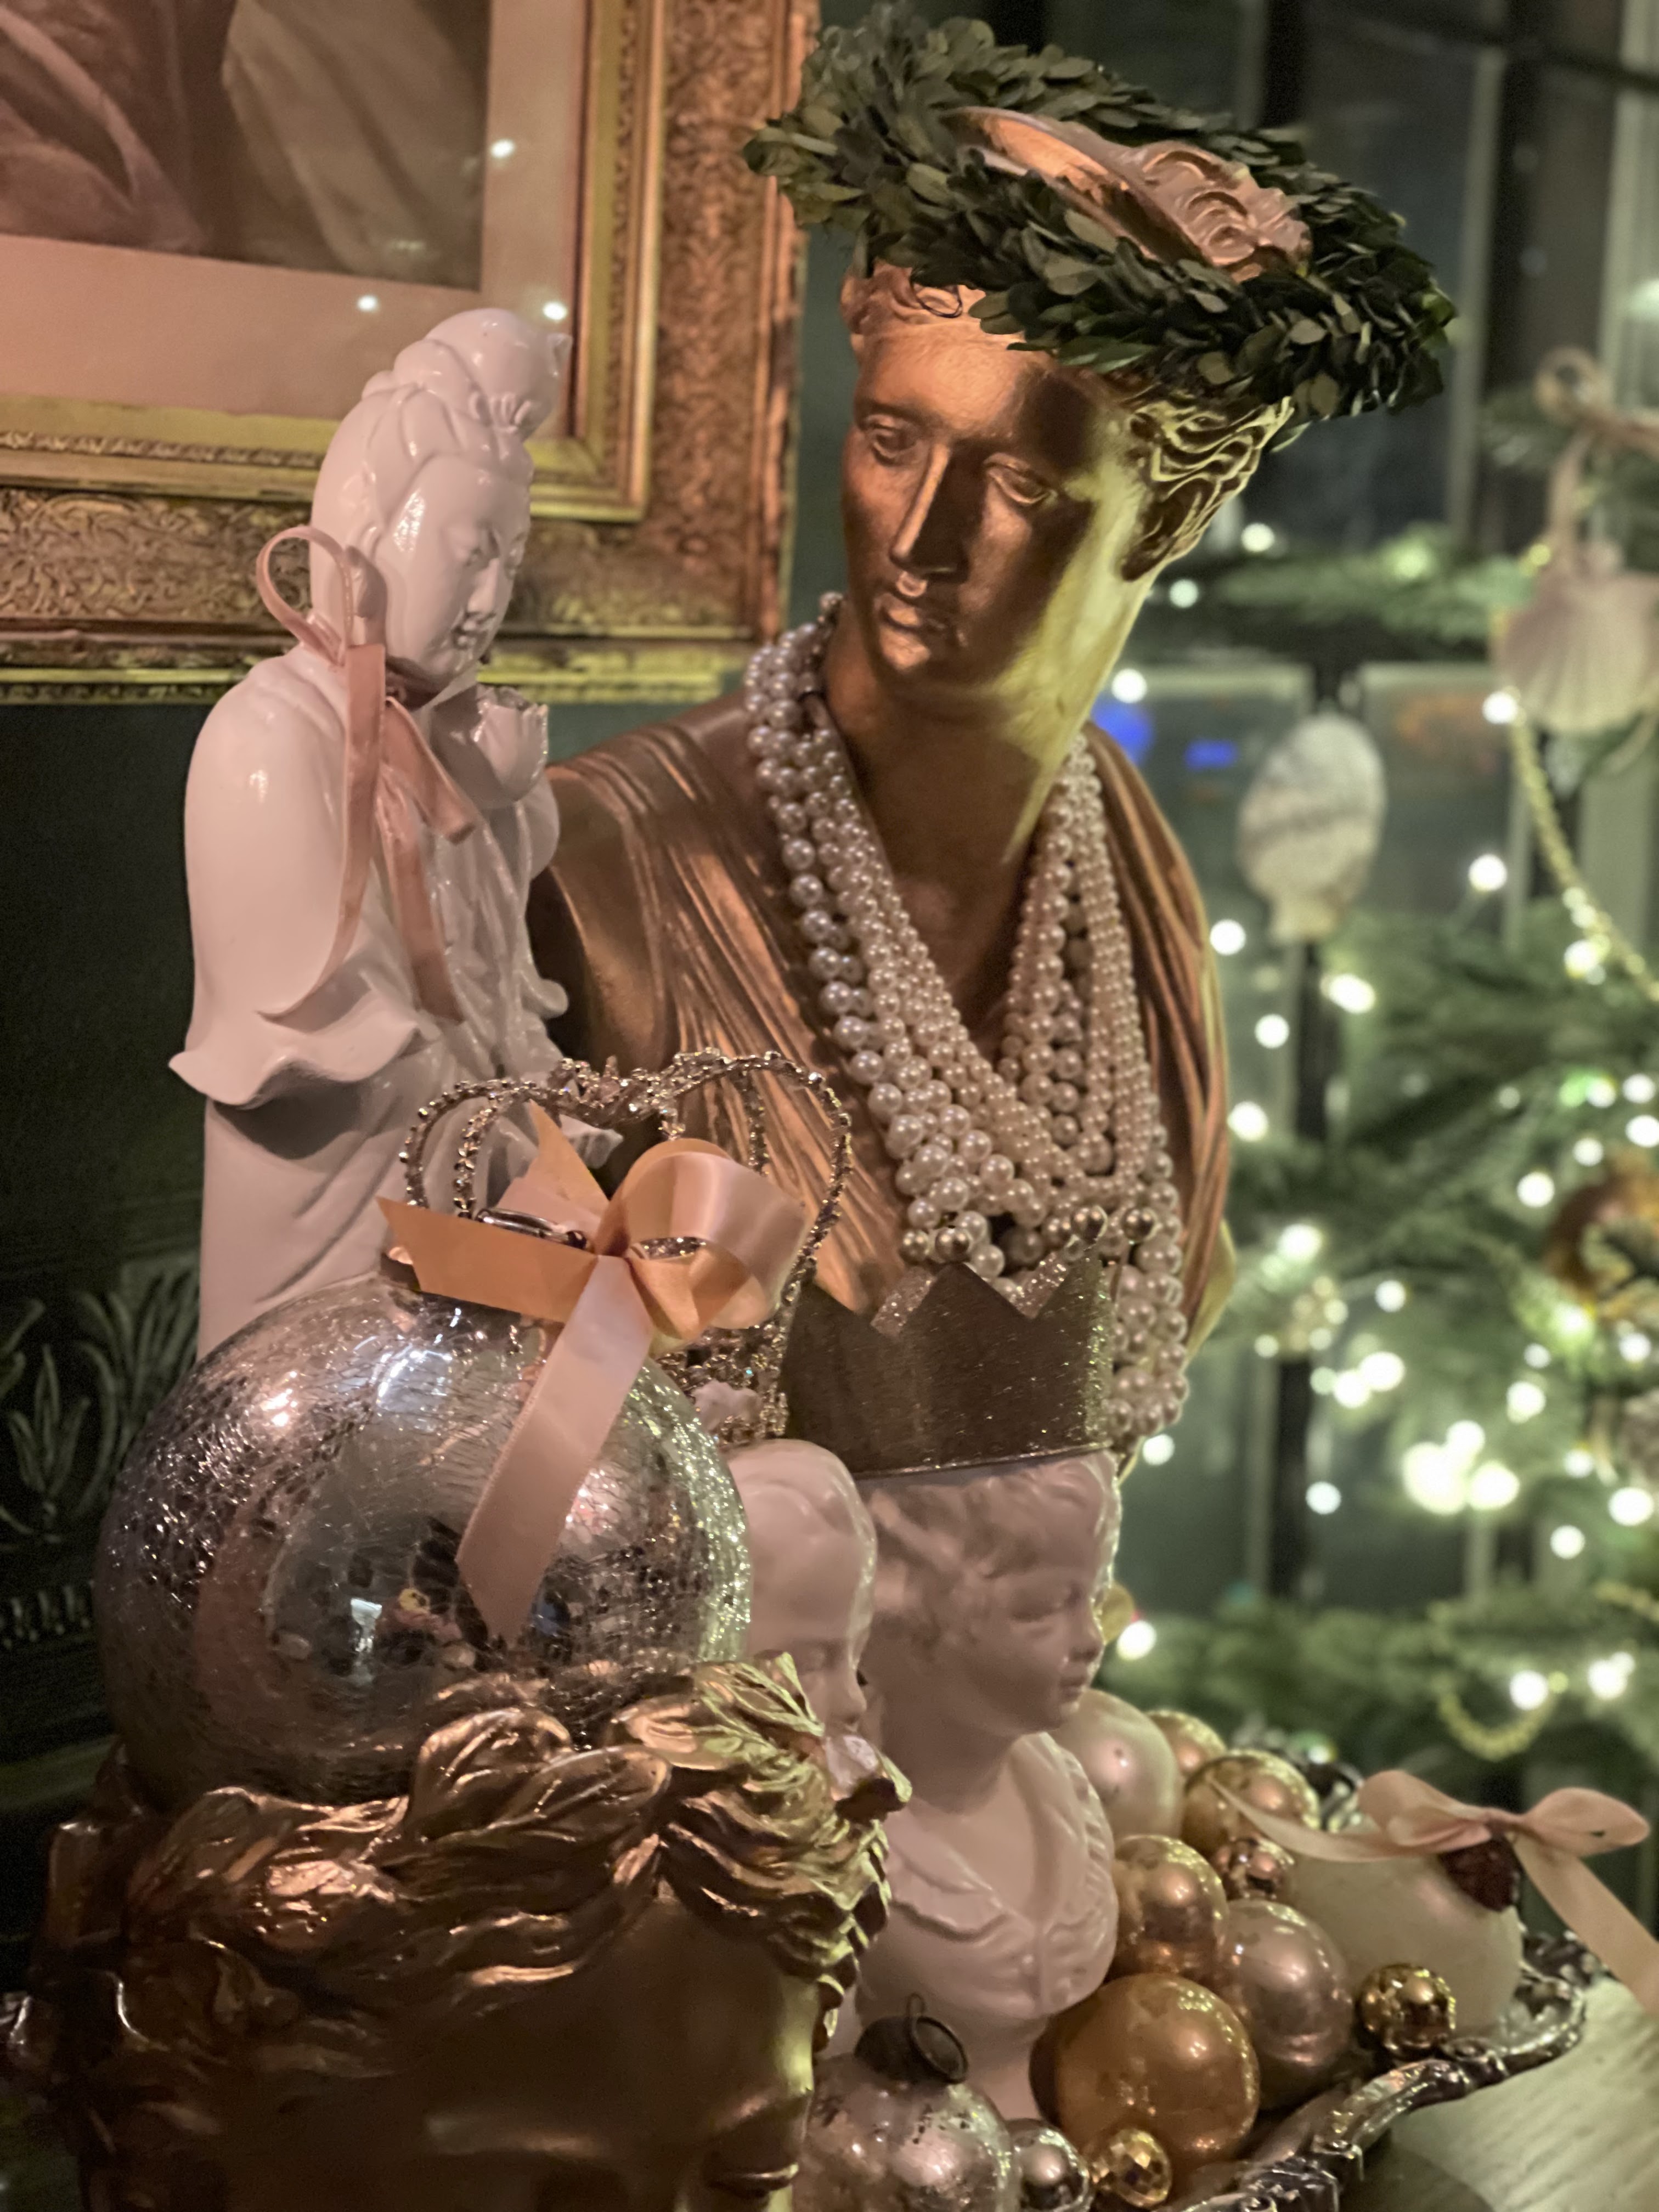
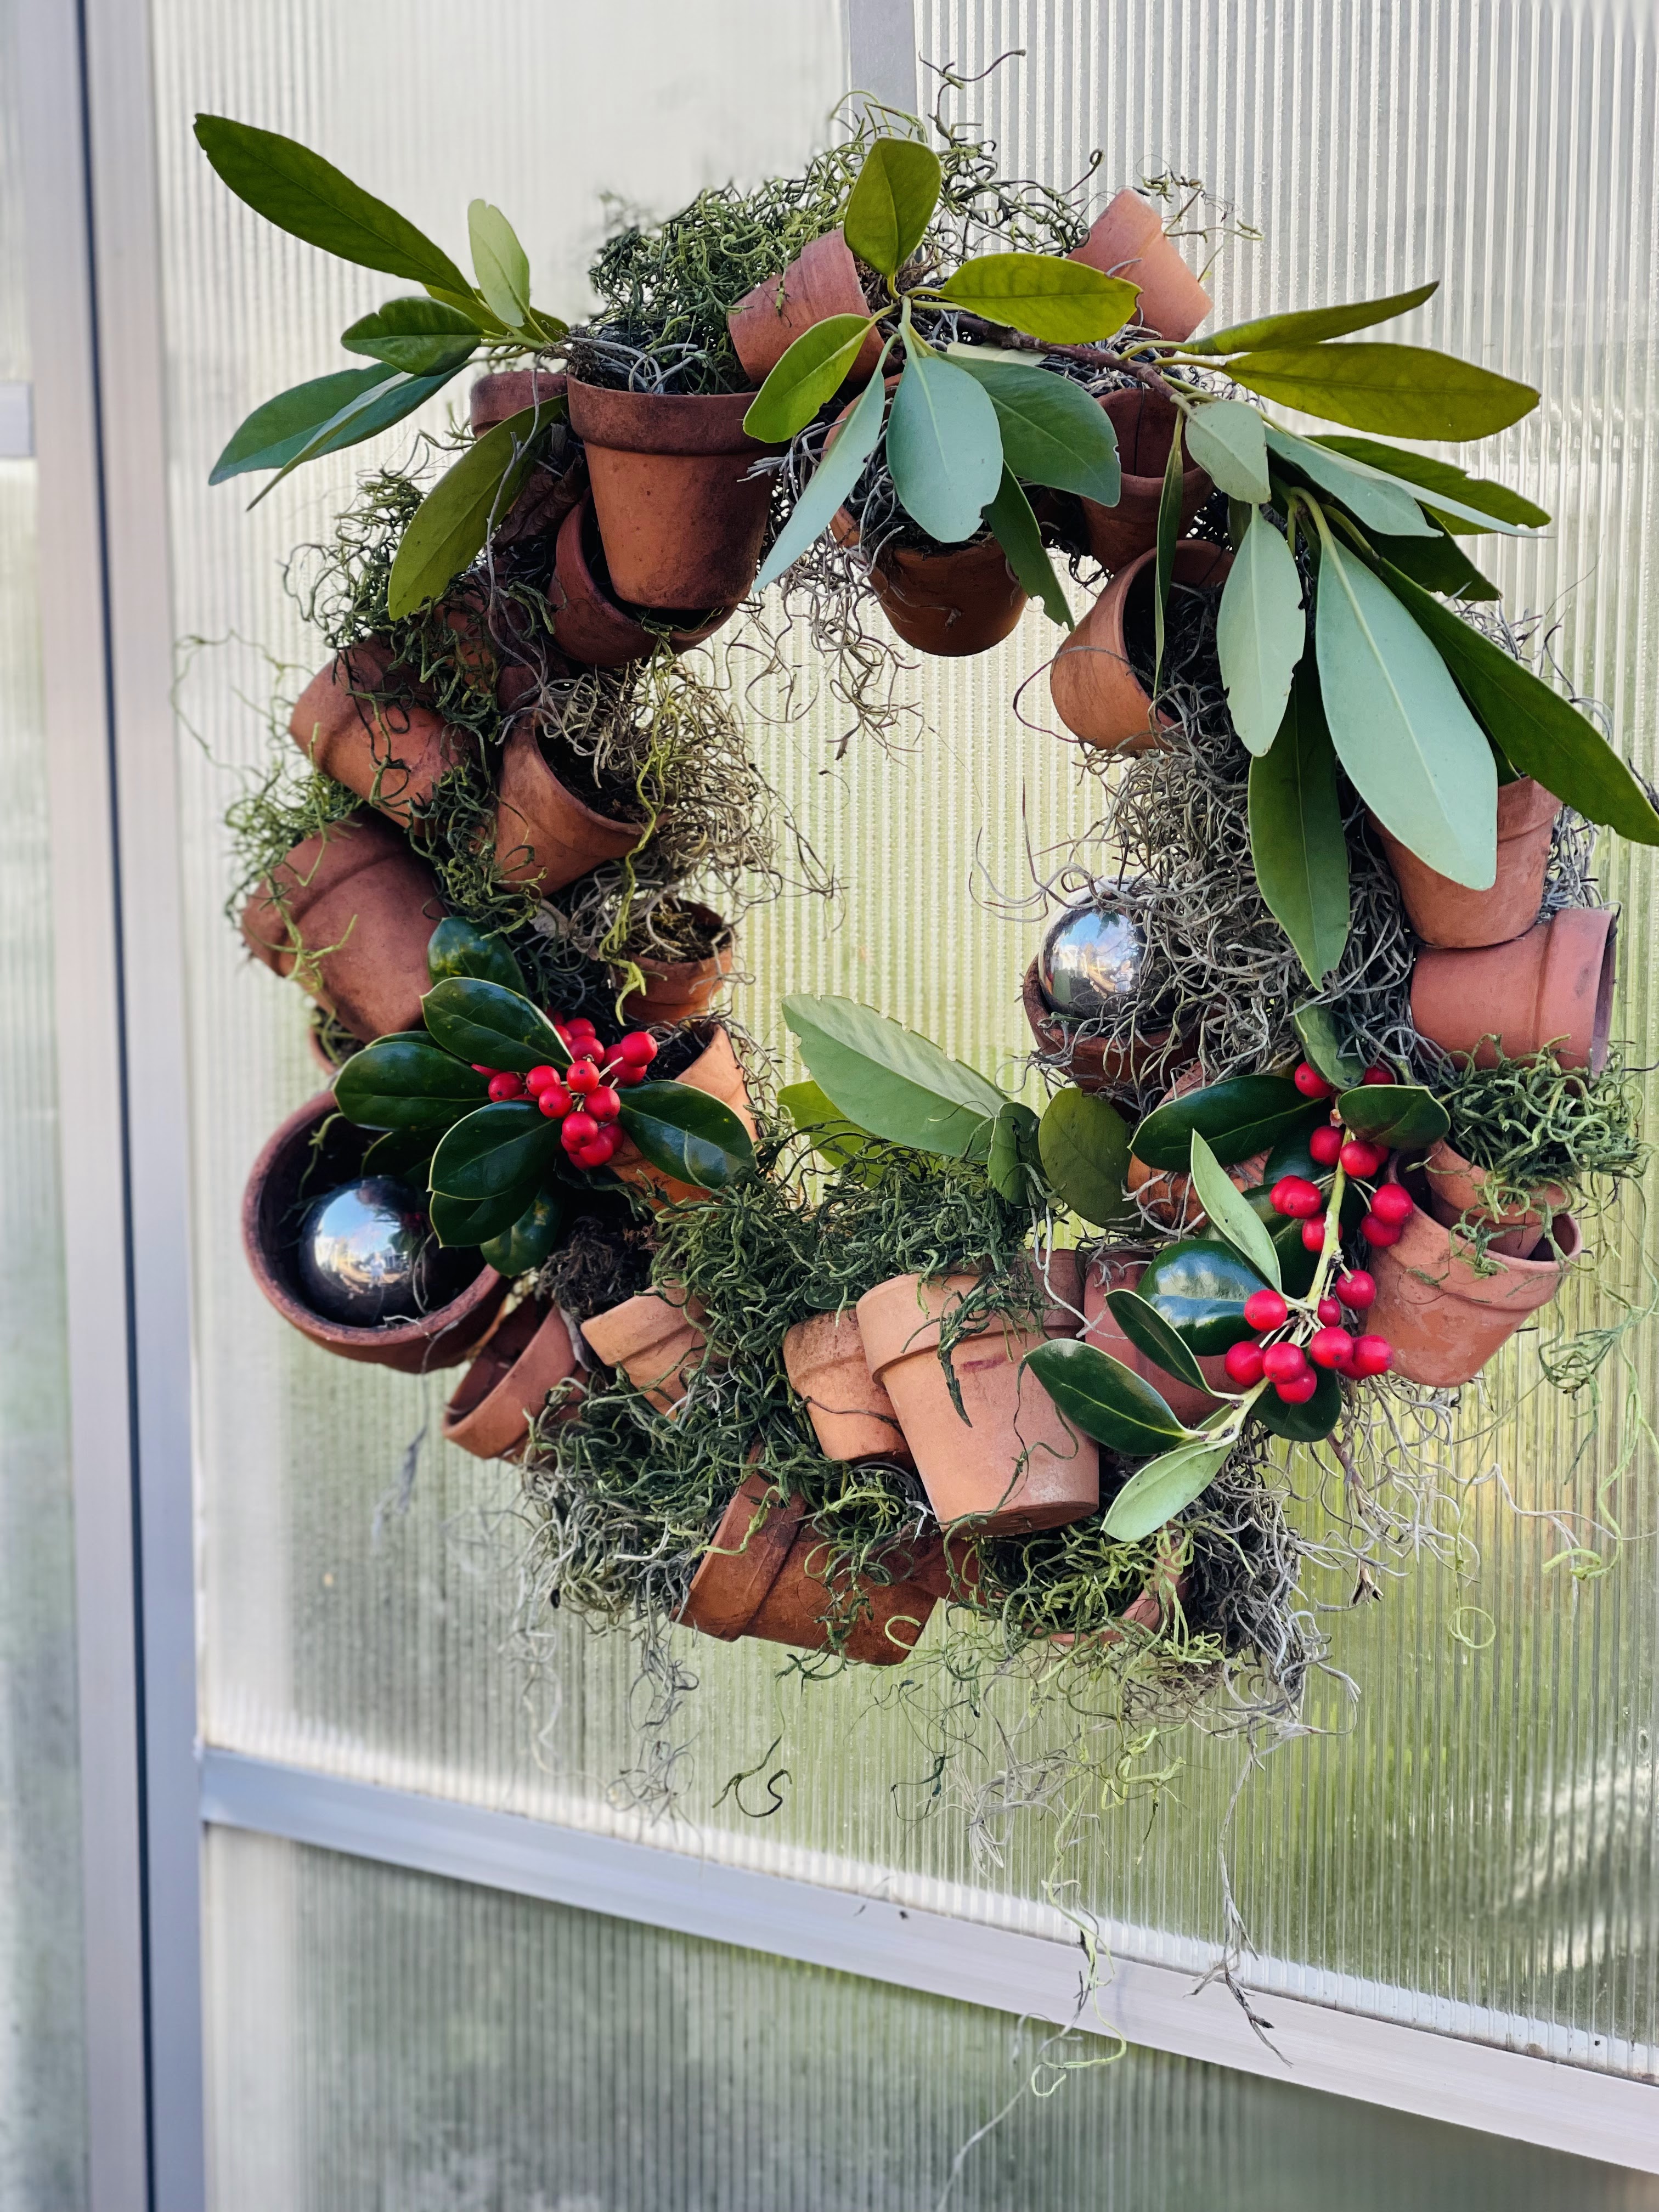
Christmas 2024

 It's hard to believe the holidays are over and everyone has gone back to work and school. We *might* get a little snow here in the deep south so I have left my outside decorations up past Epiphany "just in case!" A Christmas decor + snow photo op is rare. I don't want to miss it. 

I decided to post a few images of the 2024 holiday season just to have it documented on the blog. There are lots of pictures and reels over on my Instagram if you wish to see more. 


Wednesday, December 4, 2024

Vintage Inspired Sequin Ornaments

I guess the subtitle of this post should be "if you can't thrift it, make it." I have never found any vintage sequin or beaded ornaments in alllll my years of thrifting but it was the look Mollie and I wanted for our new flocked King of Christmas Tree. So we ordered supplies and got to work!


They are not difficult to make and you can chat or "watch" TV while making them. We left our supplies out on the kitchen island for a few weeks and any time we had a minute we would add some sequins. That is a nice thing about this project - you don't need large blocks of time but they do take time to complete. Our goal was 10-12 and we made it but I was secretly hoping for twice that many. We will keep working on them but this would be a great thing to do in the summer or early fall if you want a large quantity. They are a bit addicting once you get going and they add so much sparkle to the tree. You can see videos on my Instagram and tell how much they sparkle. 


We ordered two sizes of styrofoam balls. Mollie likes to do the smaller ones but I like the large ones even if they take a while to finish.
We ordered a lot of different pin options and even some fancy thumbtacks. 


We used a ton of these clear pins. I ordered two or three bags of them. They are probably the quickest and easiest to use. I also bought a variety of pins with ball tops in pink and pearl colors. We chose a color scheme of pink, red, white, gold and silver so we kept all of our supplies limited to that but you can get pins and sequins in every color imaginable. We found some of our ball top pins at Wal Mart and ordered pearl pins


You have to pay attention to the length of your pins. The large balls can handle longer pins but the smaller styrofoam balls do better with shorter pins. 

I ordered the pins below in silver and gold. You can use a lot of pins on a single ornament. I used a whole bag of the sequin pins plus a few more on one of my large ornaments. It is surprising how many sequins and pins it takes! 


I found the fancy thumbtacks at Wal Mart. They were about $4.00 for the jar and we used them as accents on a couple of balls. They were a fun touch but they are heavy. I dipped the pin part in a little white glue before putting it in the styrofoam ball and that has held them in. 


You can find sequins a lot of places. We ordered from Amazon. Our red ones here, the pretty pink ones, a great multi pack  that has us thinking about other color combos, and we used a lot of these iridescent white ones. You need more than you think - remember one of my large 4" ornaments has over 500 sequins on it!


We decided to put our supplies in muffin tins to make it easier. Sequins tend to get everywhere otherwise. It was a great system because you can rest the ball you are working on in an empty spot. This makes for a portable work station too. 


Once you have your supplies all set you simply start putting sequin and pin combos onto your blank ornament. We worked pretty organically. I tend to start on the middle of the large ball along the faint seam line but a couple I started by randomly placing designs all over the ball and then filling in around them with sequins. Mollie also used different techniques depending on the design she wanted. There is some room for creative adjustments - sometimes a pattern doesn't work out perfectly so you have to wiggle things a little. It didn't matter to us - we were having fun and just seeing what happened. 


The one thing I did have to figure out was how to hang them securely. Some vintage ornaments have ribbon wrapped around the ball and looped into a hanger. We did one trial ornament with ribbon and didn't like the ribbon colors with our sequins. We decided to sequin the entire ornament and figure something out. I like to hang ornaments from fishing line because its practically invisible and the ornaments can move a little and sparkle more. 


I tried using one of the sequin pins to hold the fishing line but it wasn't secure enough. I thought about a needle because it can be threaded with the fishing line and then pushed securely into the ornament because of the length. You can just barely see the needle "hanging loop" on the ornament above. It worked perfectly! I bought the needles below in a variety of lengths to fit our ornament size. 


(Don't worry-  I fixed the knot after I took these pictures!)


We love how the colors we chose turned out and how sparkly they look on our new flocked tree. 


Be sure to let me know if you make any sequin ornaments!